The feedback form on a website created on the Odoo platform helps to receive requests from users. It can be easily customized by adding or changing fields, making them mandatory or optional to fill in.
1. Go to site editing mode
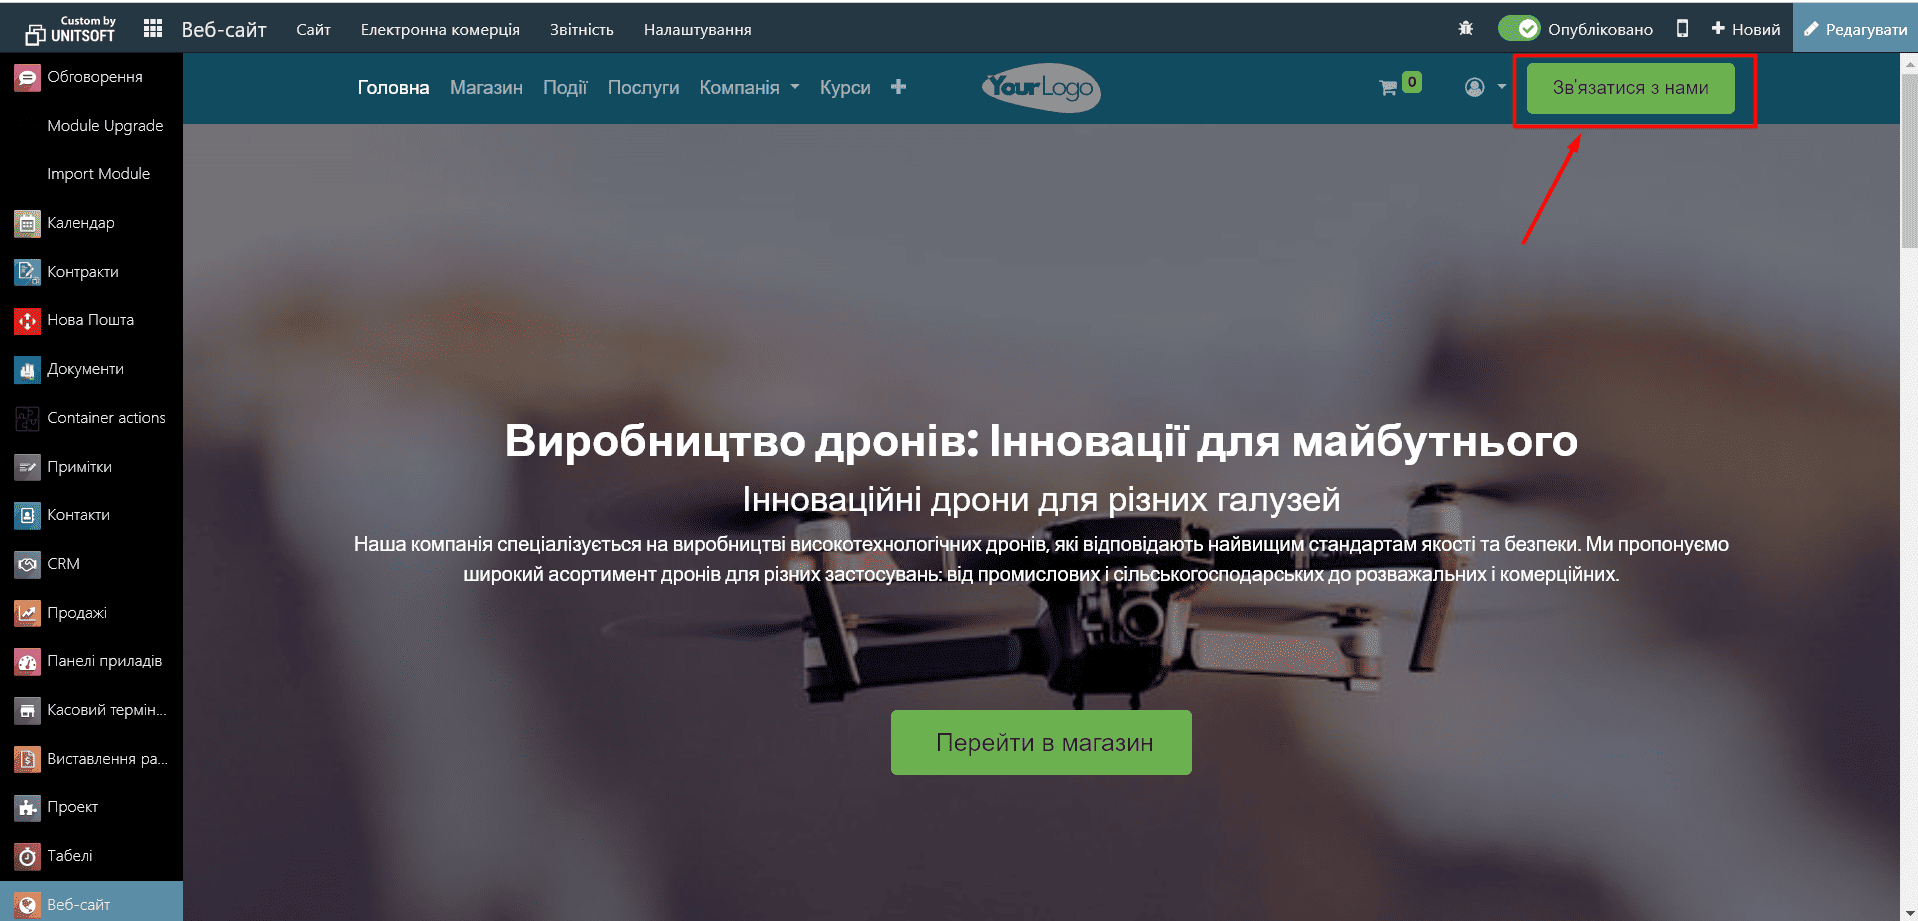
1. Go to the module "Site". Find the page where the feedback form is located. This could be a "Contact Us" page or another page where you have already placed the form.
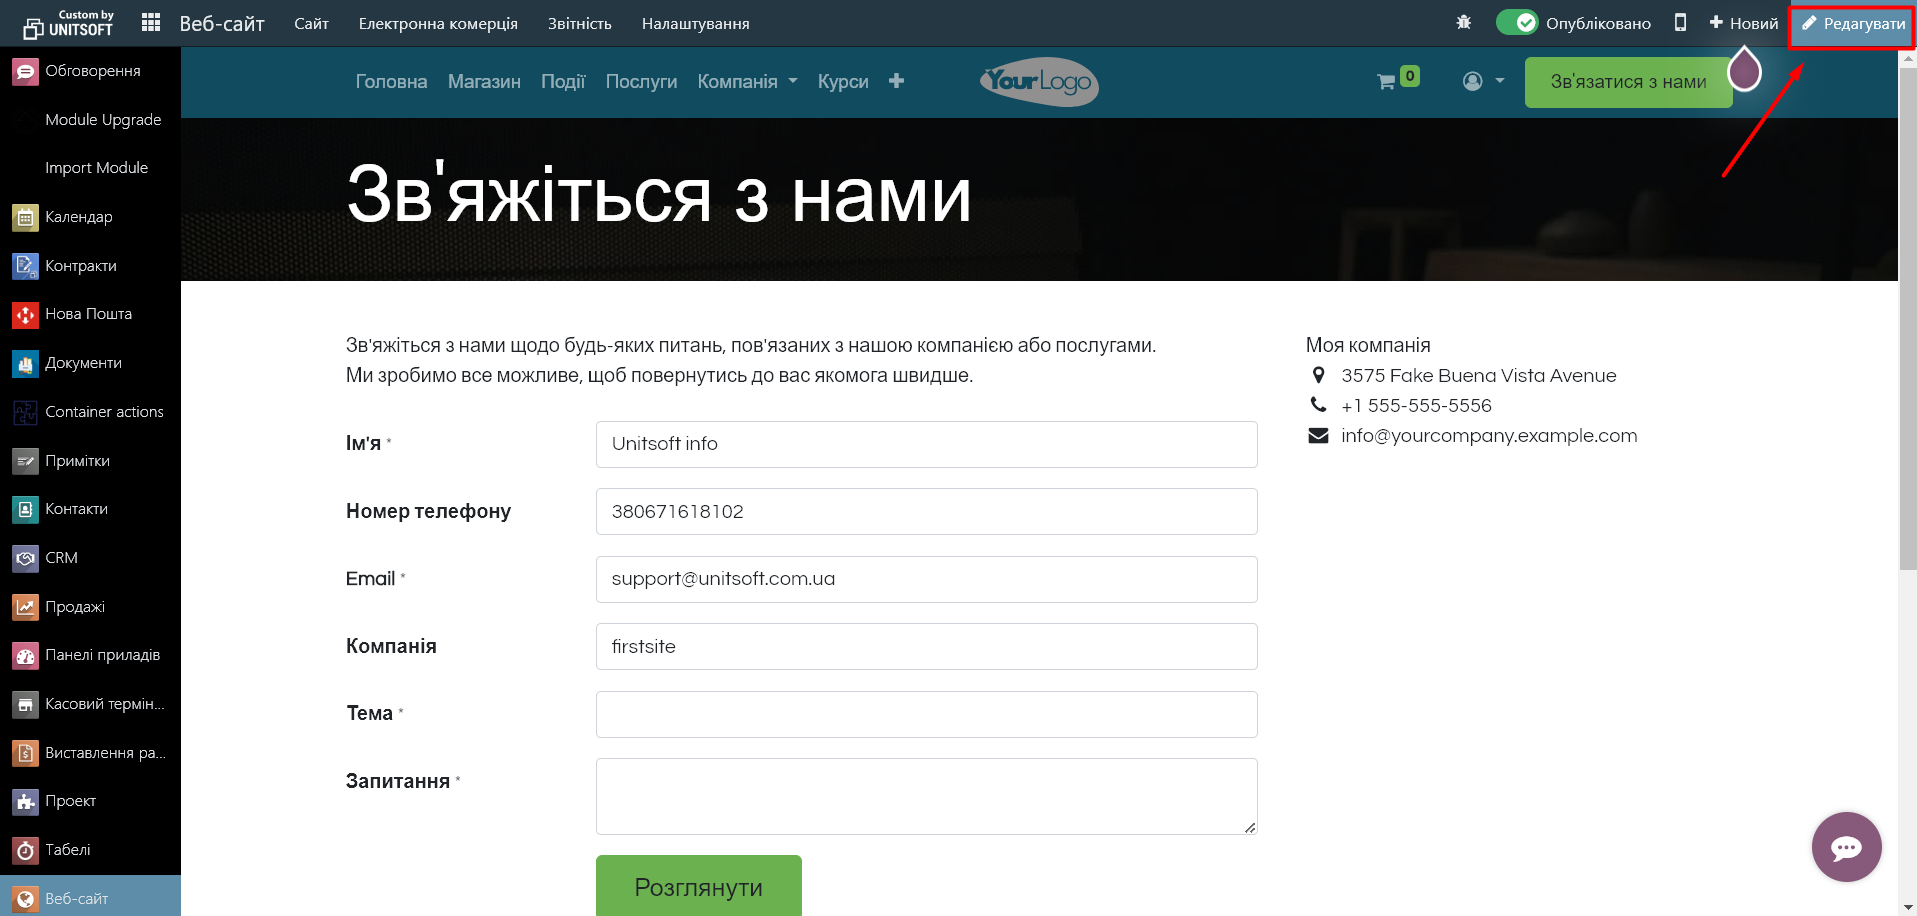
2. In the top right corner, click the button "Edit", to enable page editing mode.
2. Adding or editing fields in the form
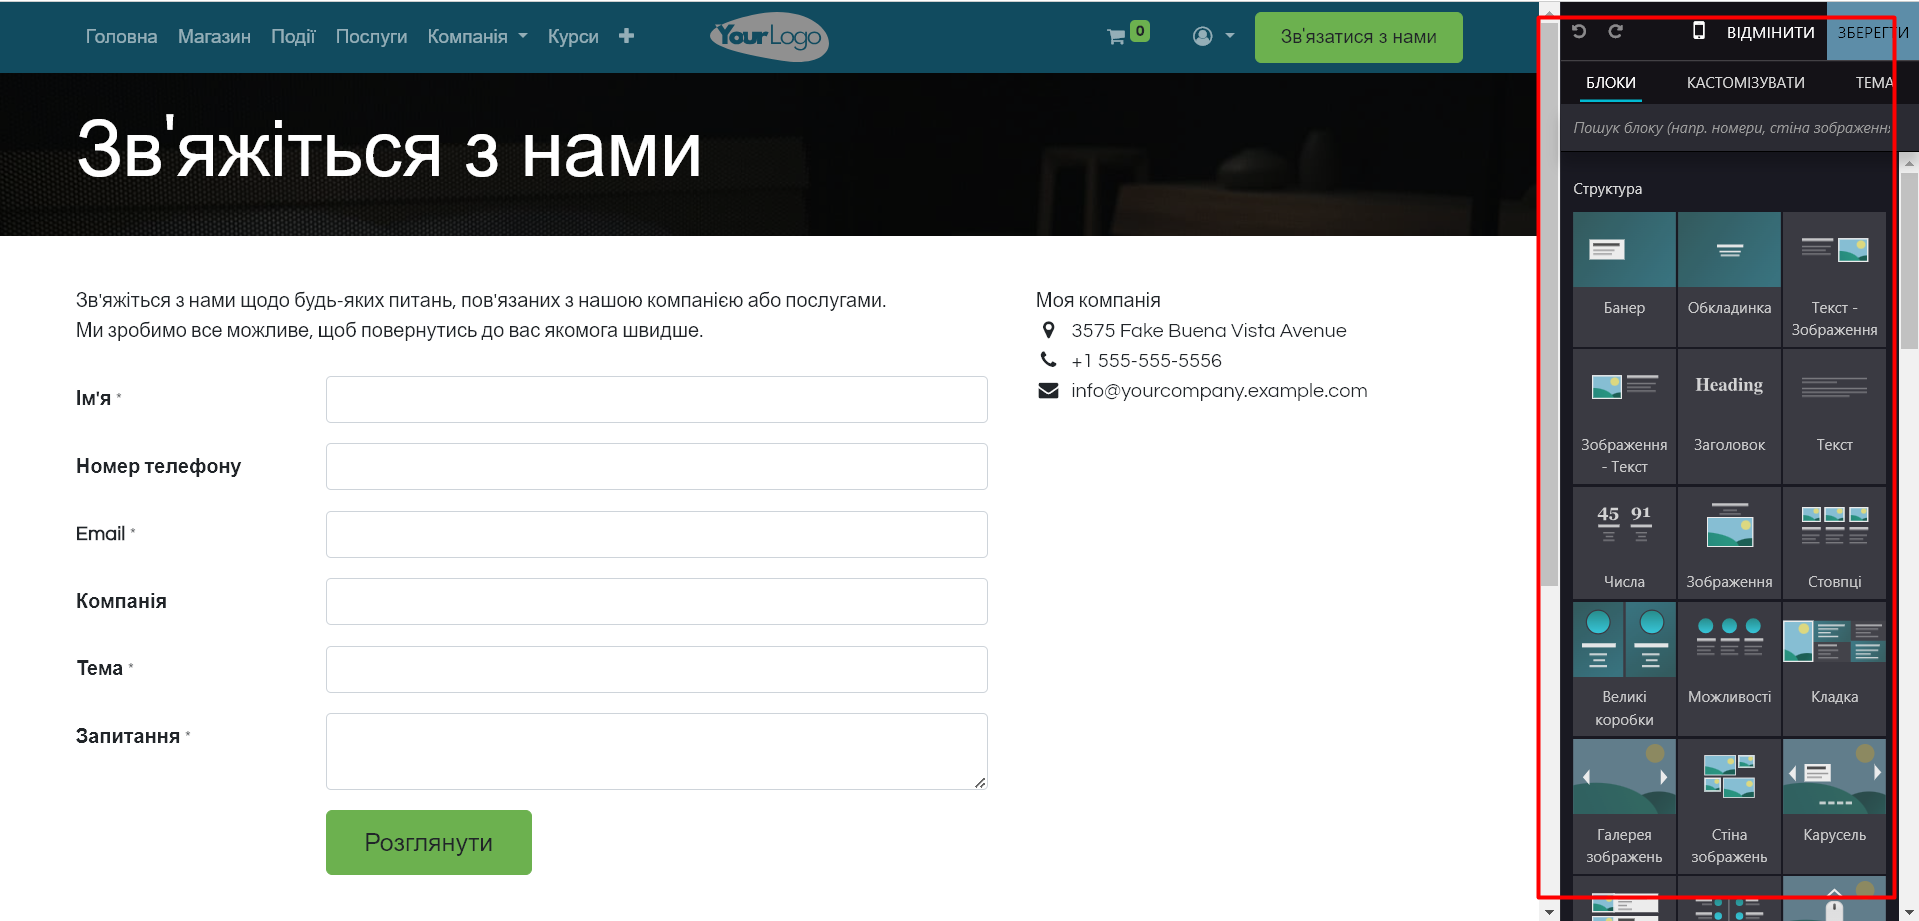
1. After clicking on the form, an editing panel with various options will appear.
2. To add a new field to the form:
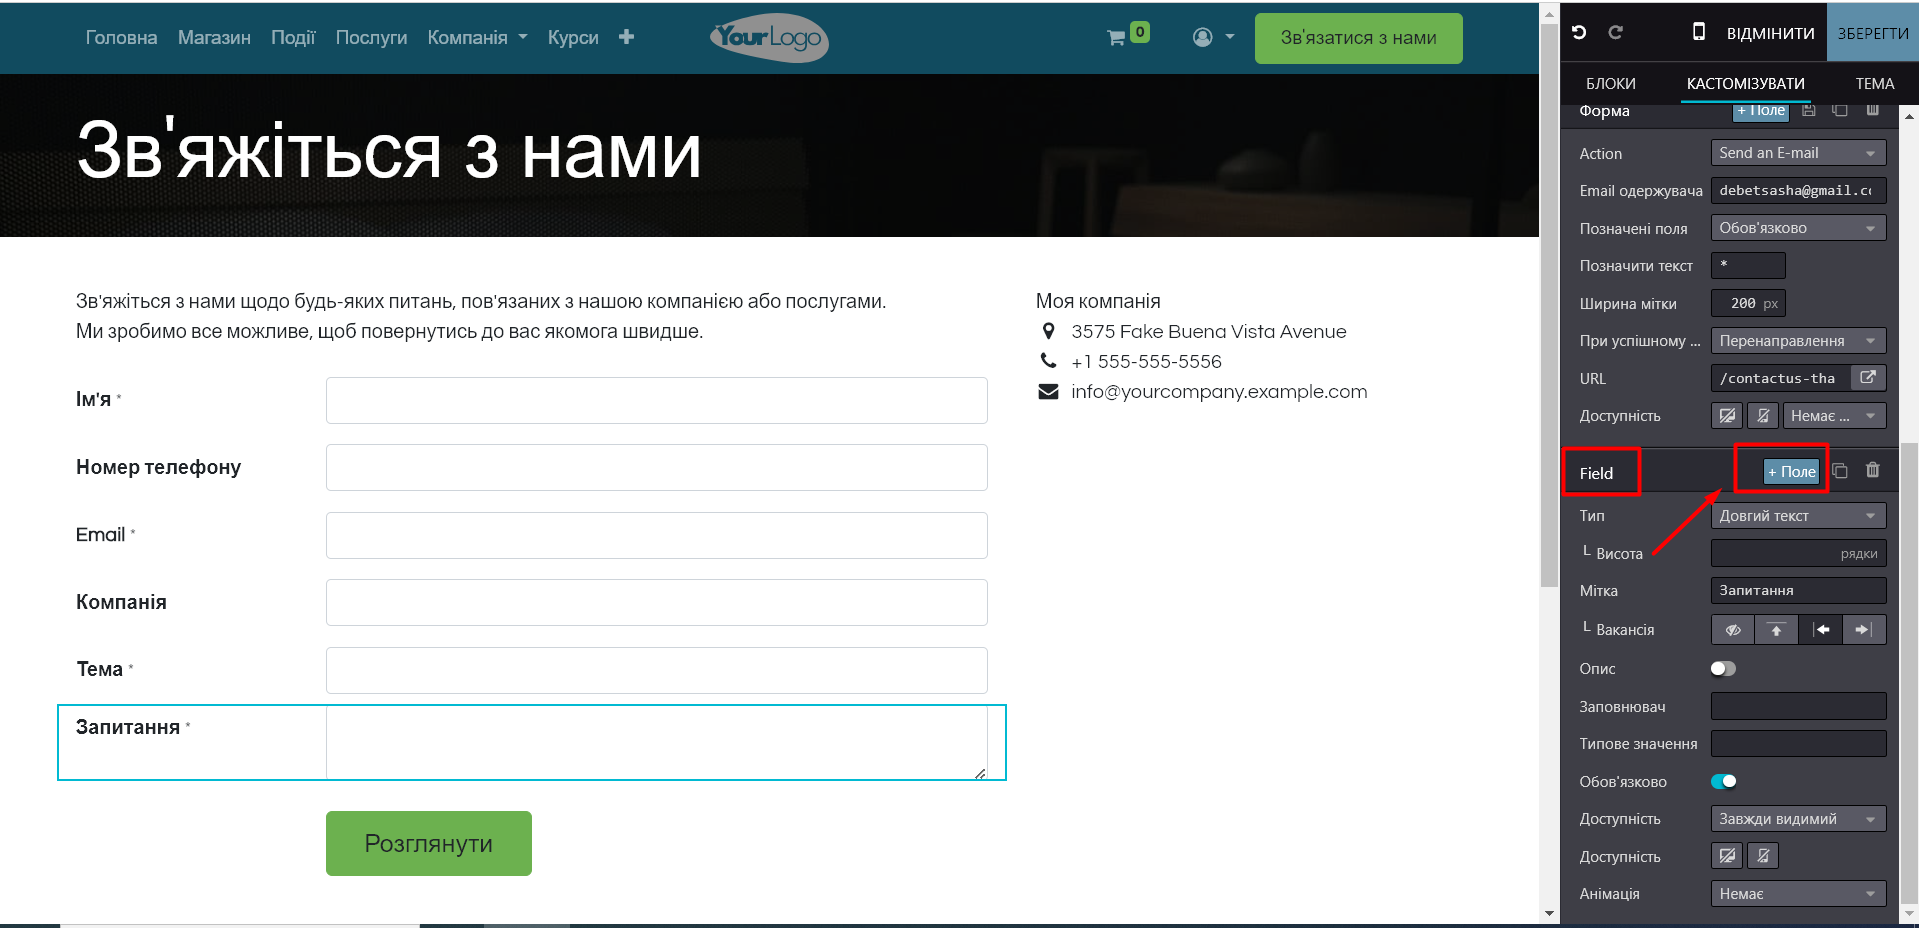
· Click on one of the form rows
· In edit form, in the section «Кастомізувати» click "Add new field" in the section "Field"
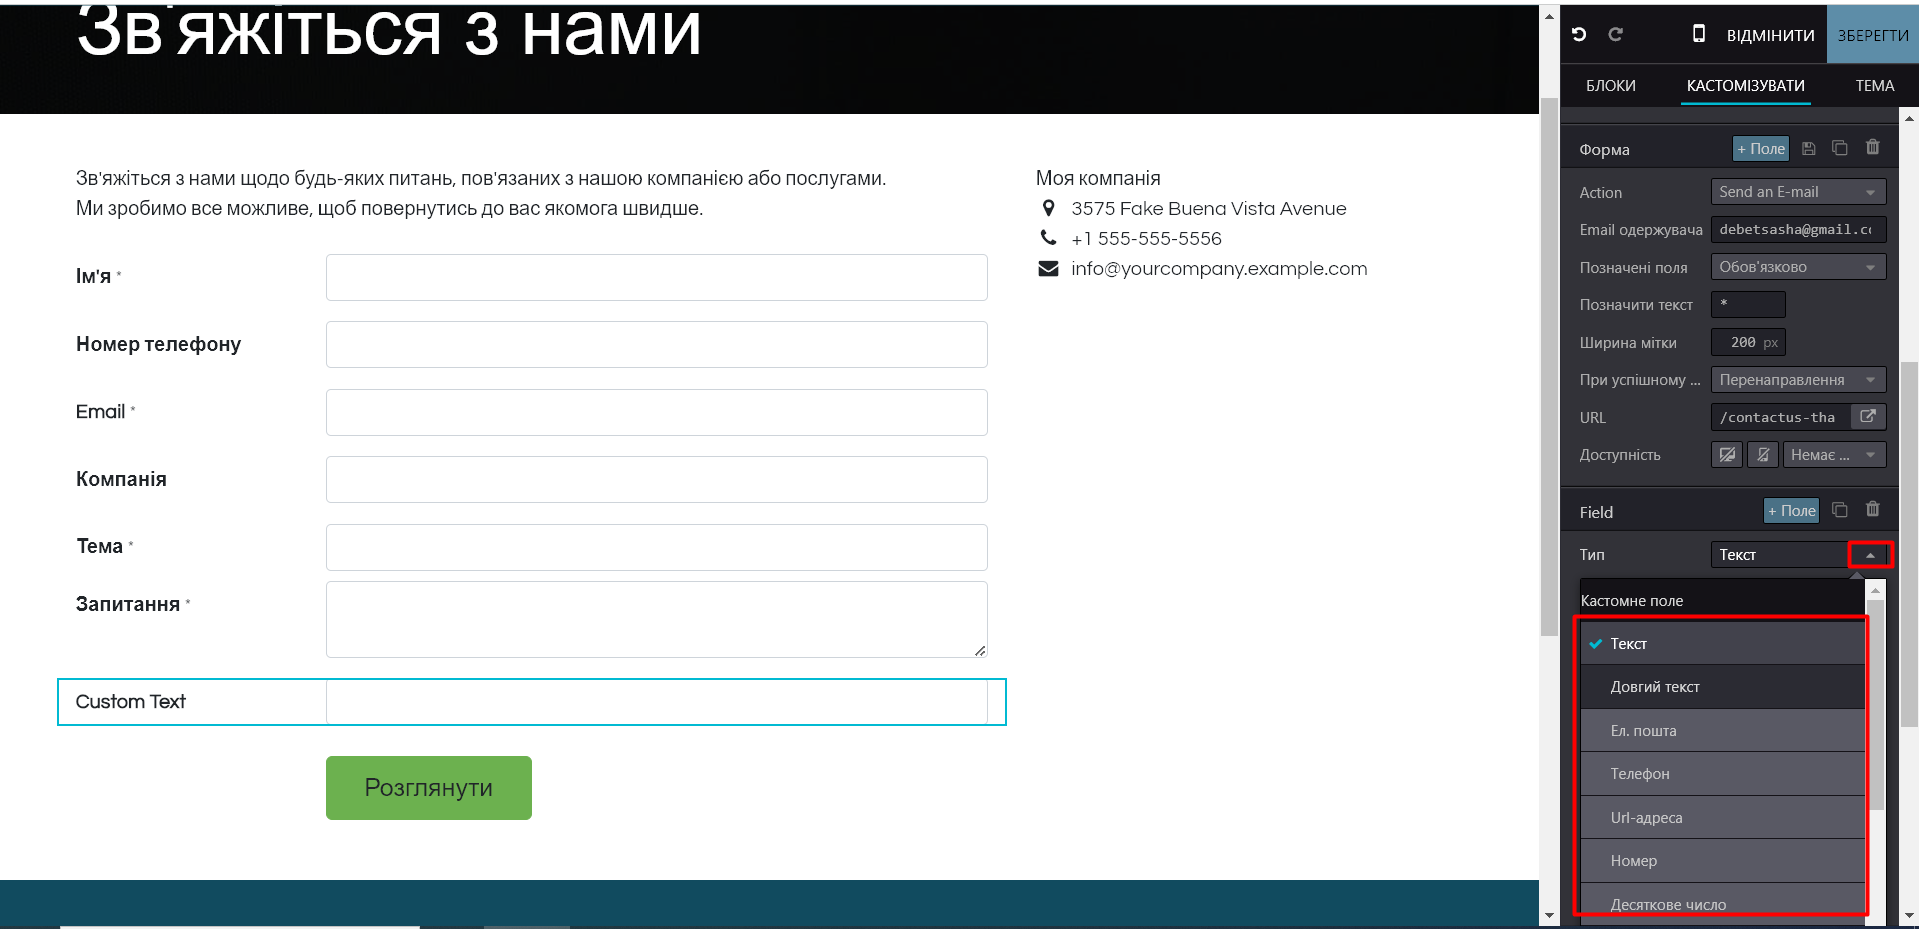
· Select the desired one type (text field, checkbox, radio buttons, etc.) for the new field
· Specify the field name in the section "Label":
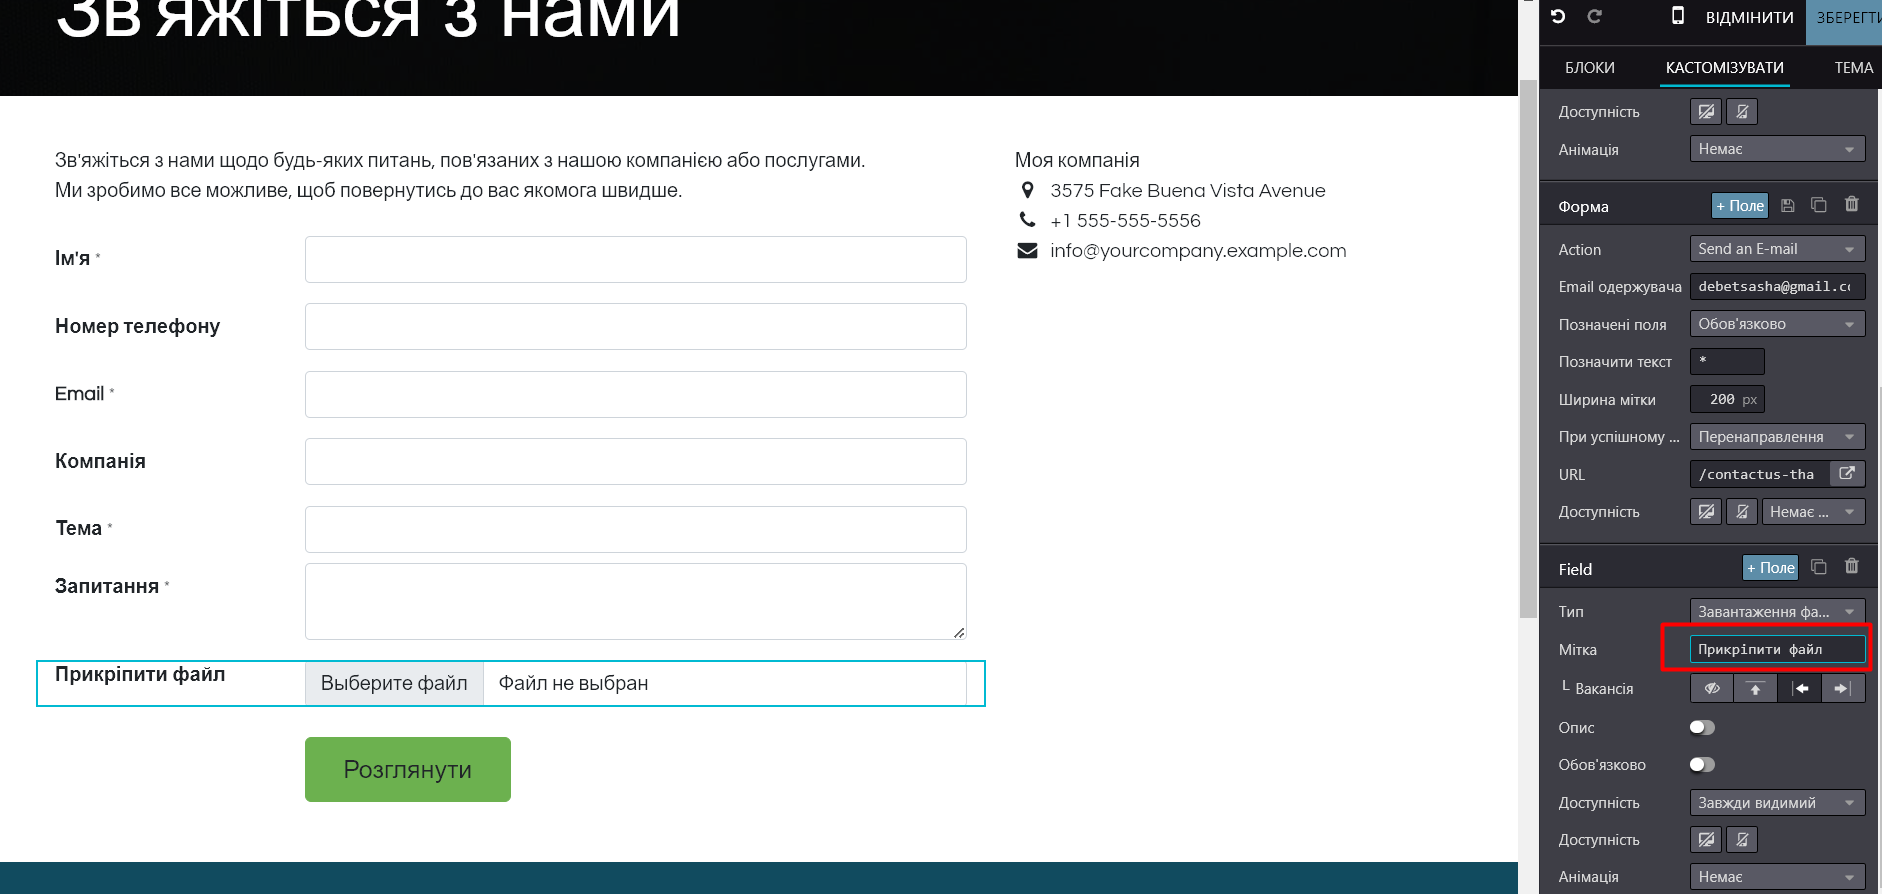
· Indicate the requirement for its completion:

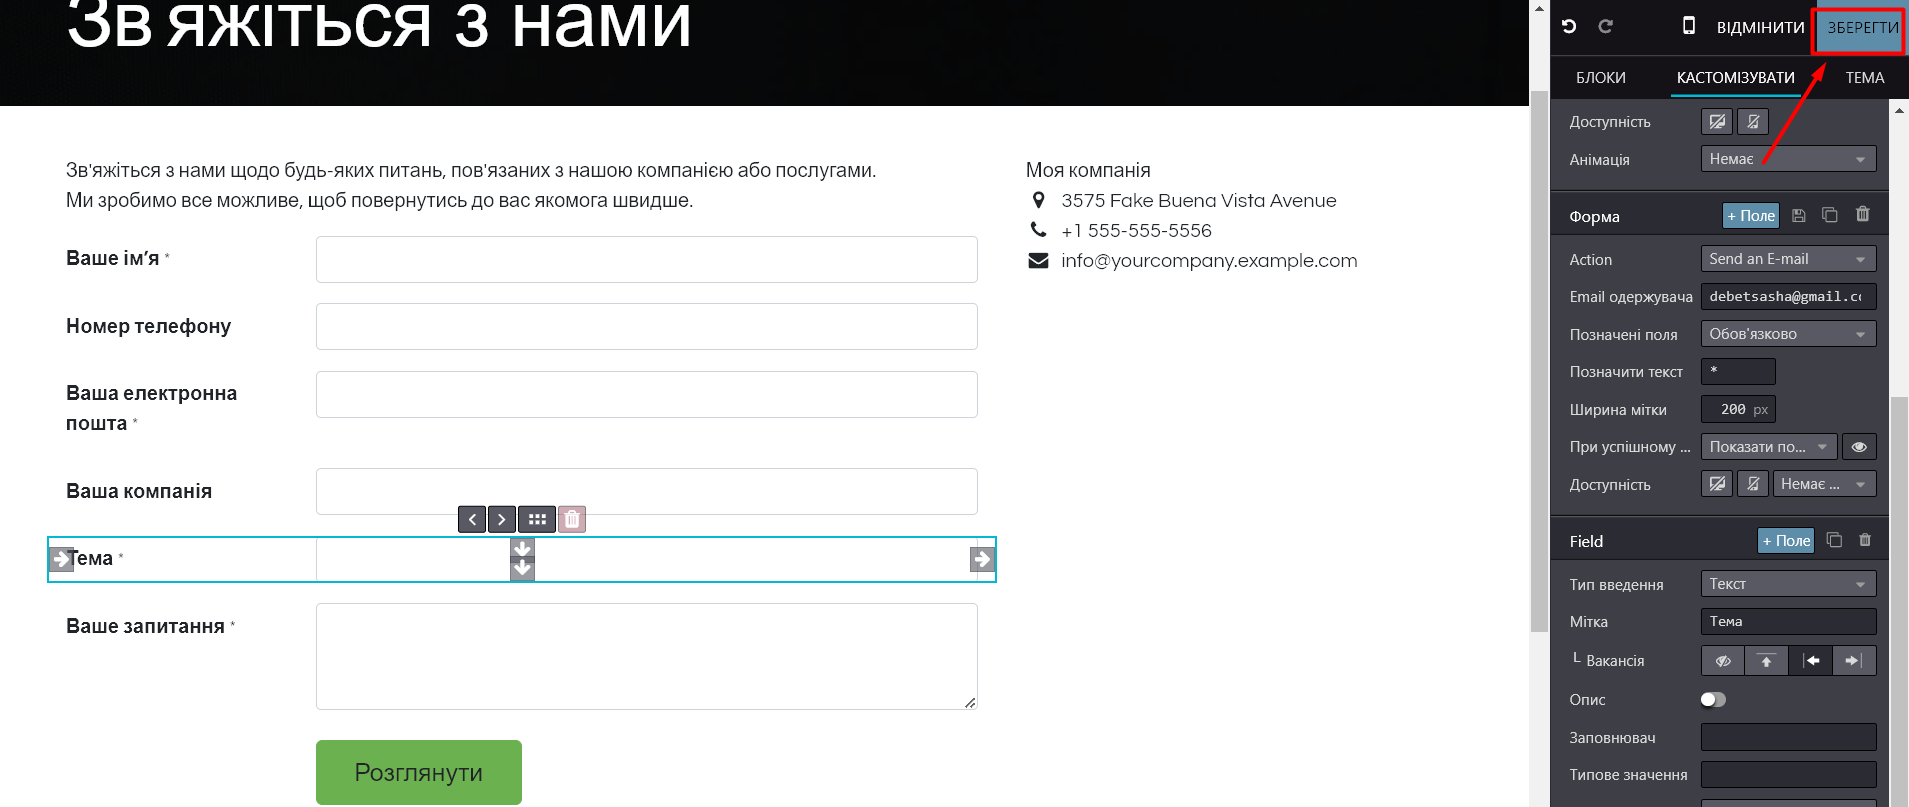
3. To edit existing fields:
· Click on the field you want to change.
· Similarly to the previous points, you will be able to change the field name, its type, and specify whether the field will be required.
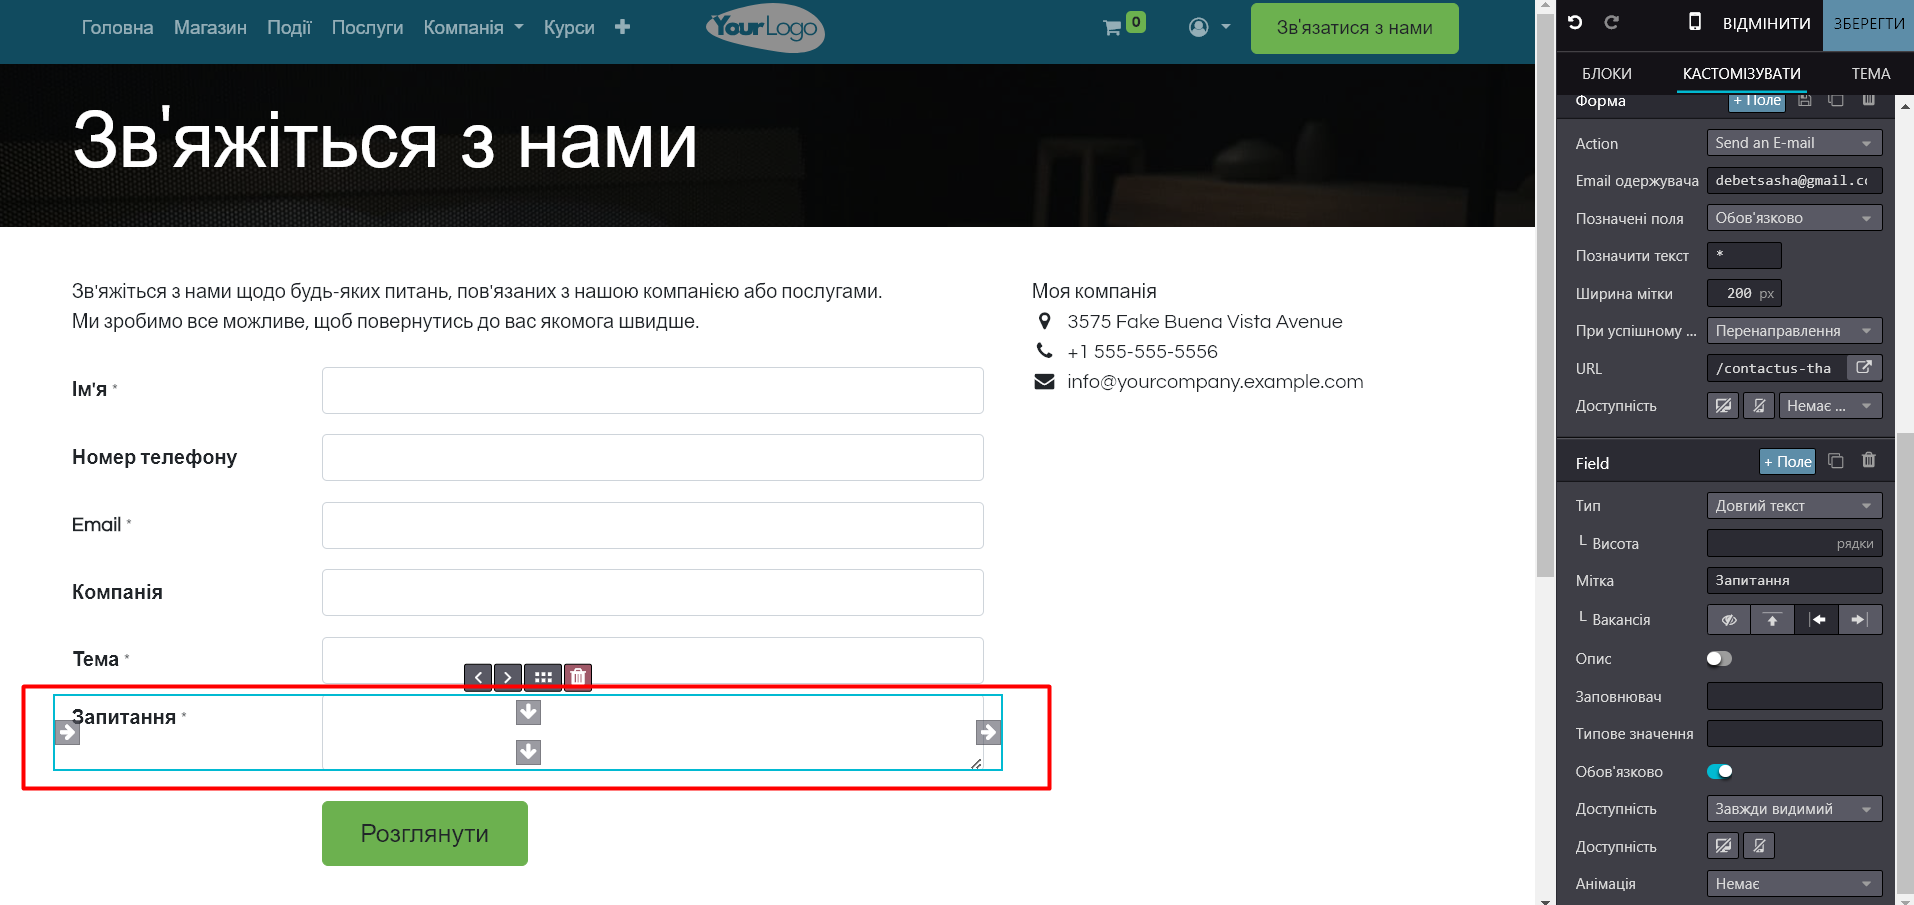
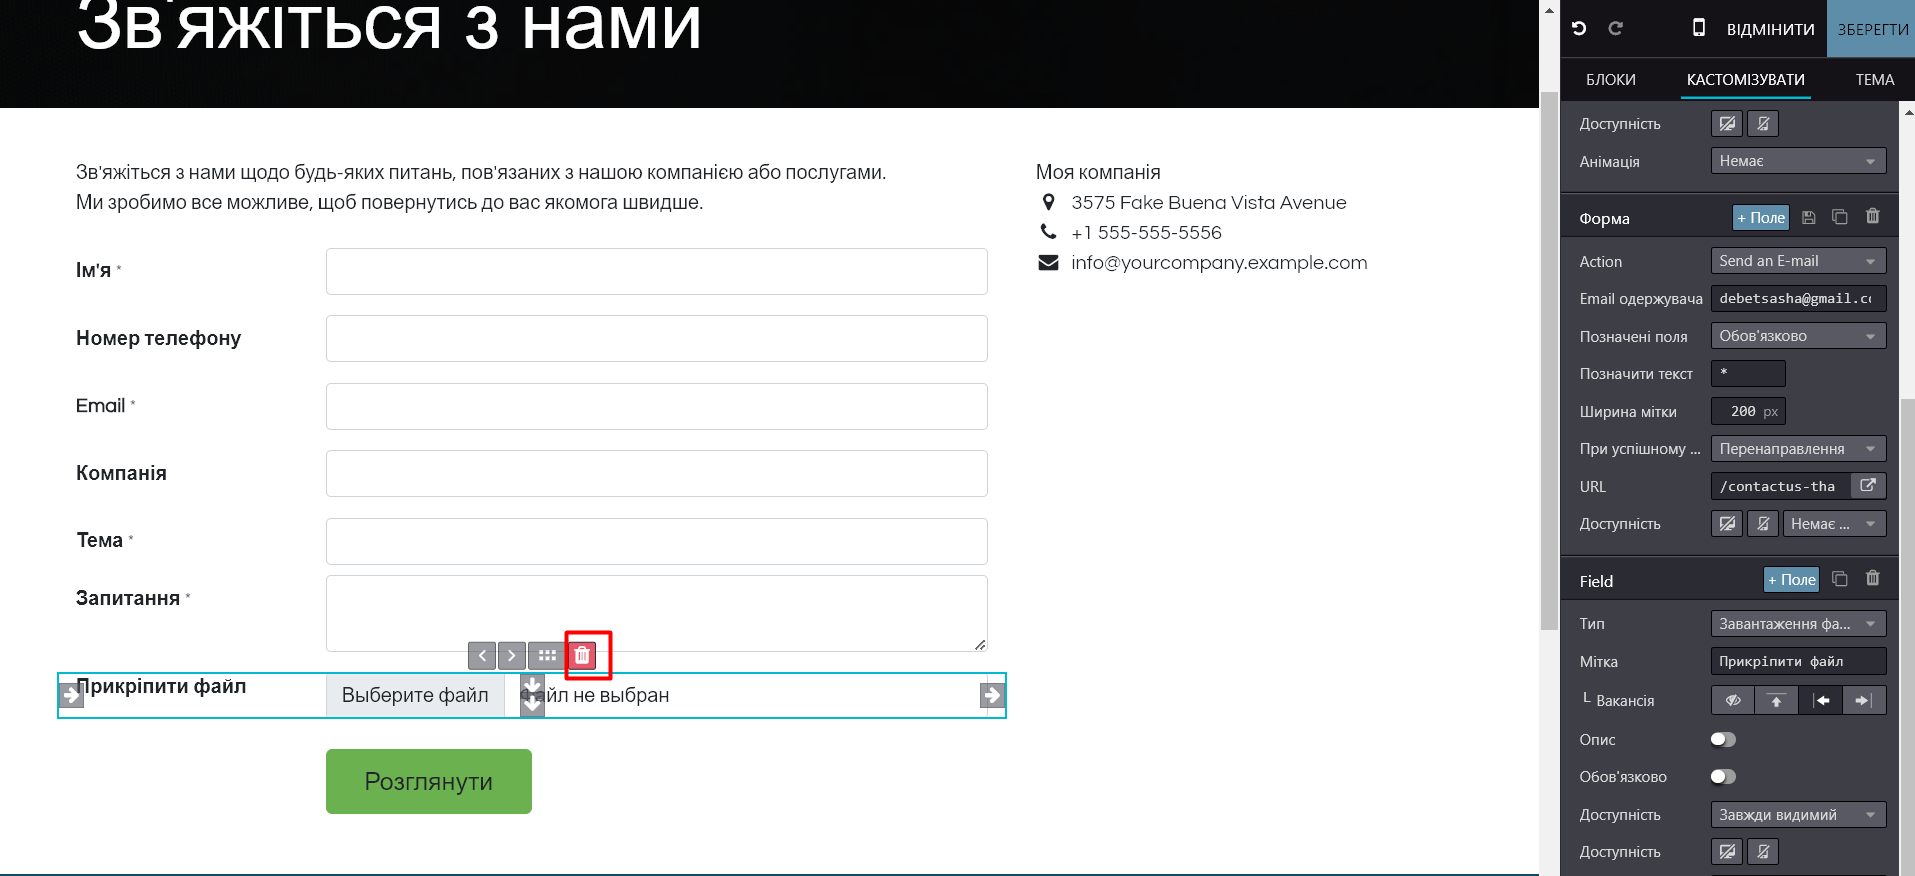
· To remove a field from the form, click on the trash icon:
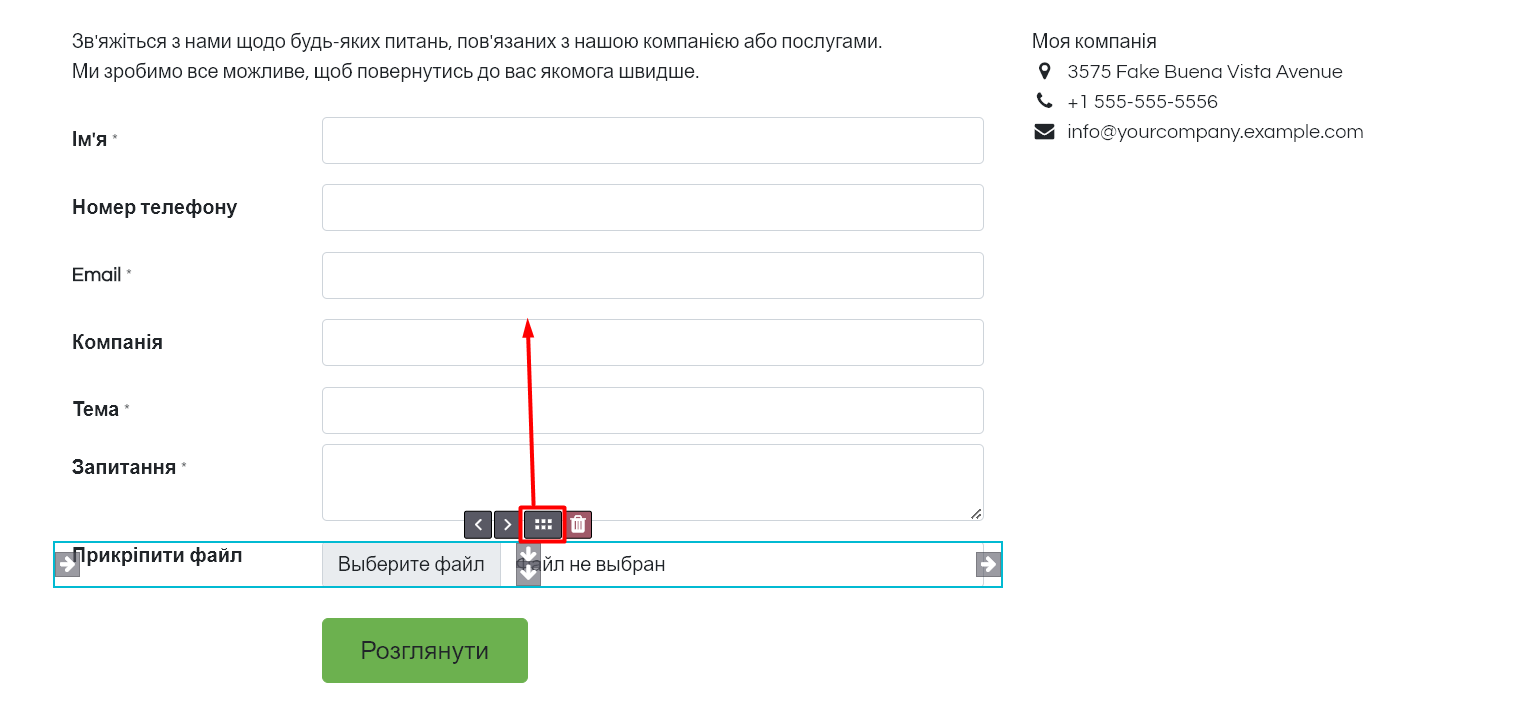
· To change the field location, click on the icon near the basket and move the field to a new location:
3. Configuring actions after form submission
1. After the form is filled out and submitted by the user, it is important to configure where this data will be directed:
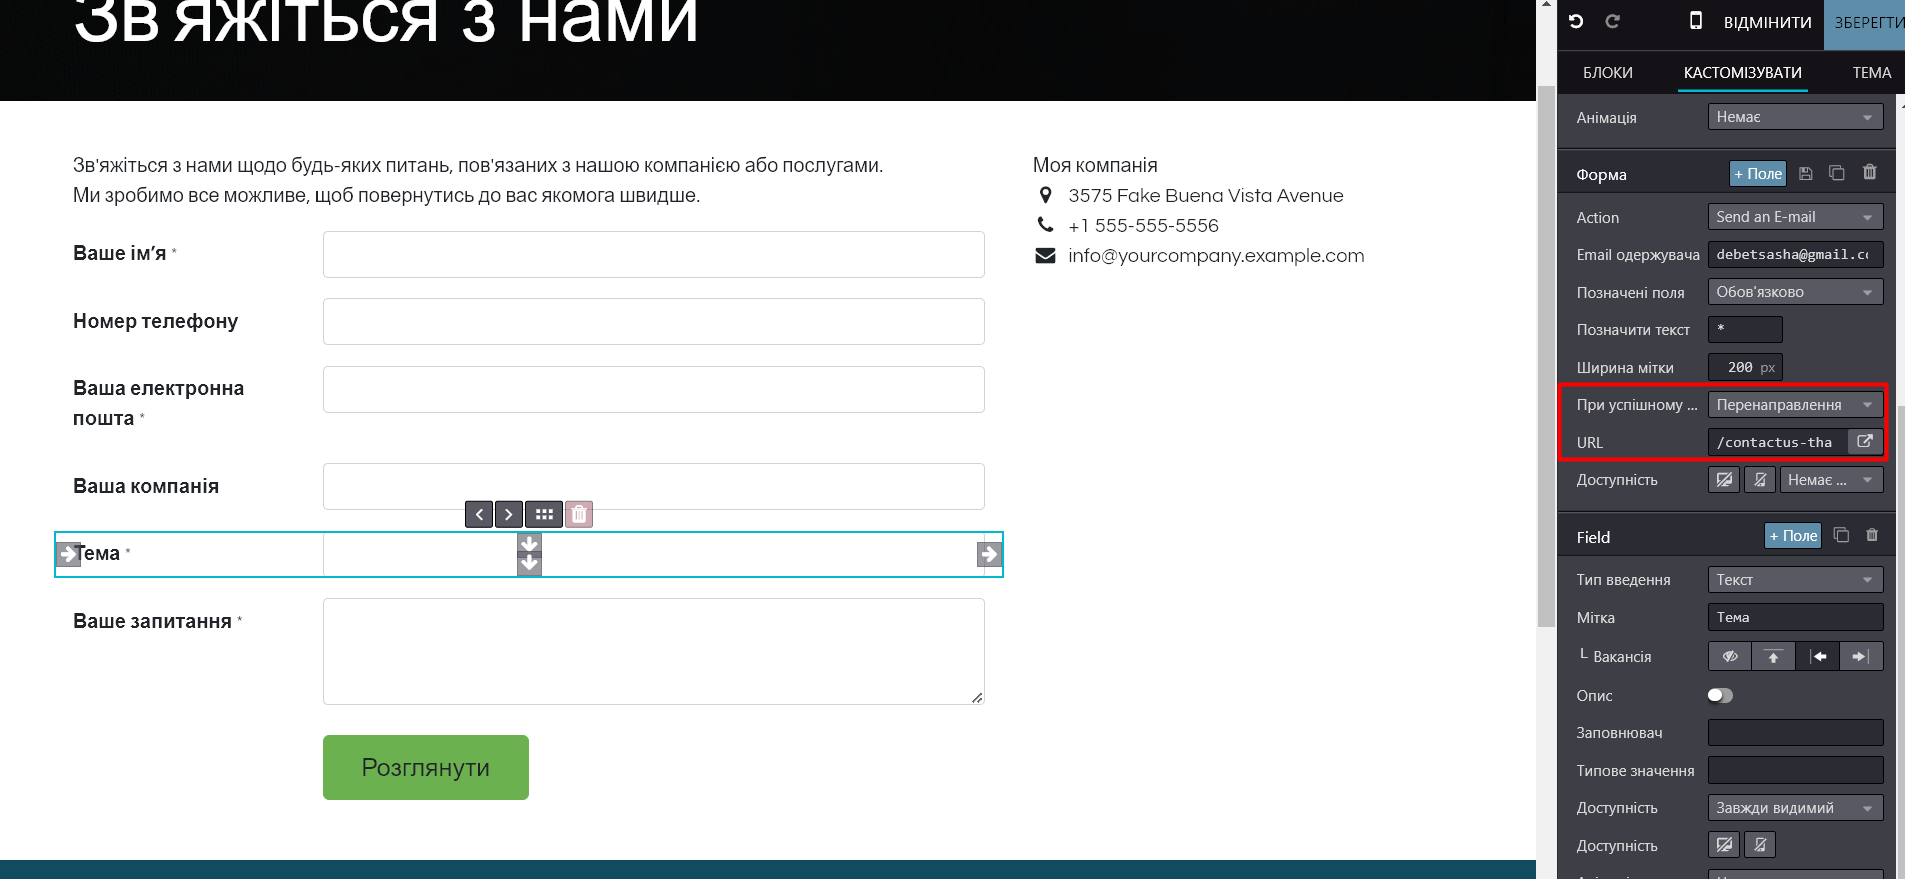
· Click on the form row to see the settings on the right panel.
· In the "Form" section, specify URL address, where the user will be redirected after submission:
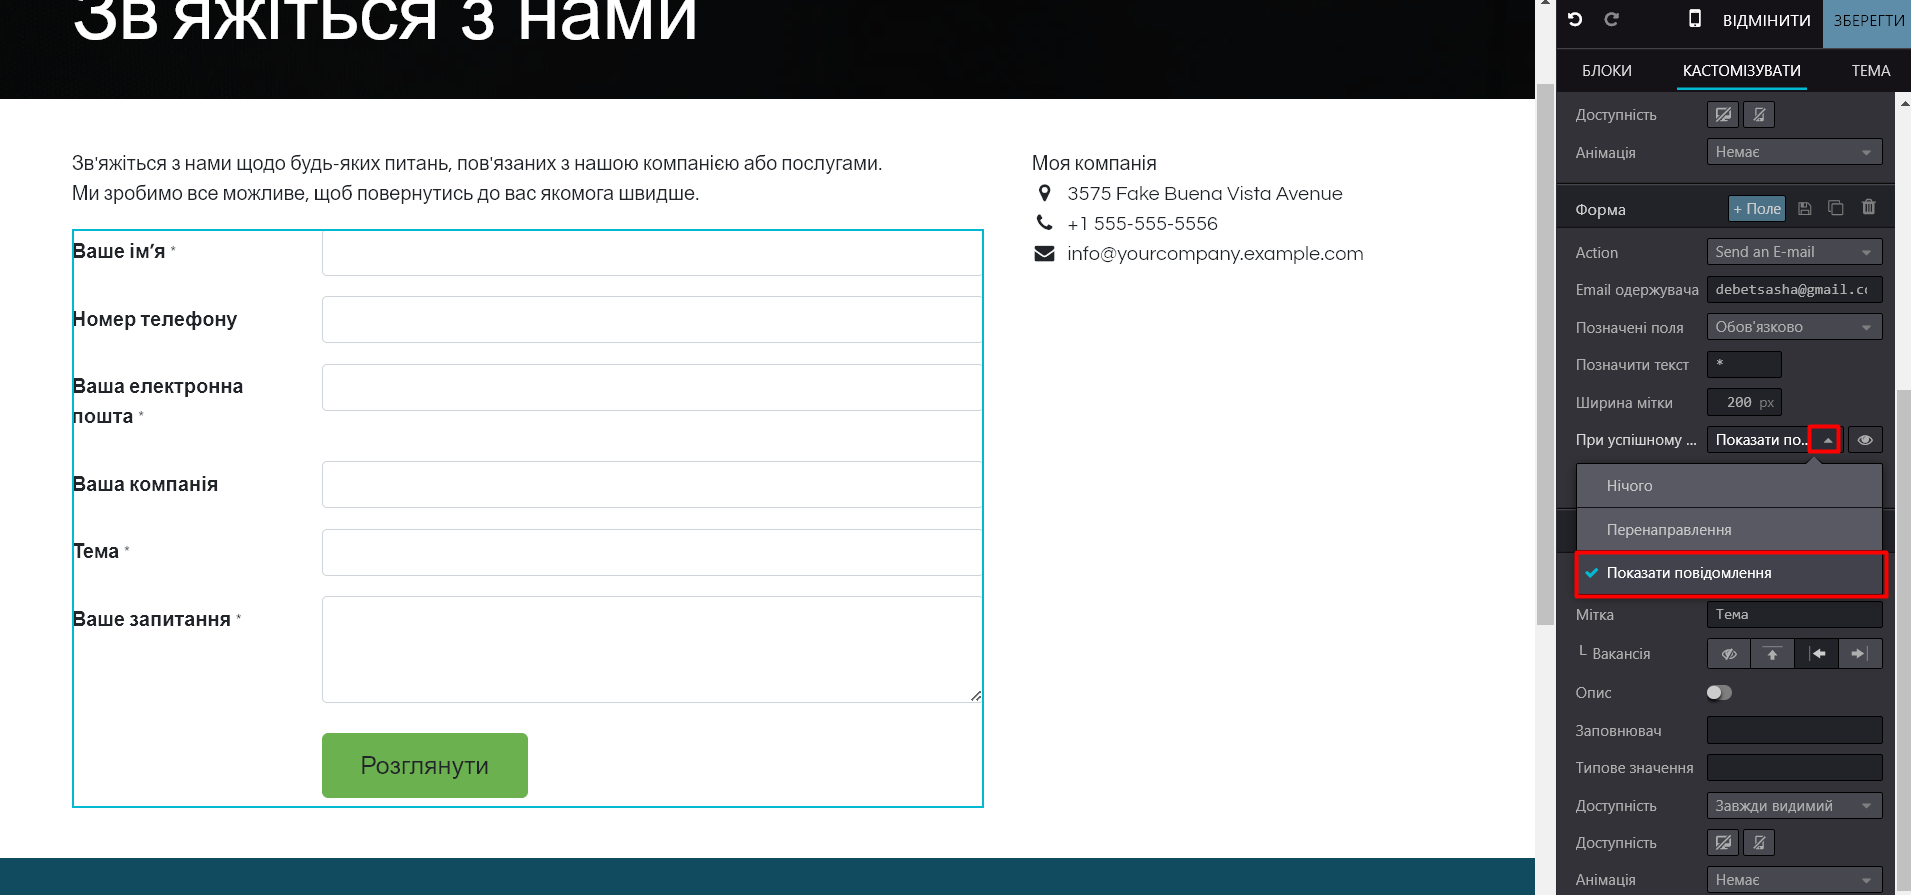
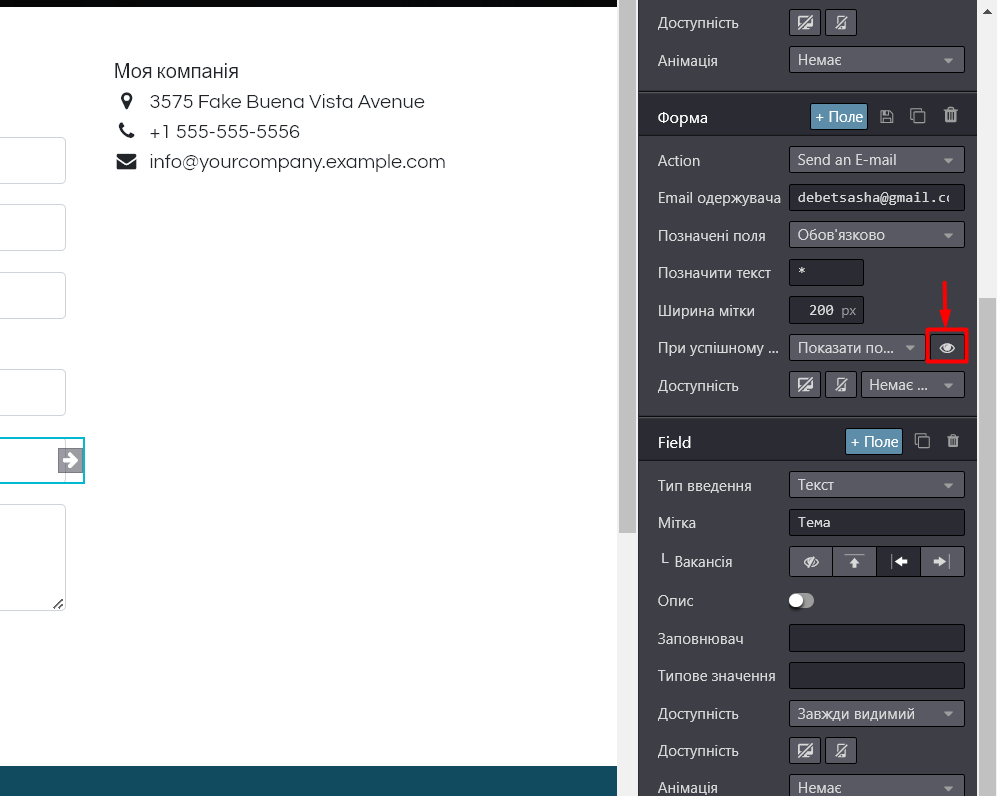
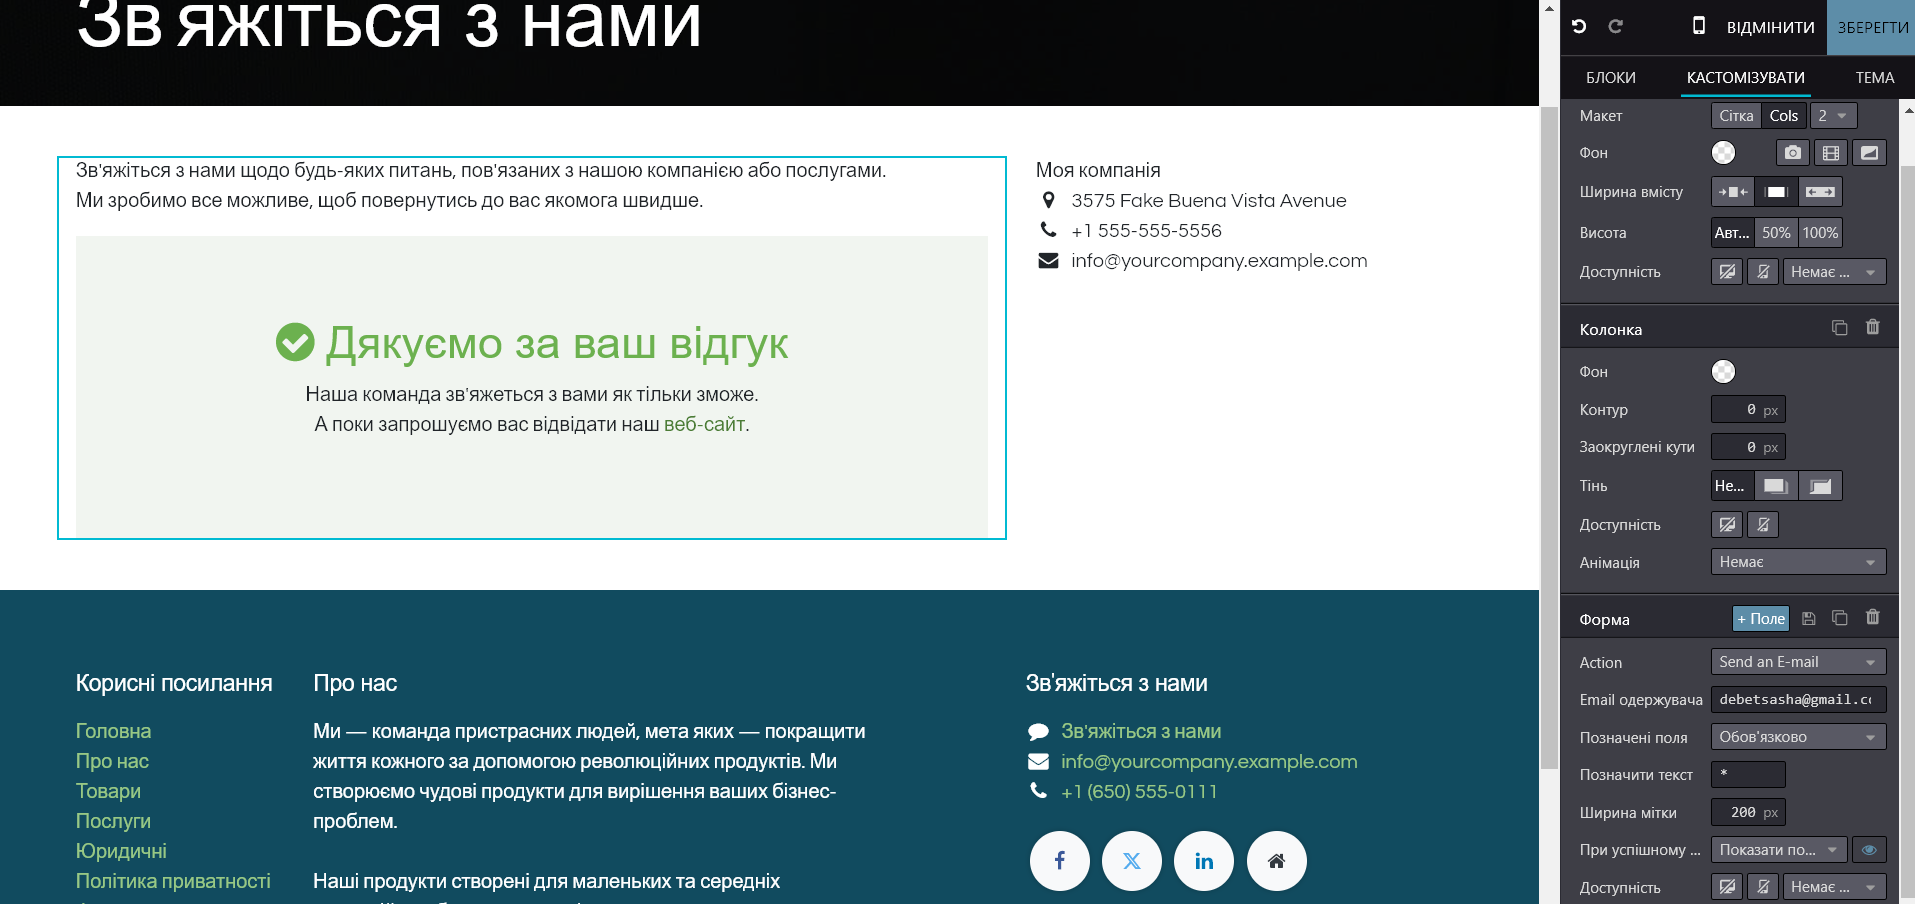
2. You can also set up an automatic response to requests or show a success message. To do this, specify the action in the "On successful completion" line "Show message":
By clicking on the preview icon next to the setting, you will go to the message editing page:
4. Configuring further actions with the received form information
In the editing window, in the "Form" section, you can also configure what actions the site should take with the received feedback form information. To do this, select the necessary action in the field "Action":

Here you can specify: sending the received information to a specific email, creating a lead in CRM, creating a task in the "Projects" module, etc.
After selecting each of these options, you will see additional configuration fields – a field for entering an email address (for the action "Send letter"), project name (for the action "Create task"), responsible manager or sales team (for the action "Create lead"), etc.
5. Verification and publication of changes
1. After making the settings, click "Save":
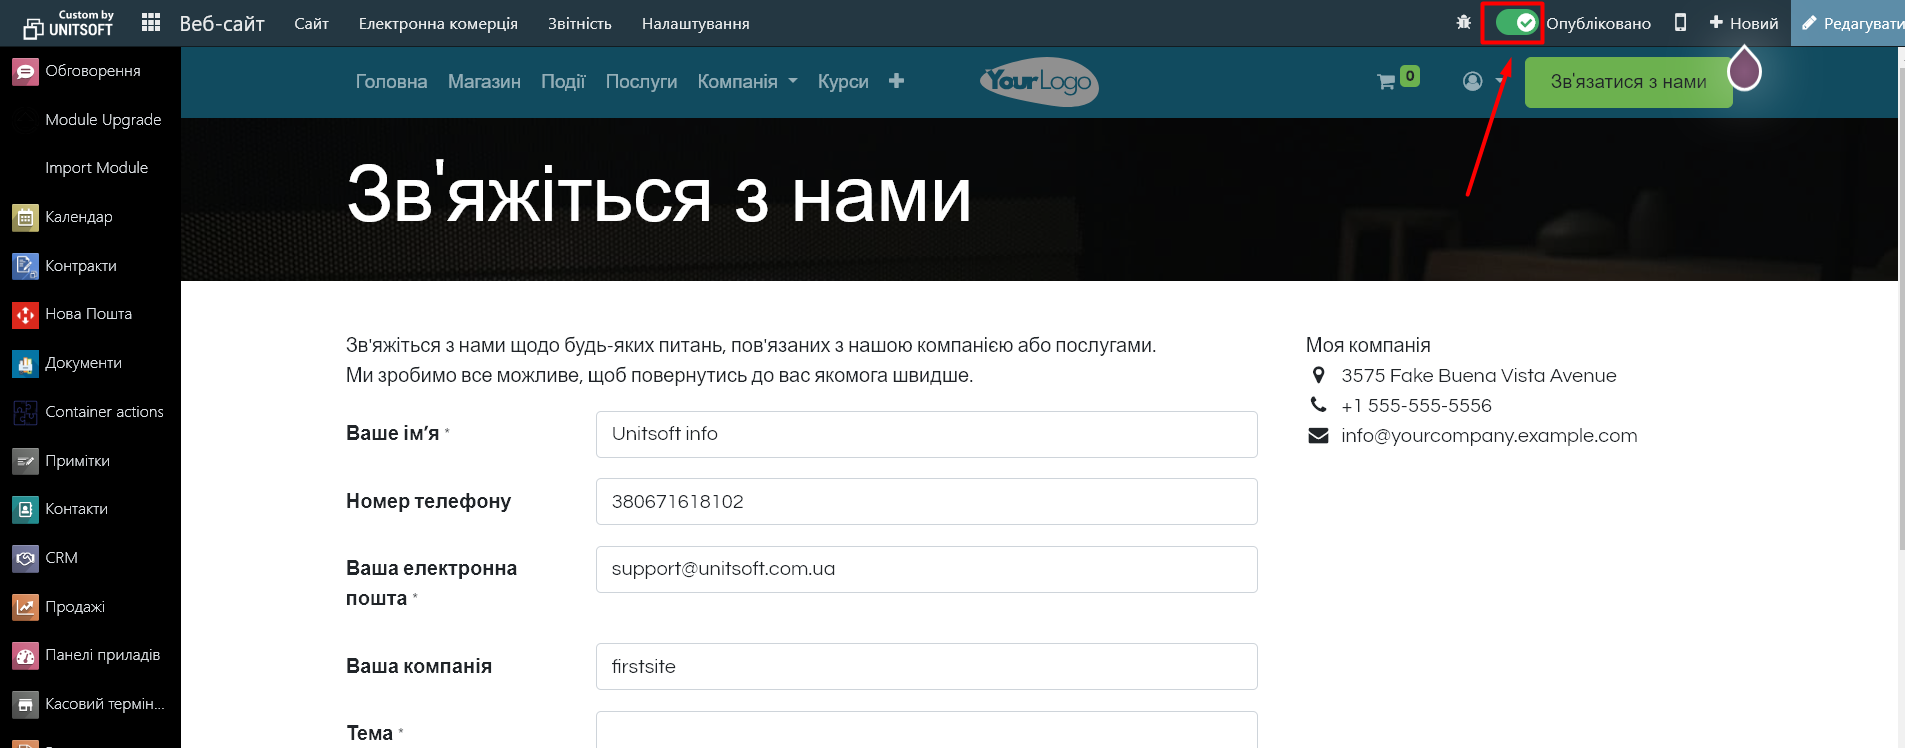
2. Click "Publish", to make the changes visible on the site.