Odoo has a powerful interface for creating and managing surveys, allowing you to collect feedback from customers, employees, or partners for further analysis. Here is a step-by-step guide to creating a survey in Odoo.
Step 1: Installing the "Survey" module
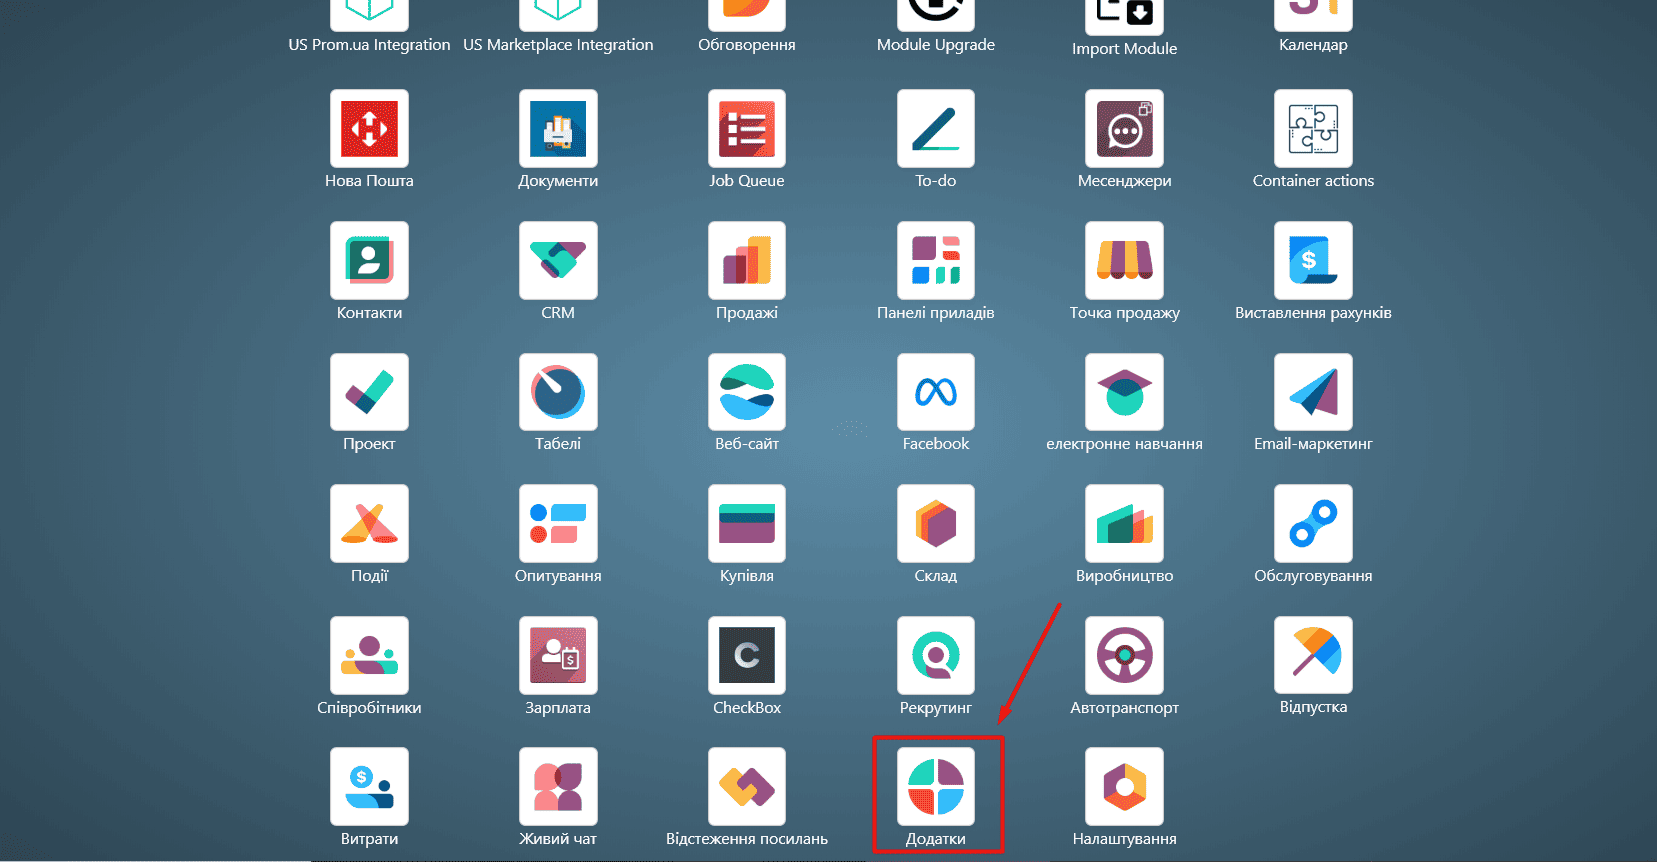
In the main menu, go to the "Add-ons" module:
Use the search field and type "Survey":
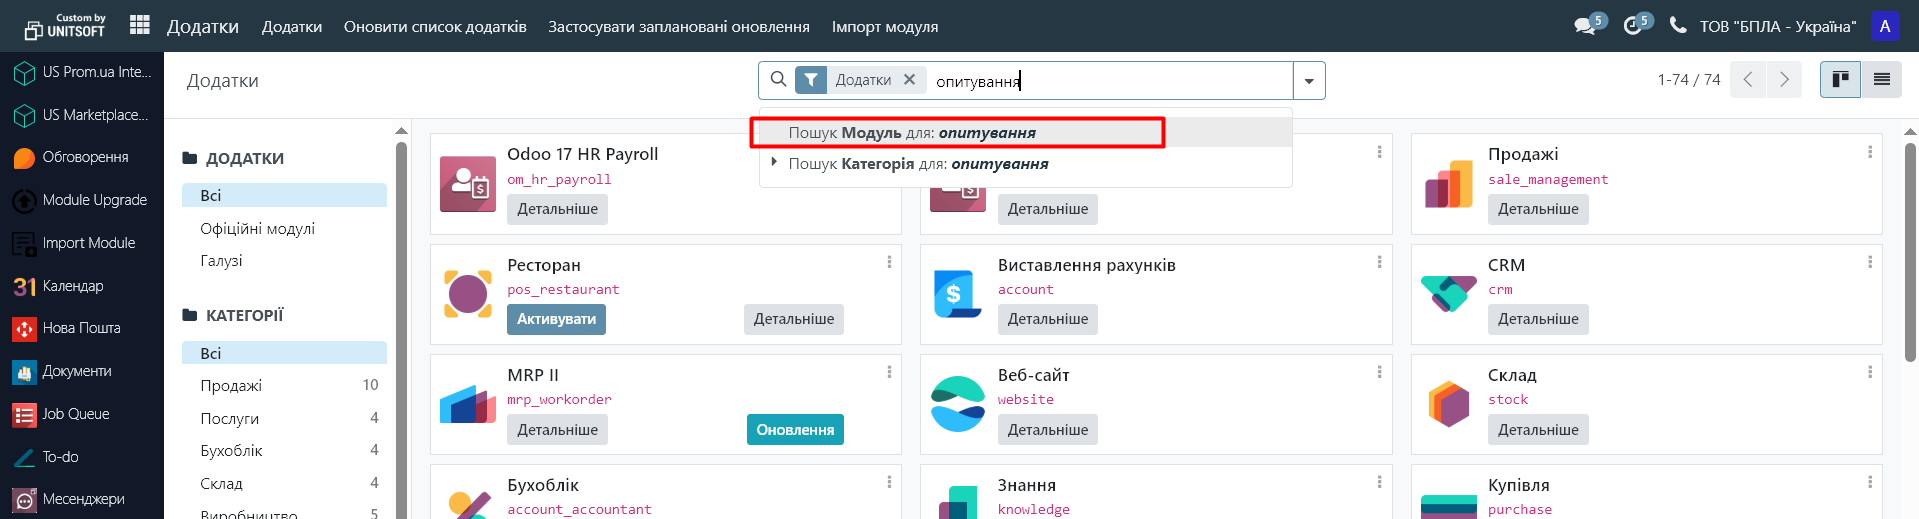
In the "Survey" module, click "Activate" to install it:

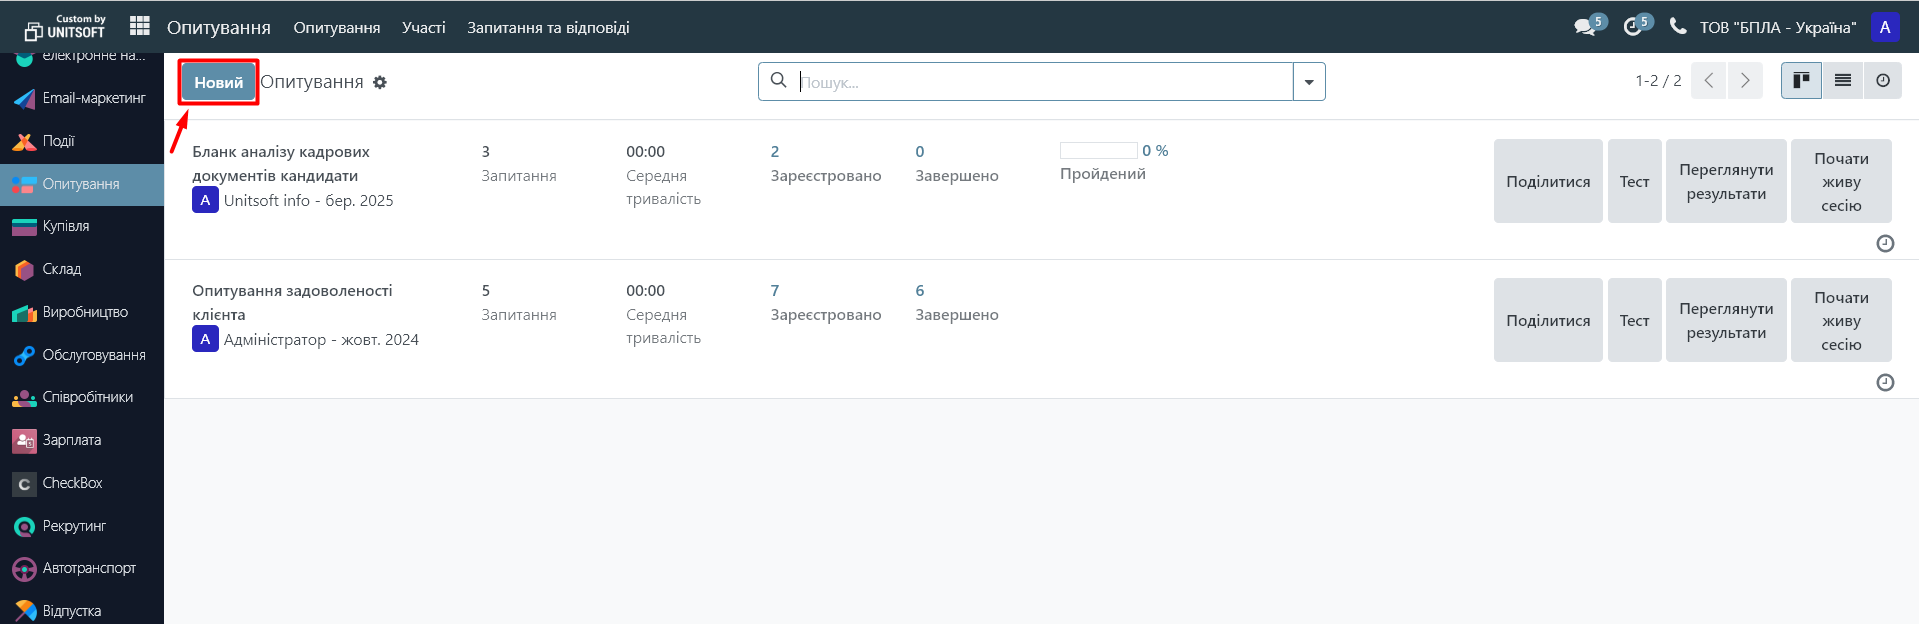
Step 2: Create a new survey
Go to the "Survey" module:
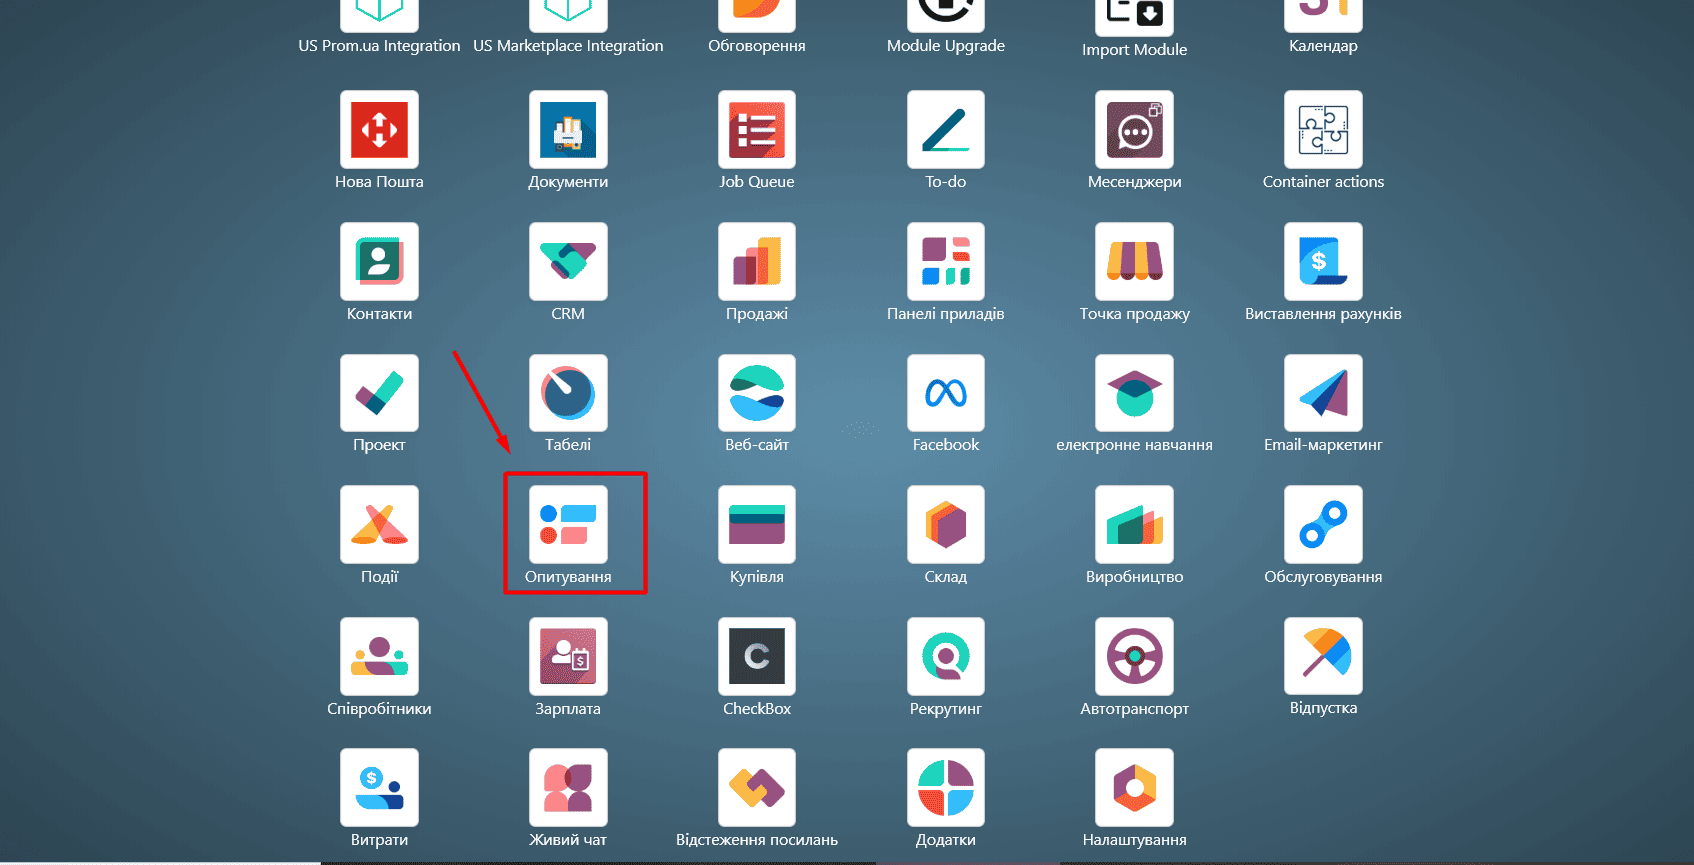
Go to the "Survey" module:
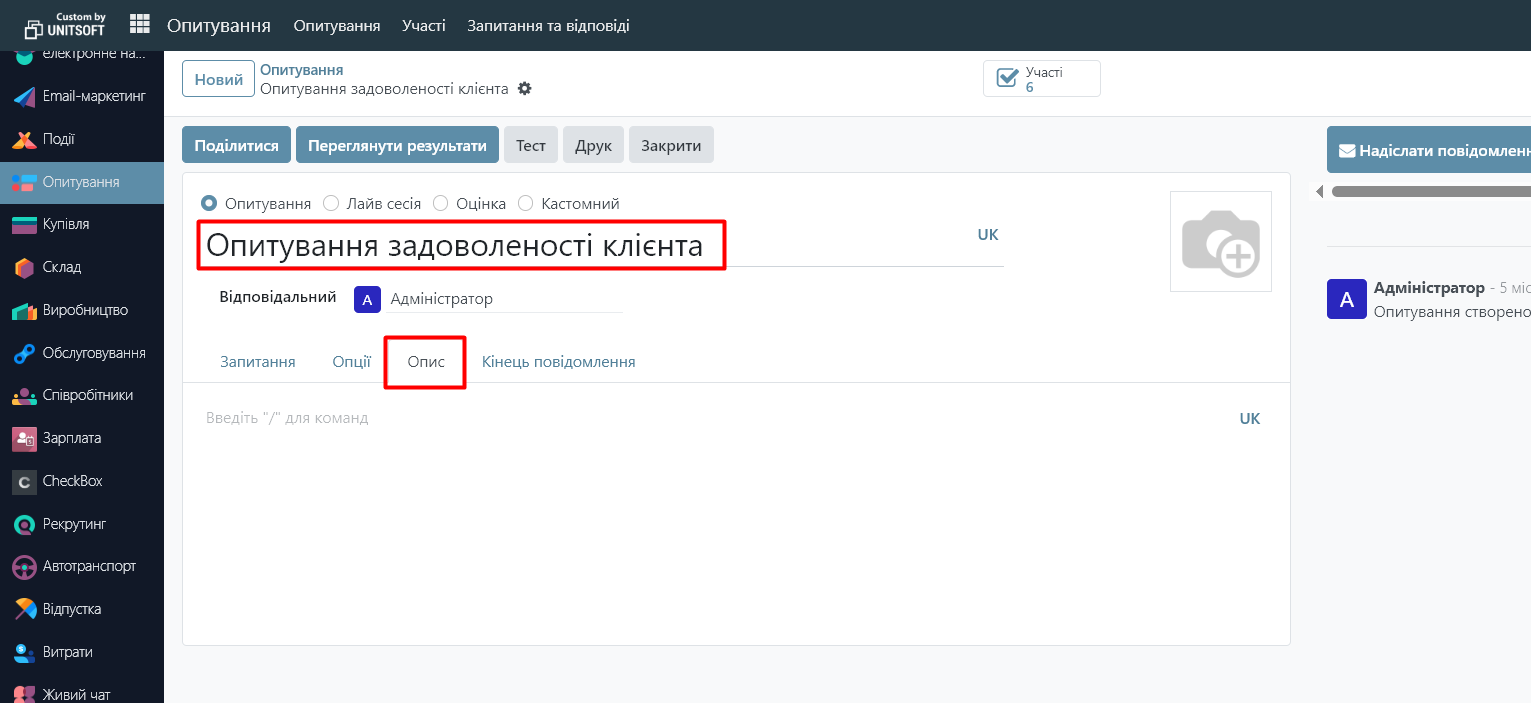
Give it a title. If necessary, provide a description so that participants understand the purpose of the survey.
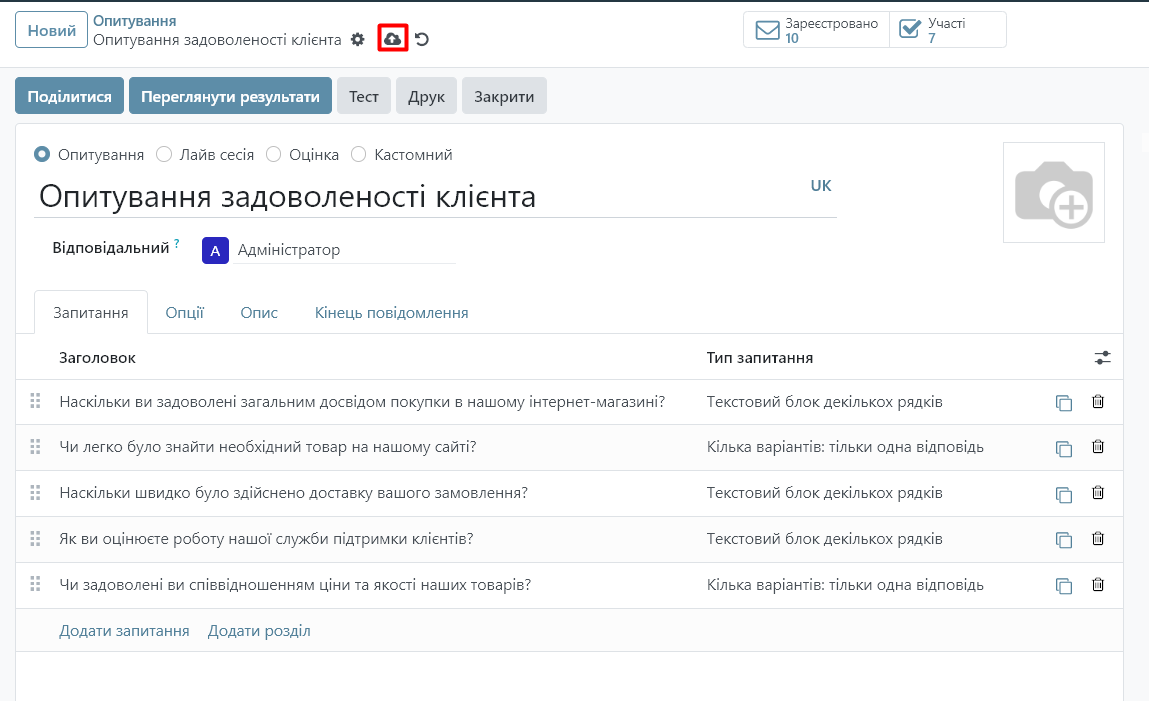
To add questions, click the "Add Question" button in the "Questions" section:
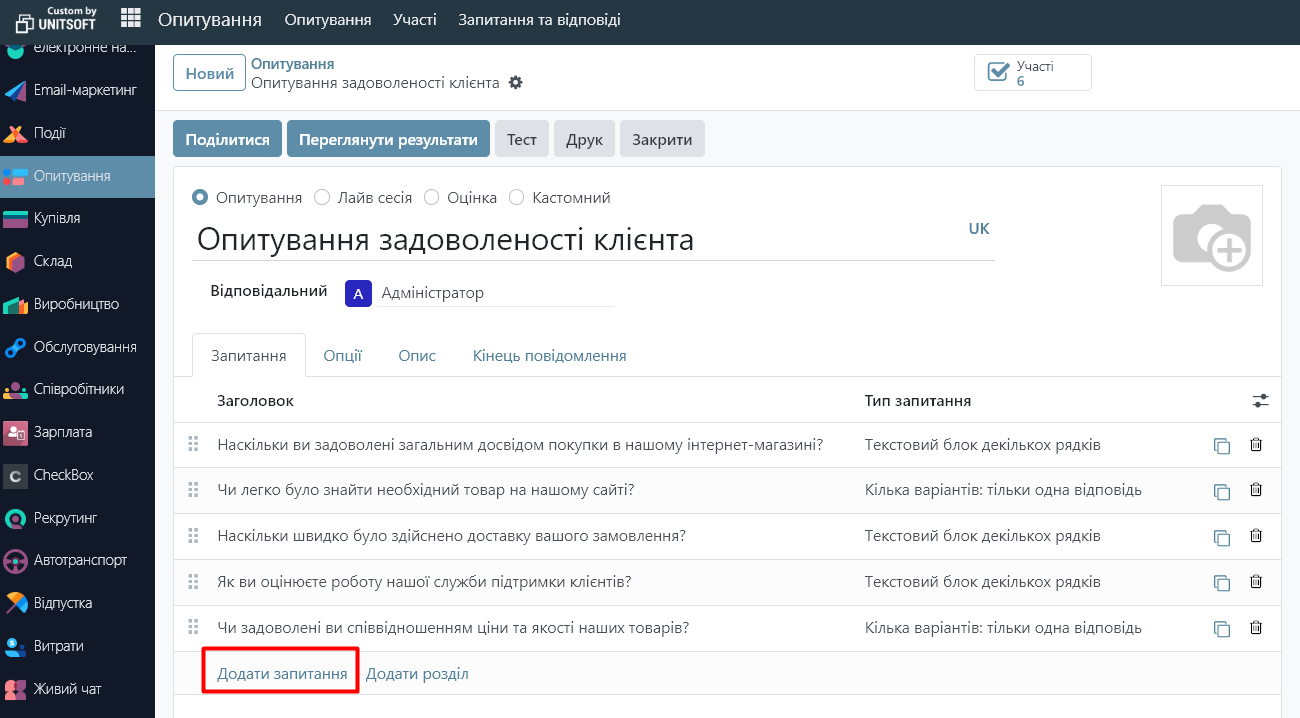
In the new window, specify the question itself and its type (single choice, multiple choice, open questions, etc.), indicate the answer options:
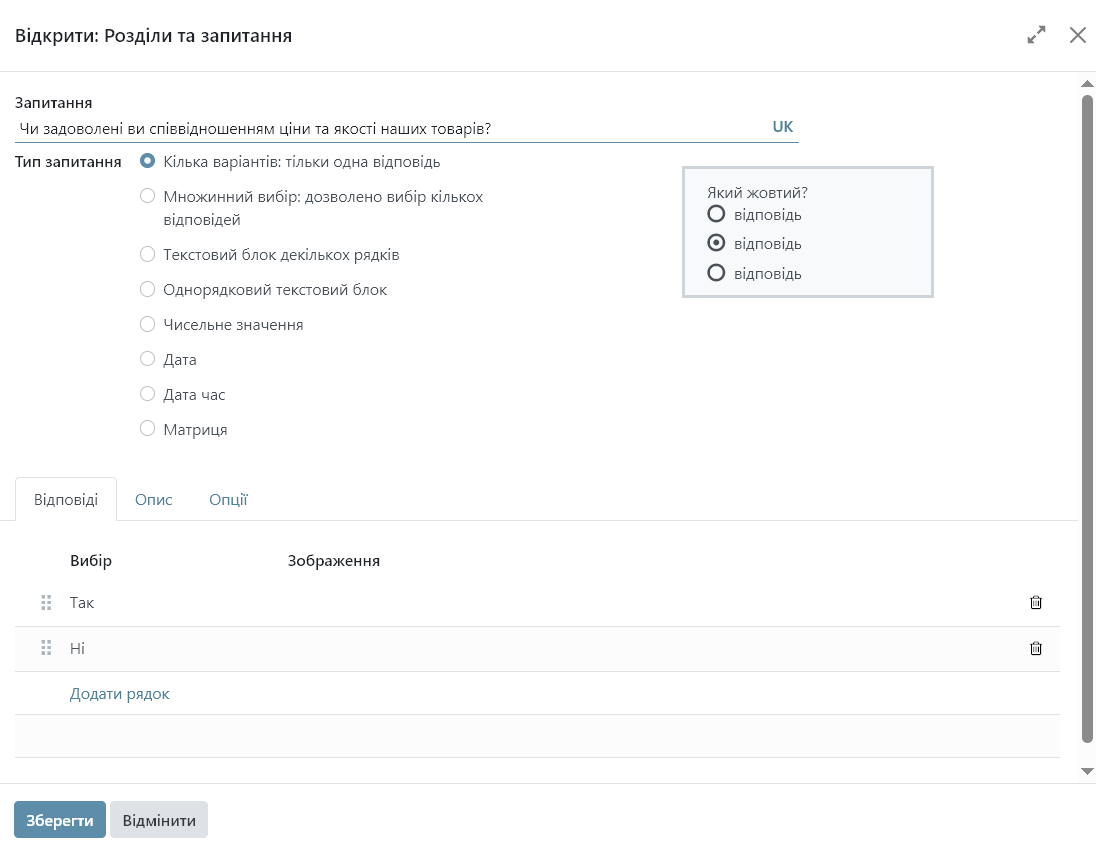
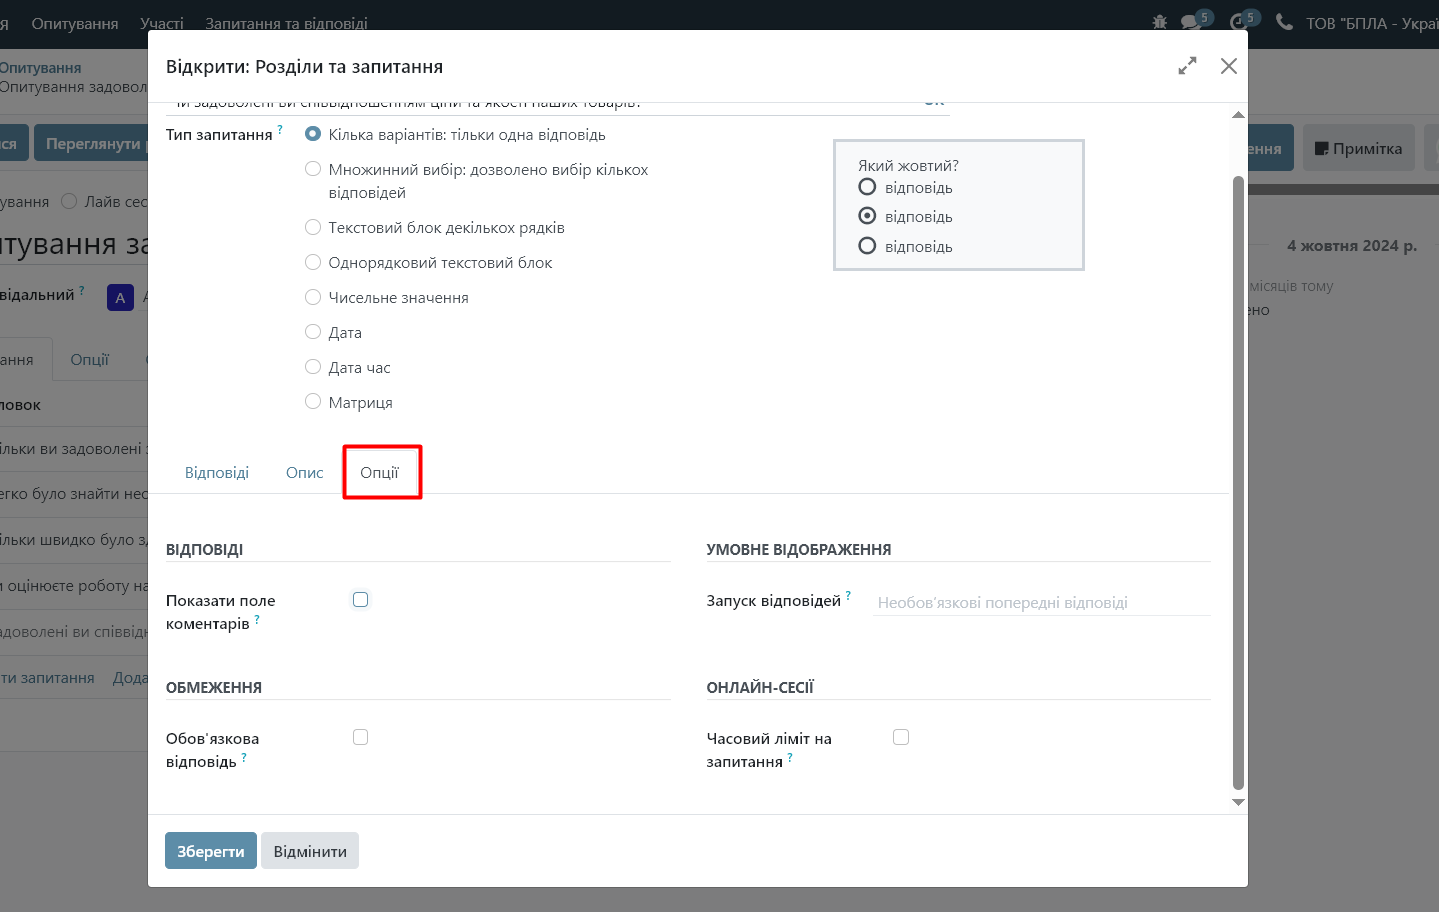
For each question, you can configure the following additional parameters in the "Options" menu:
- mandatory response
- launch a question depending on previous answers
- additional comments
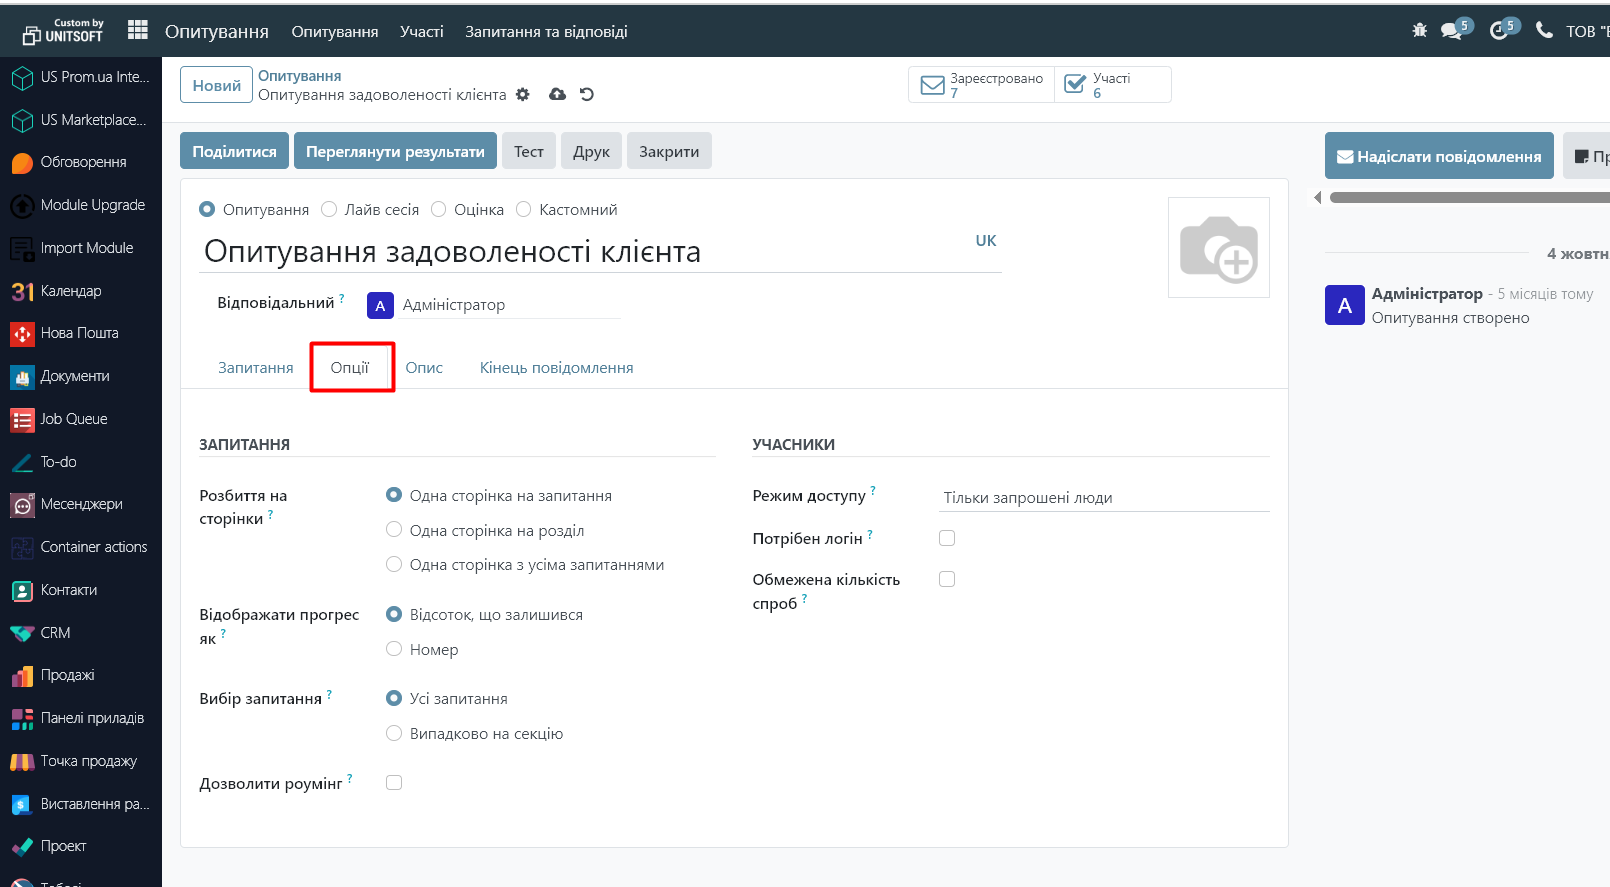
Step 3: Configure survey settings
After adding questions, specify additional survey parameters in the "Options" section of the survey settings:
- survey availability (by invitation or to anyone with the link)
- the ability to return to the previous question ("roaming" mode)
- question display mode (one page with all questions, one page per question, one page per section)
In the "End of message" menu, we can specify the text of the message that will be displayed to participants after completing the survey.
Step 5: Publish and distribute the survey
After configuring all settings and questions, save your changes.
If the survey settings indicate that it can only be accessed by invitation, then click the "Share" button to send an invitation to take the survey:
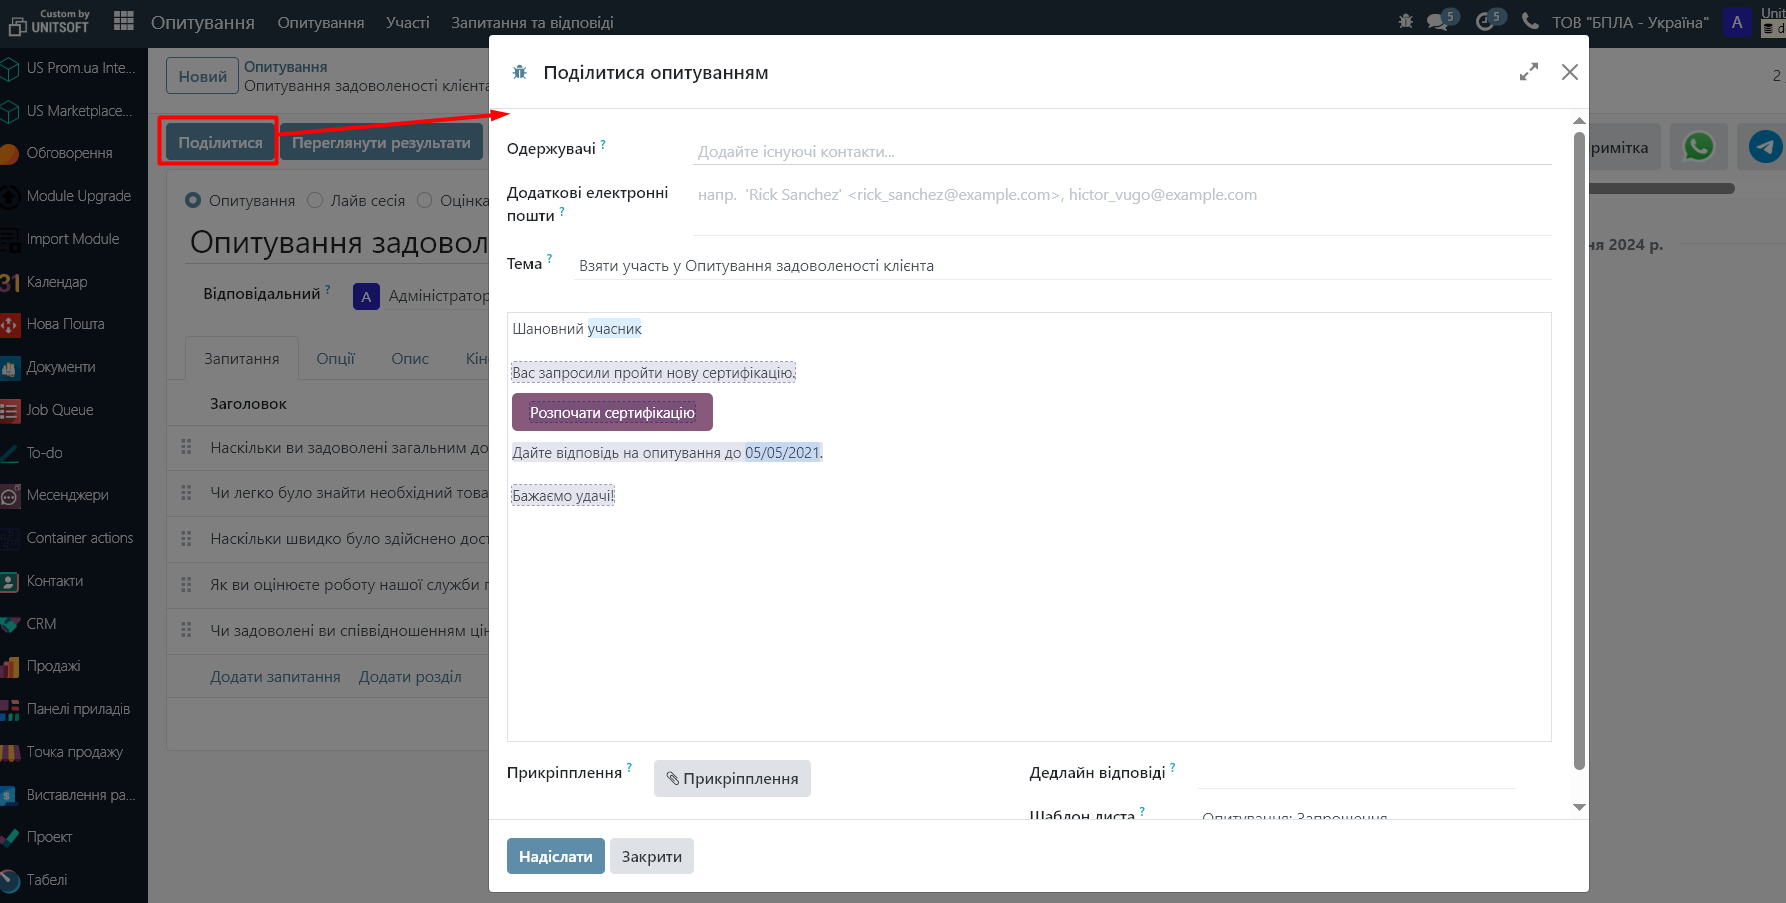
Specify recipients, subject, choose a letter template, or customize the invitation text manually.
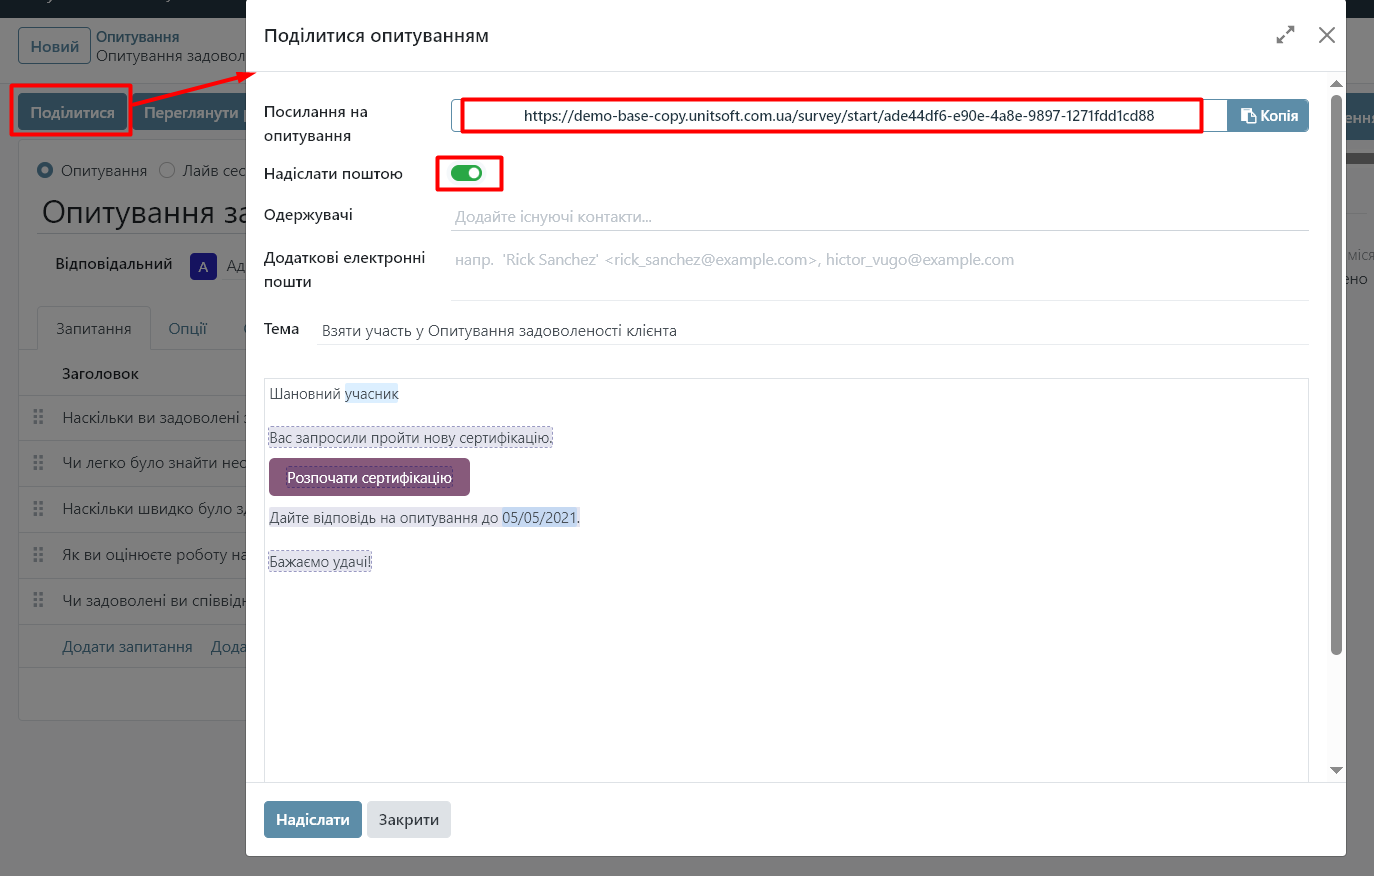
If the survey settings indicate that anyone with a link can take it, then click the "Share" button to get the link. Also, by clicking the "Send by mail" option, you will have additional fields for sending a survey invitation:
Step 6: Analysis of results
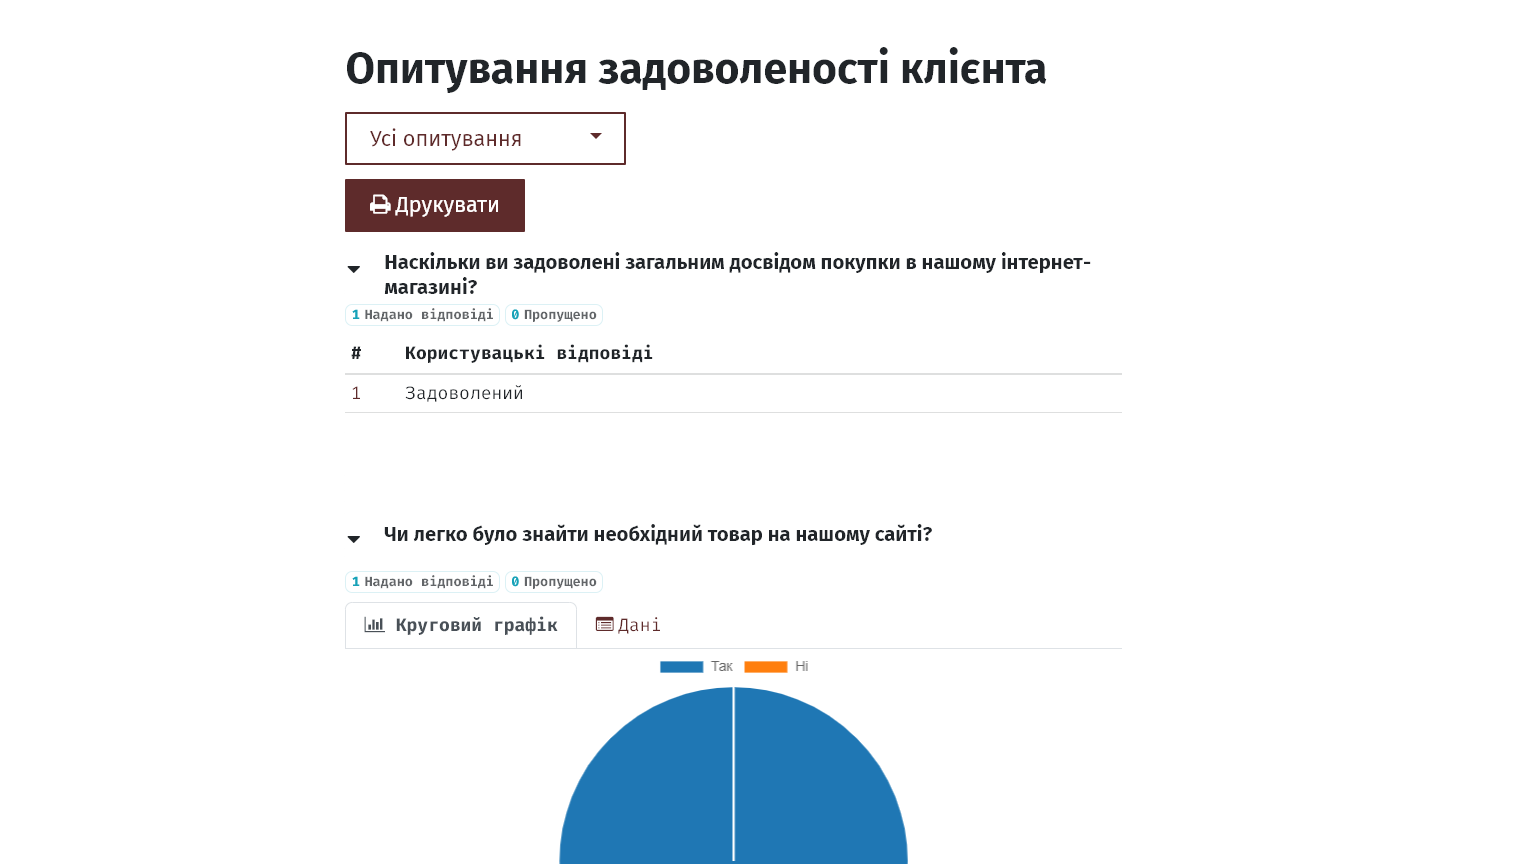
After respondents have completed the survey, you can view the results.
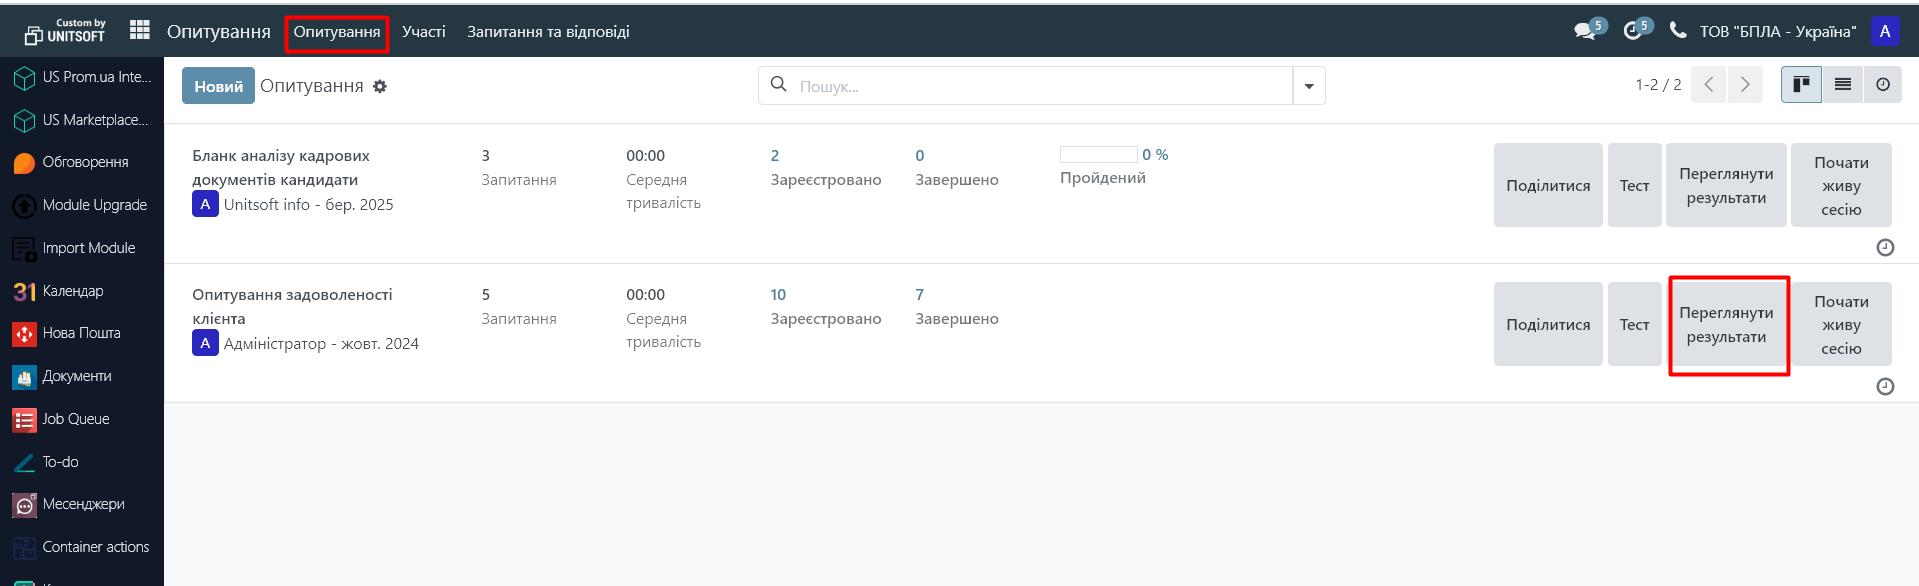
To analyze general statistics, click the "View Results" button in the "Survey" menu:
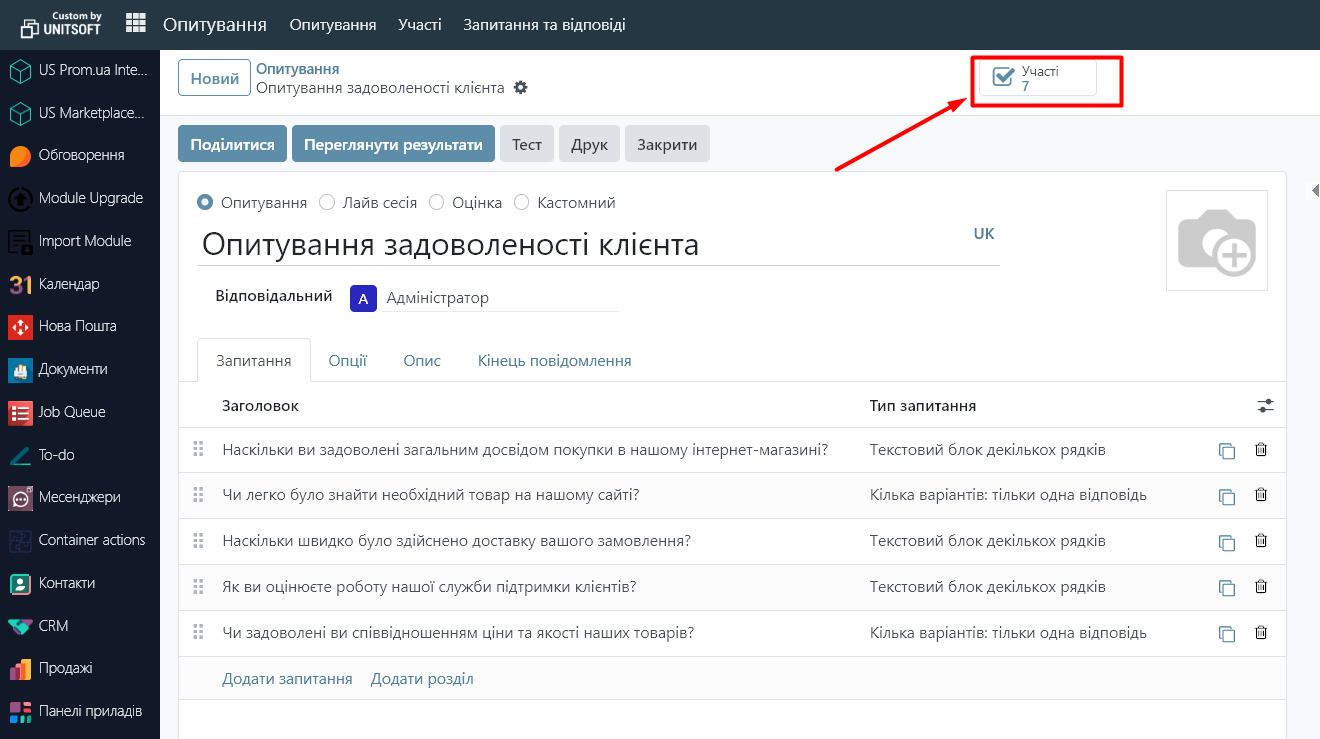
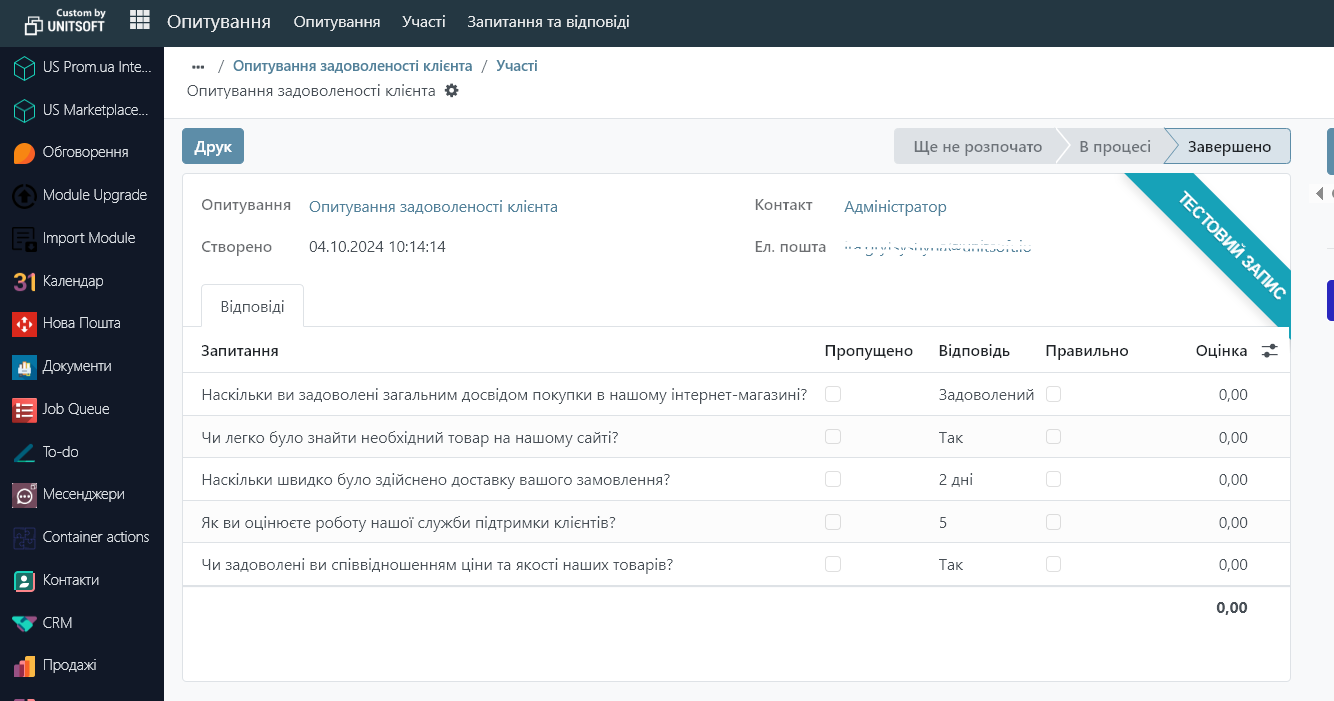
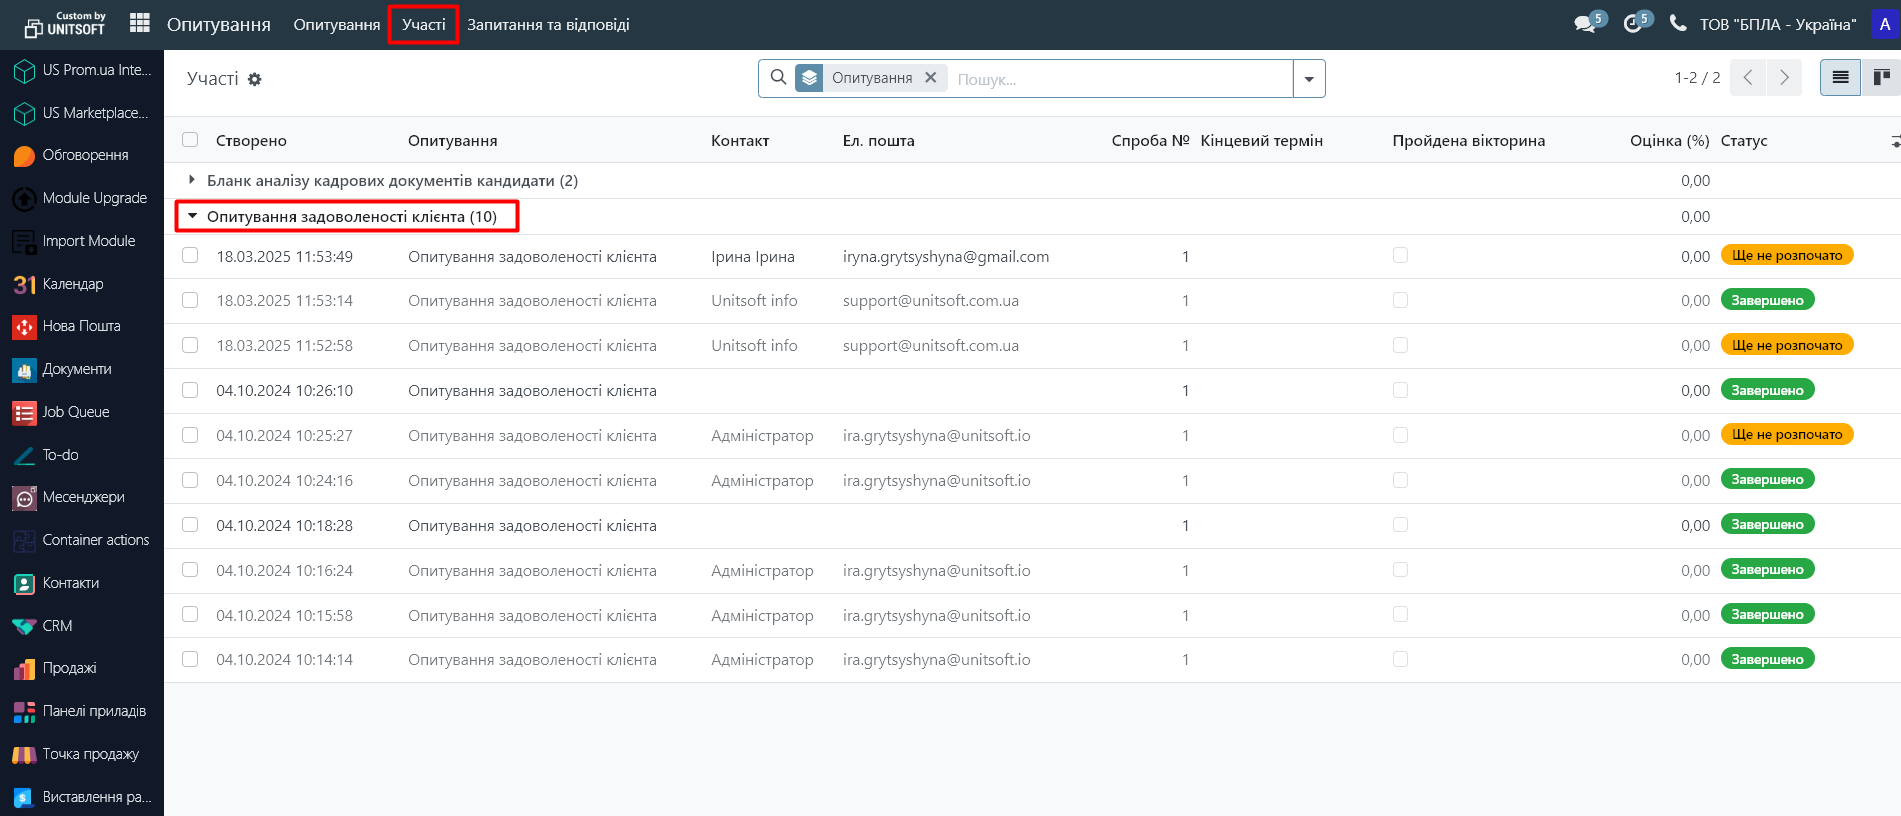
Additionally, in the "Participation" menu, you can see a list of all survey participants and their responses:
You can also see this information directly in the survey: