The Events module in Odoo allows you to create, plan, and manage events such as seminars, trainings, webinars, or conferences. Below is a step-by-step guide on how to use this module.
1. Opening the Events module
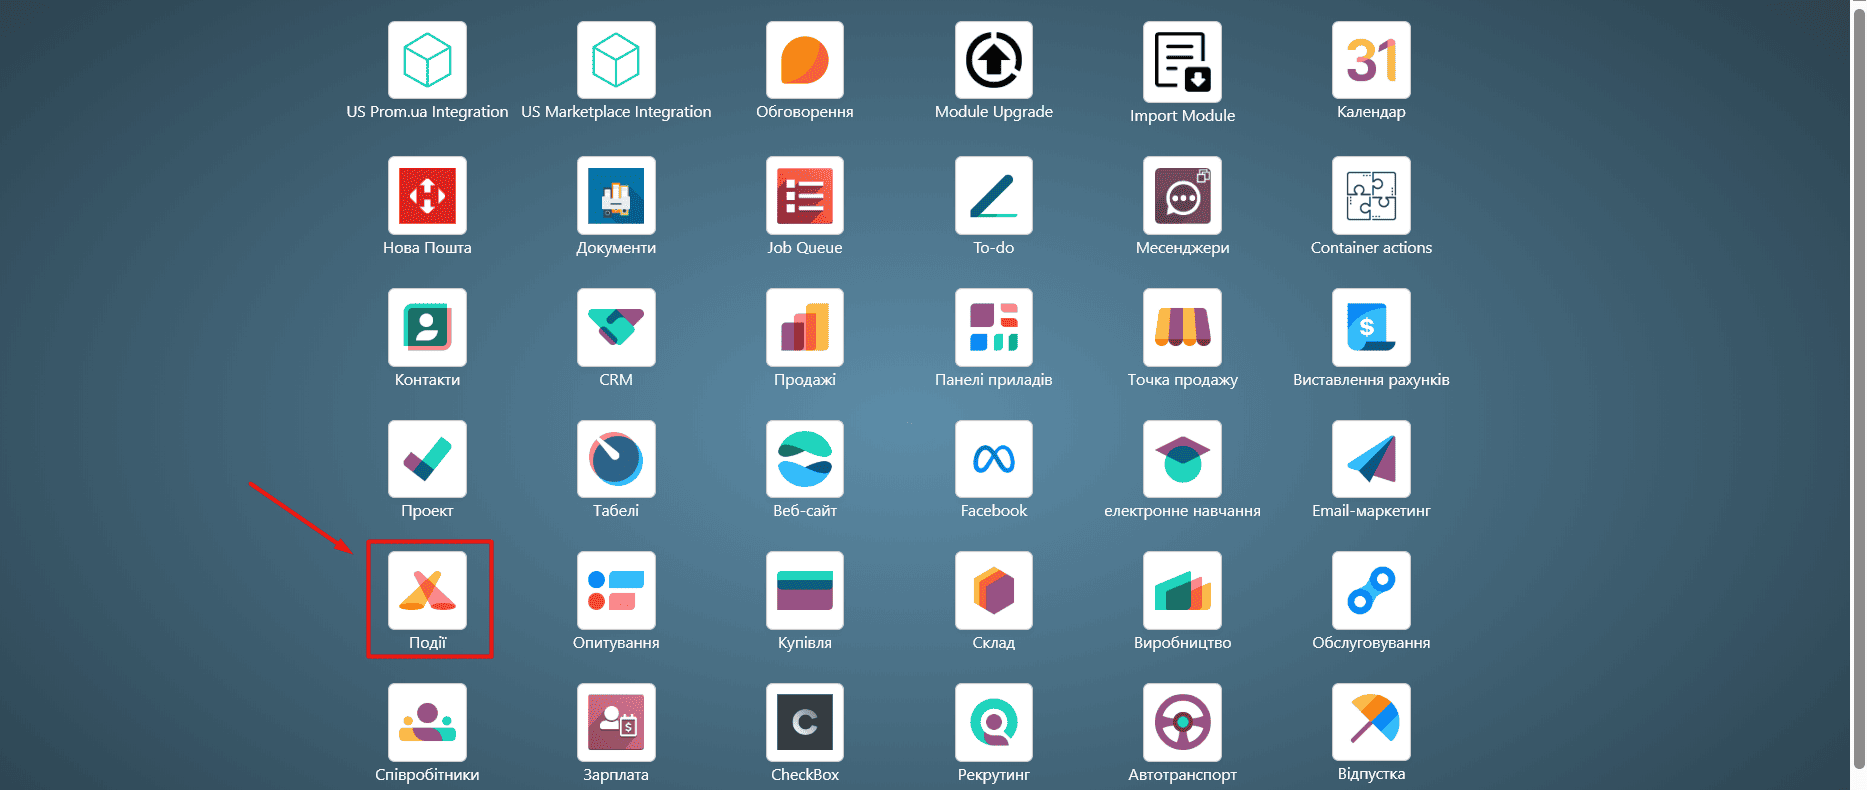
- Log in to the Odoo system.
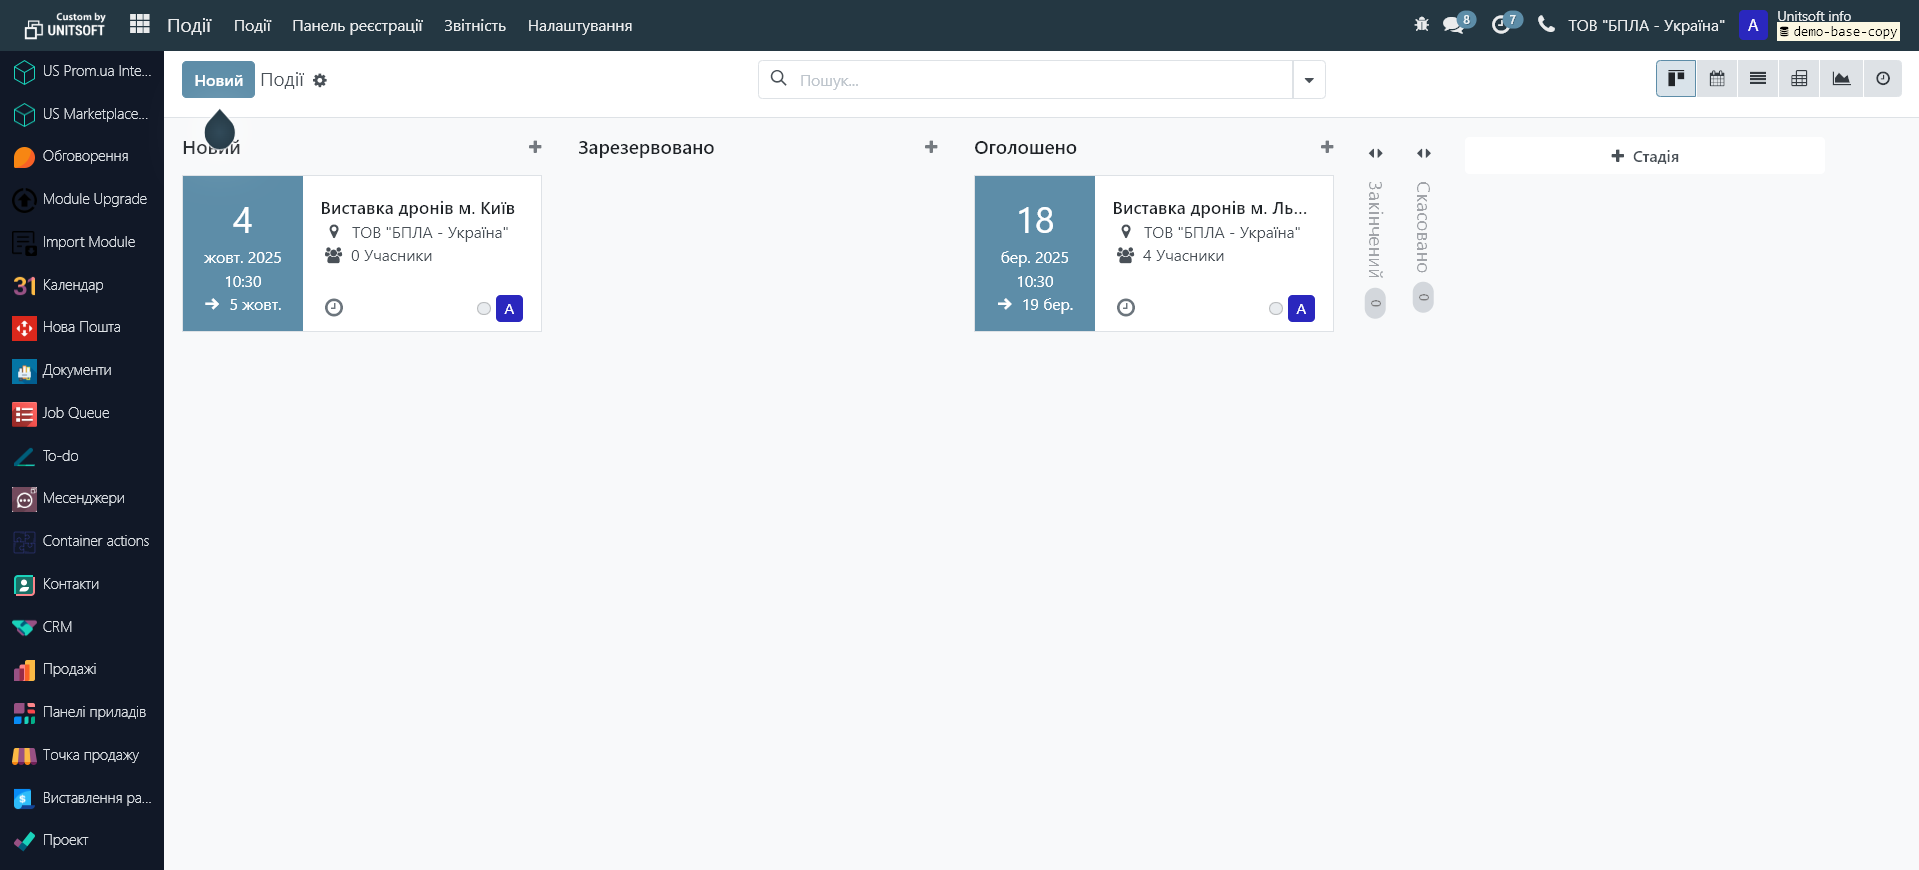
- On the main panel, select the "Events" module.
3. The main page with all available events will open.
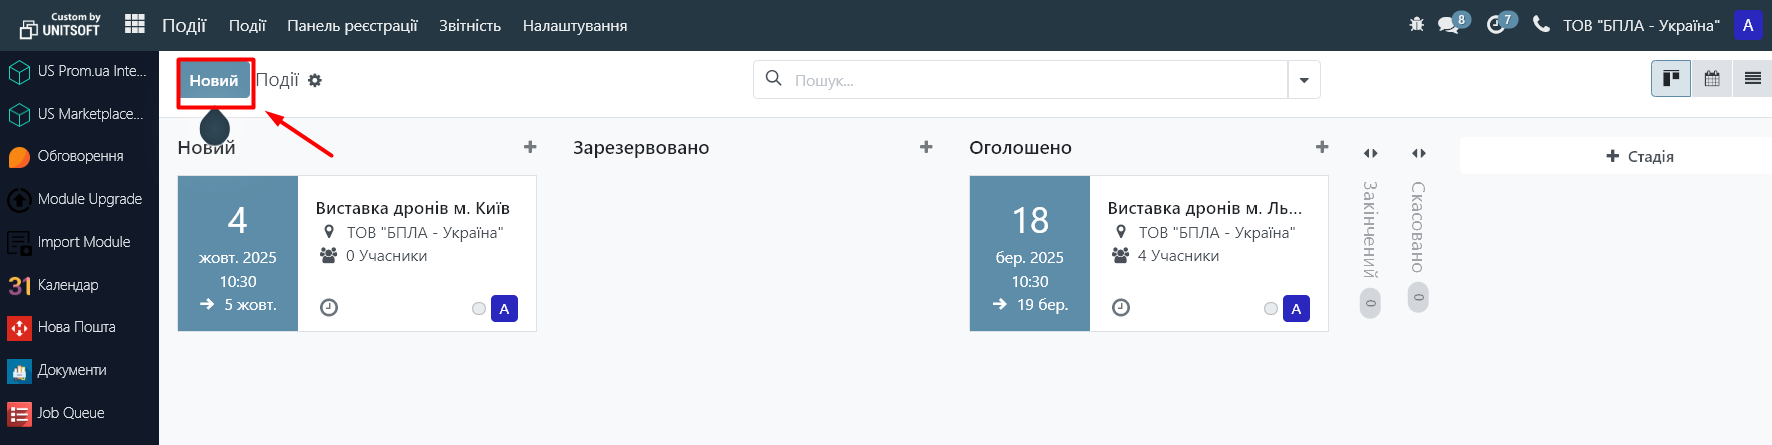
2. Creating a new event
- Click the "New" button.
2. Fill in the basic information:
- Event name
- Start/end date and time
- Venue
- Registration Limit – specify a participant limit if required.
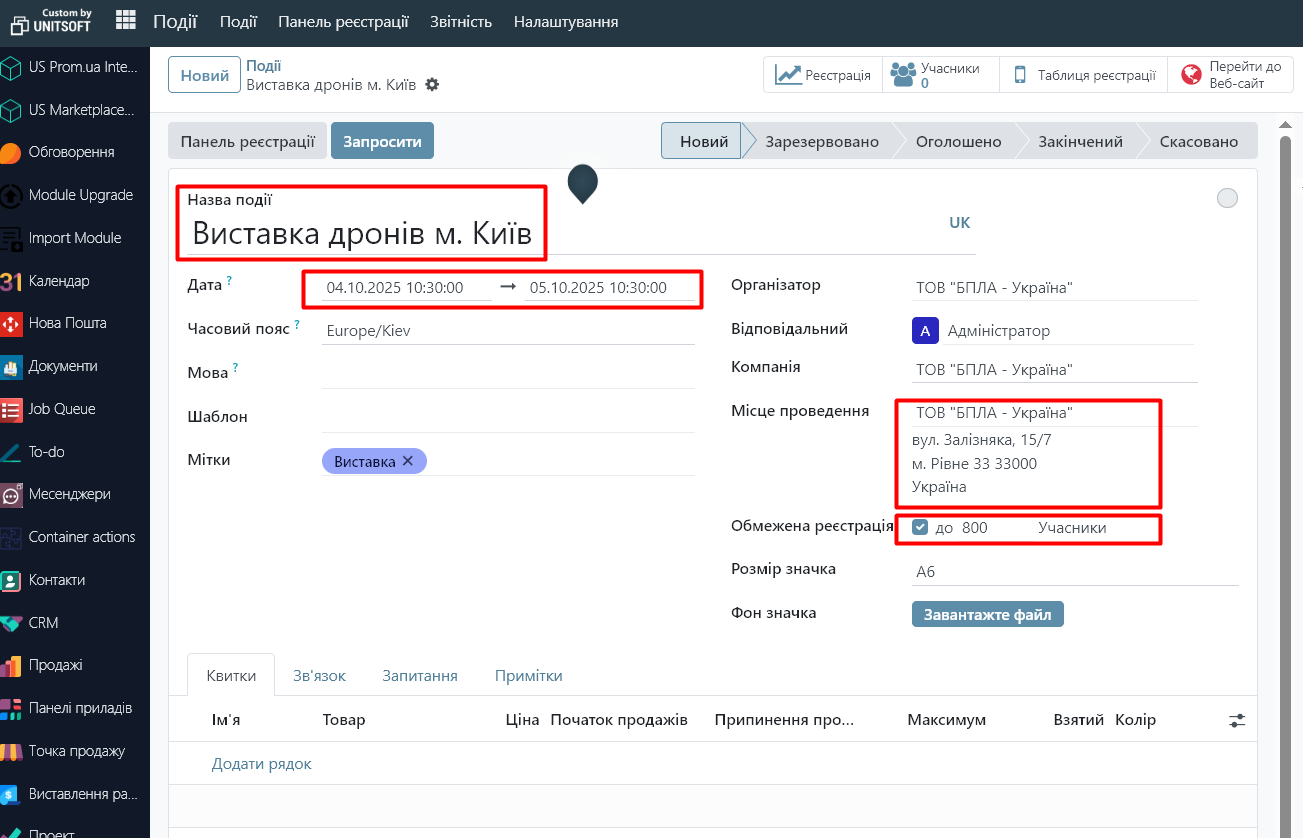
3. Add an event image if desired.
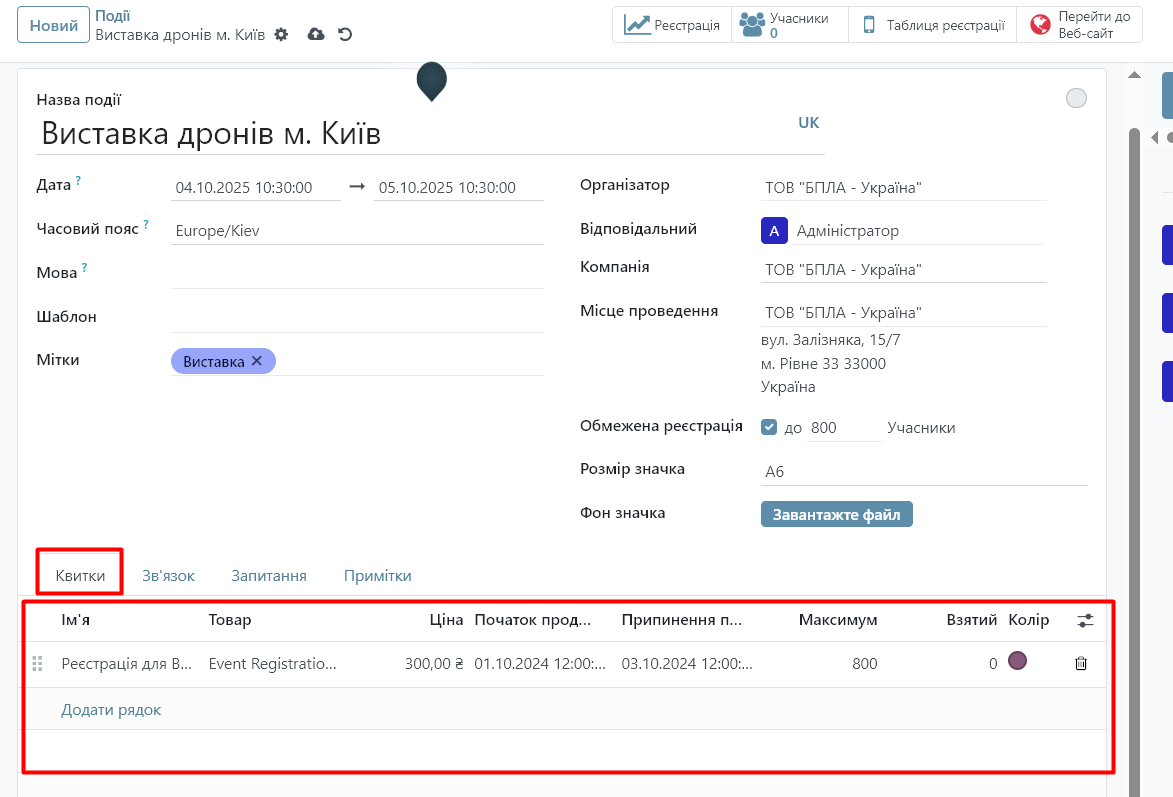
4. In the tabs below you can configure:
- Tickets — create ticket types (free or paid), their price, quantity, and sales period.
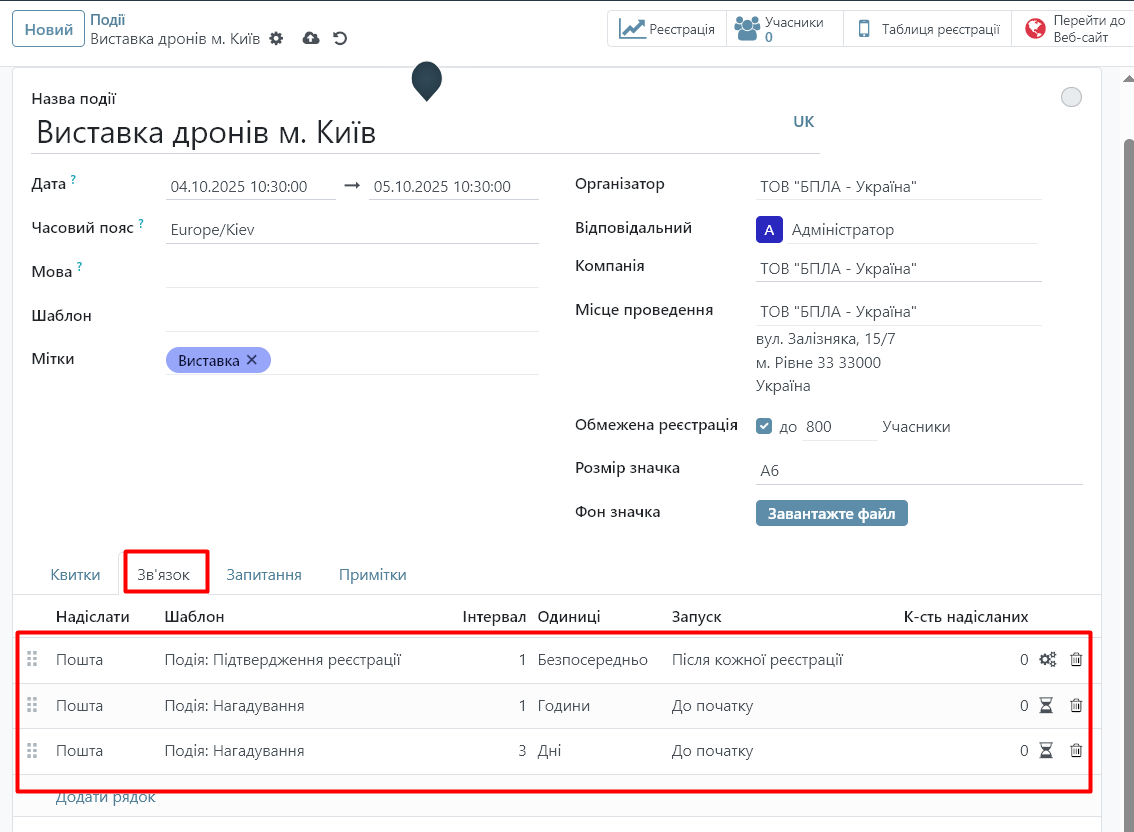
- Communication – set up templates and rules for sending automatic emails to event participants (confirmation of registration or sending tickets, reminders to participants about the event, etc.)
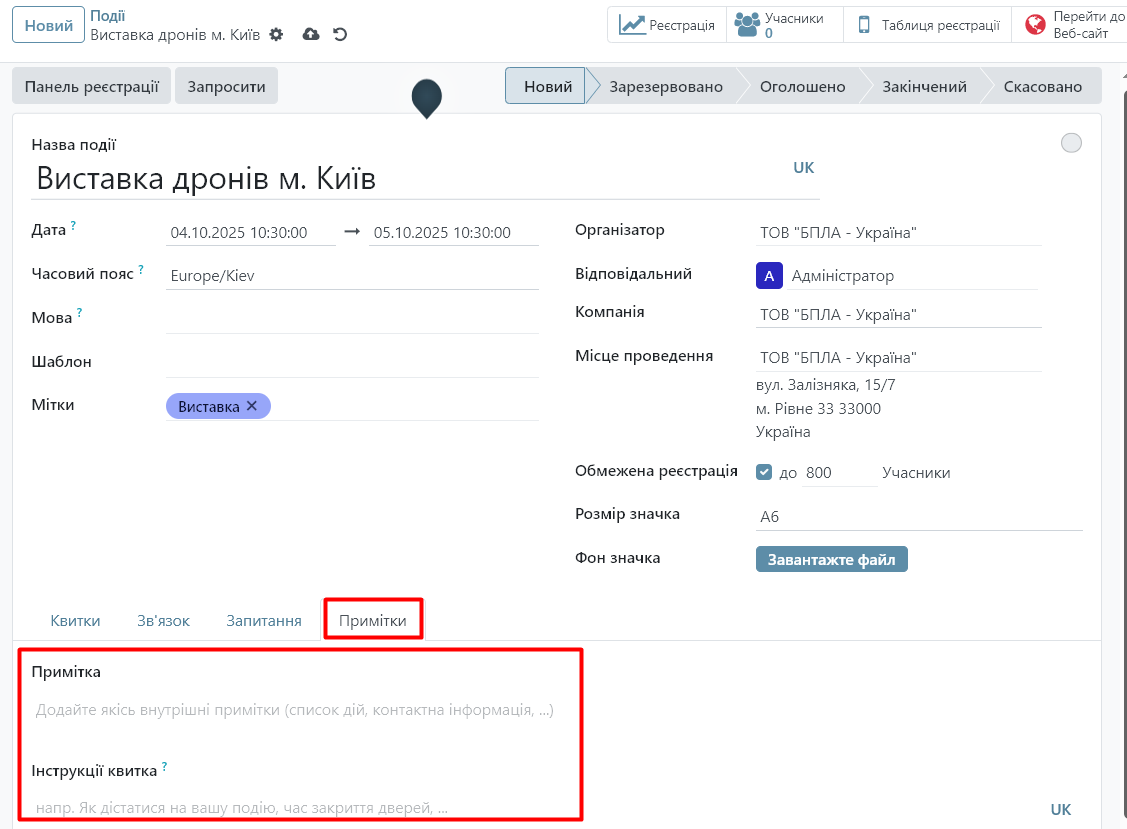
- Questions – set up a form to register for an event.

- Questions – set up a form to register for an event.
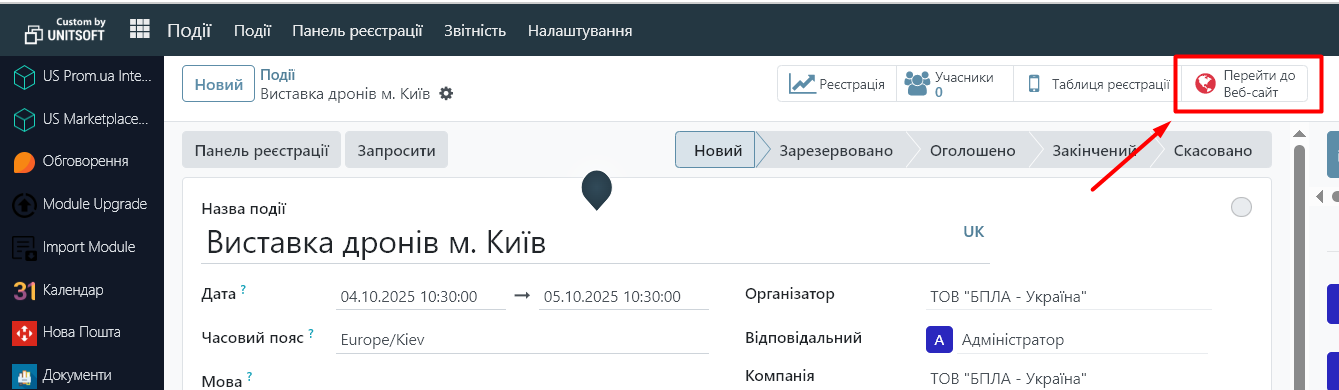
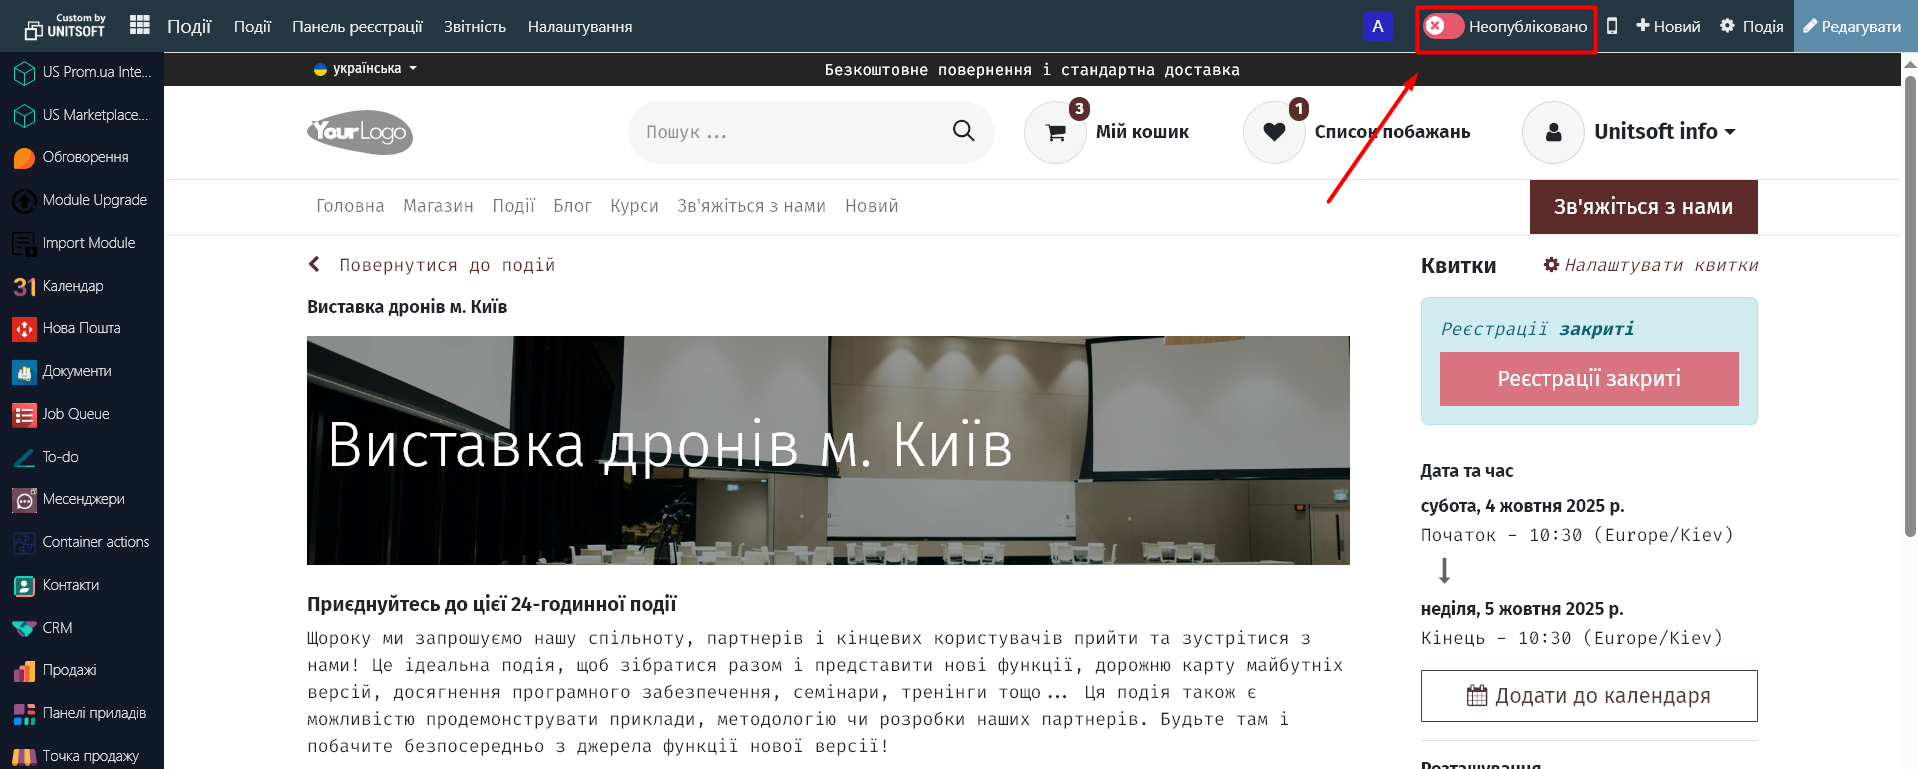
3. Event publication
After creating the event, click "Publish" to make it available on the site (if using the site module). Also, before publishing the page, check its appearance and edit the displayed information if necessary.
4. Participant Management
- Open an event from the list.
- Go to the "Members" tab.
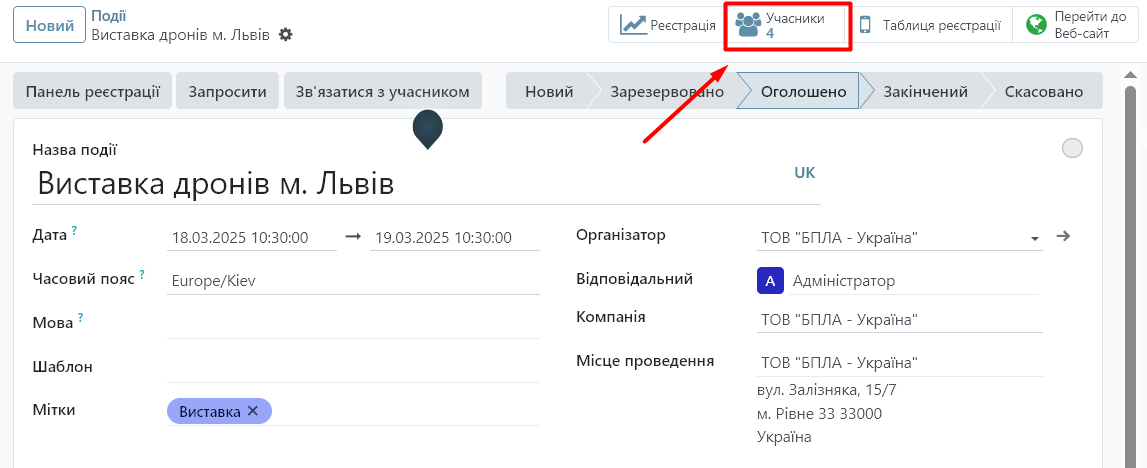
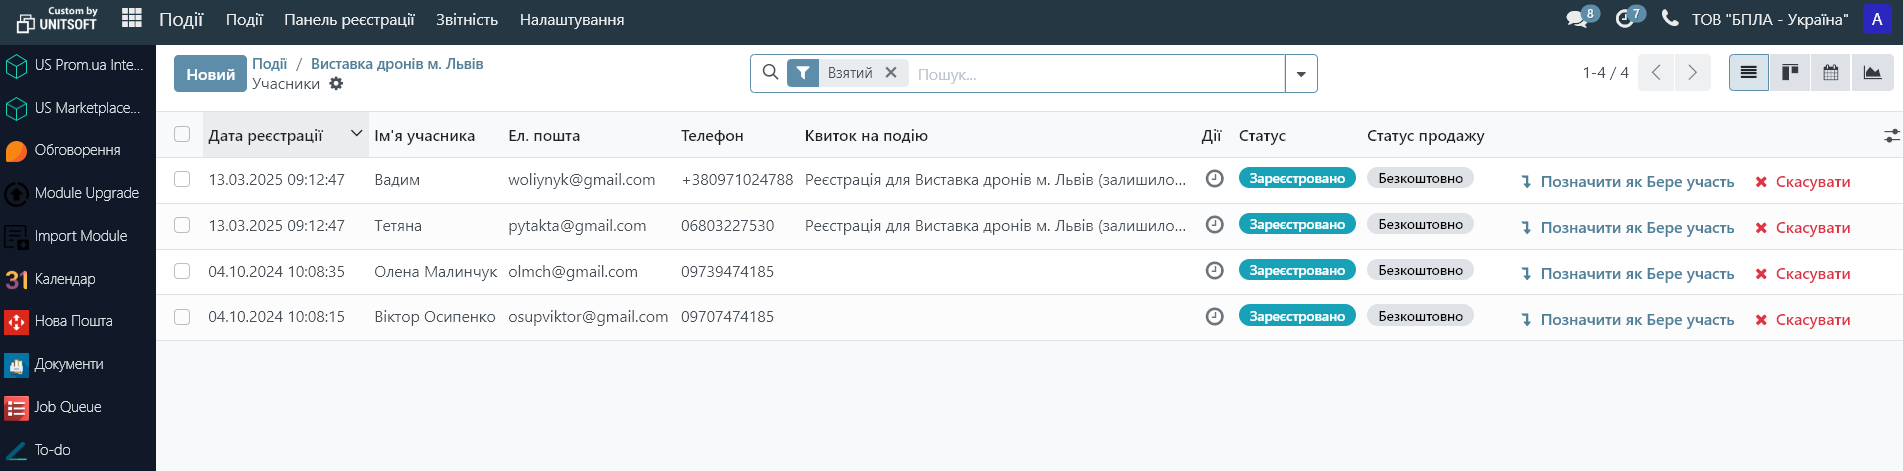
3. Here you can:
- View the list of registered participants.
- Add participants manually.
- Change statuses (e.g., confirmed, canceled).
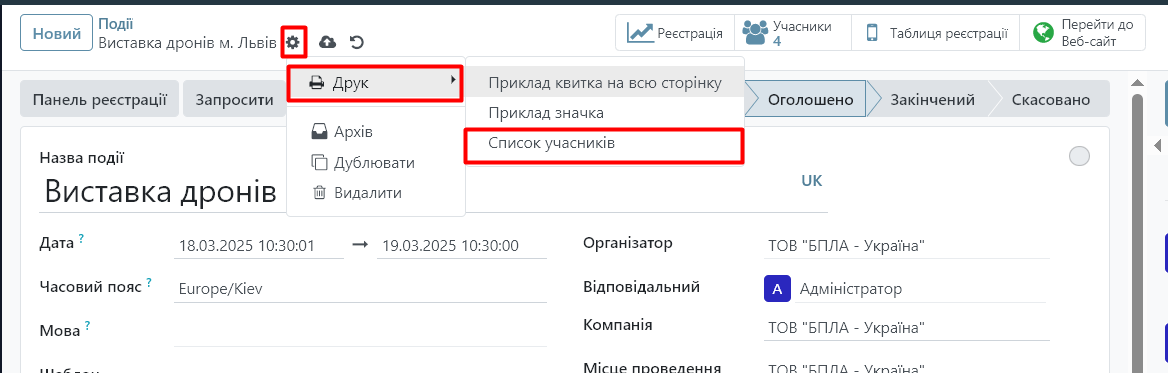
4. If necessary, the list of participants can also be printed via the "Action" button in the event card:
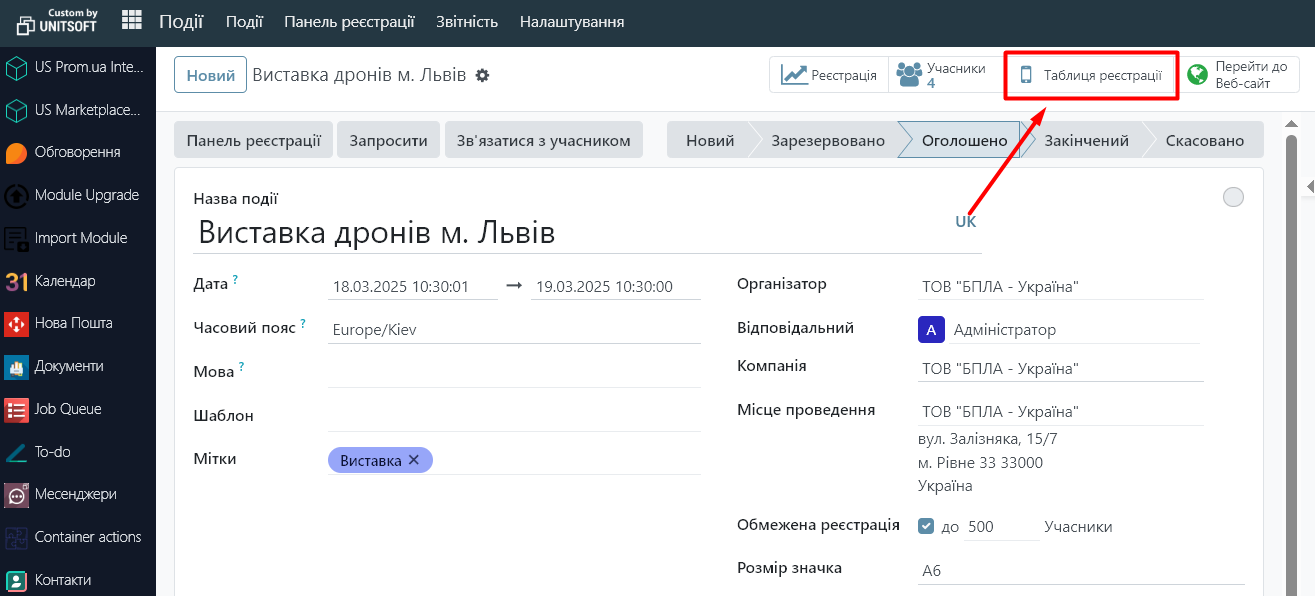
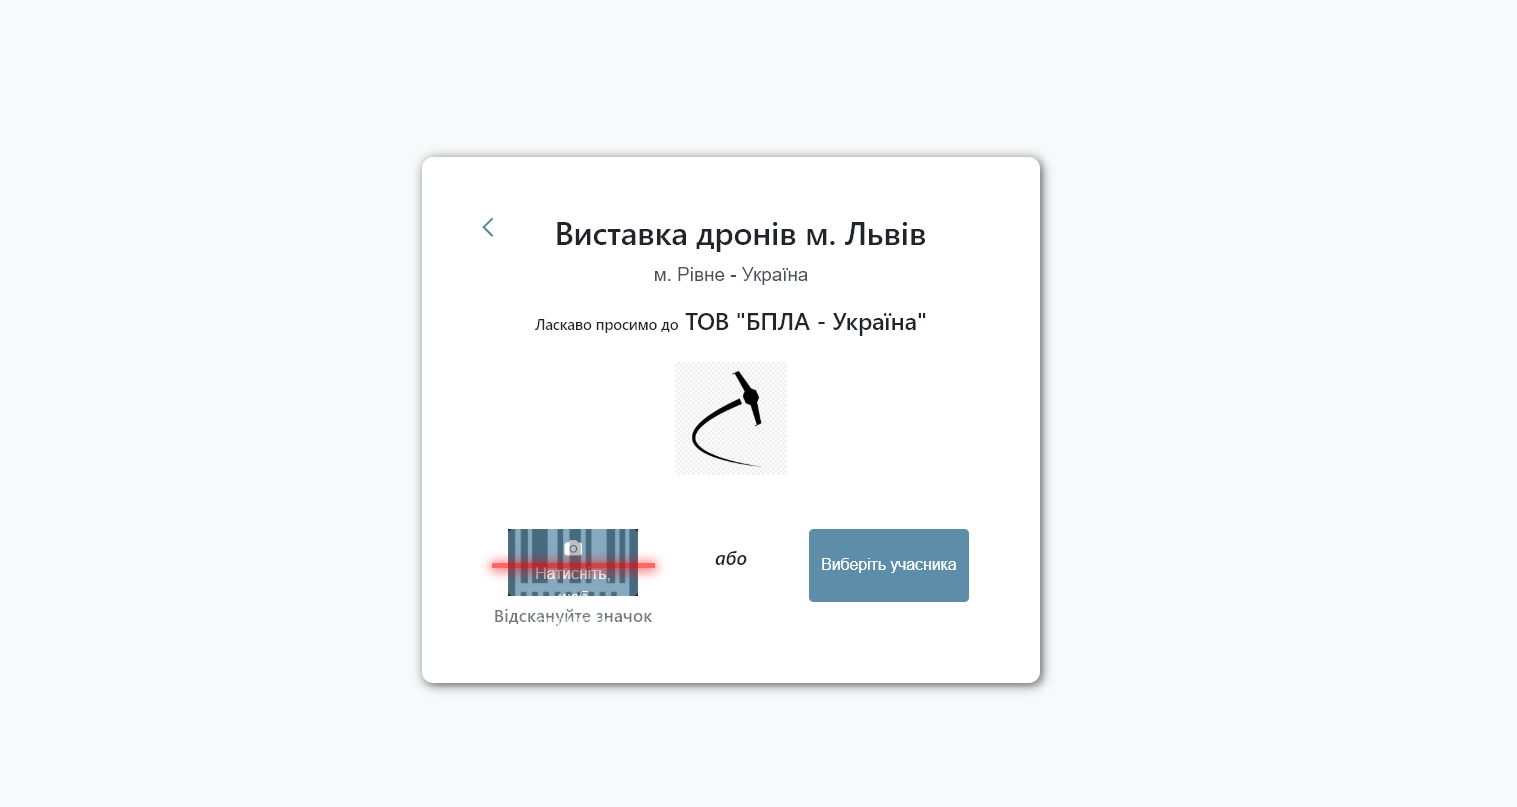
5. During an event, you can use the registration panel functionality. This will allow you to record event attendees manually or by scanning ticket barcodes.
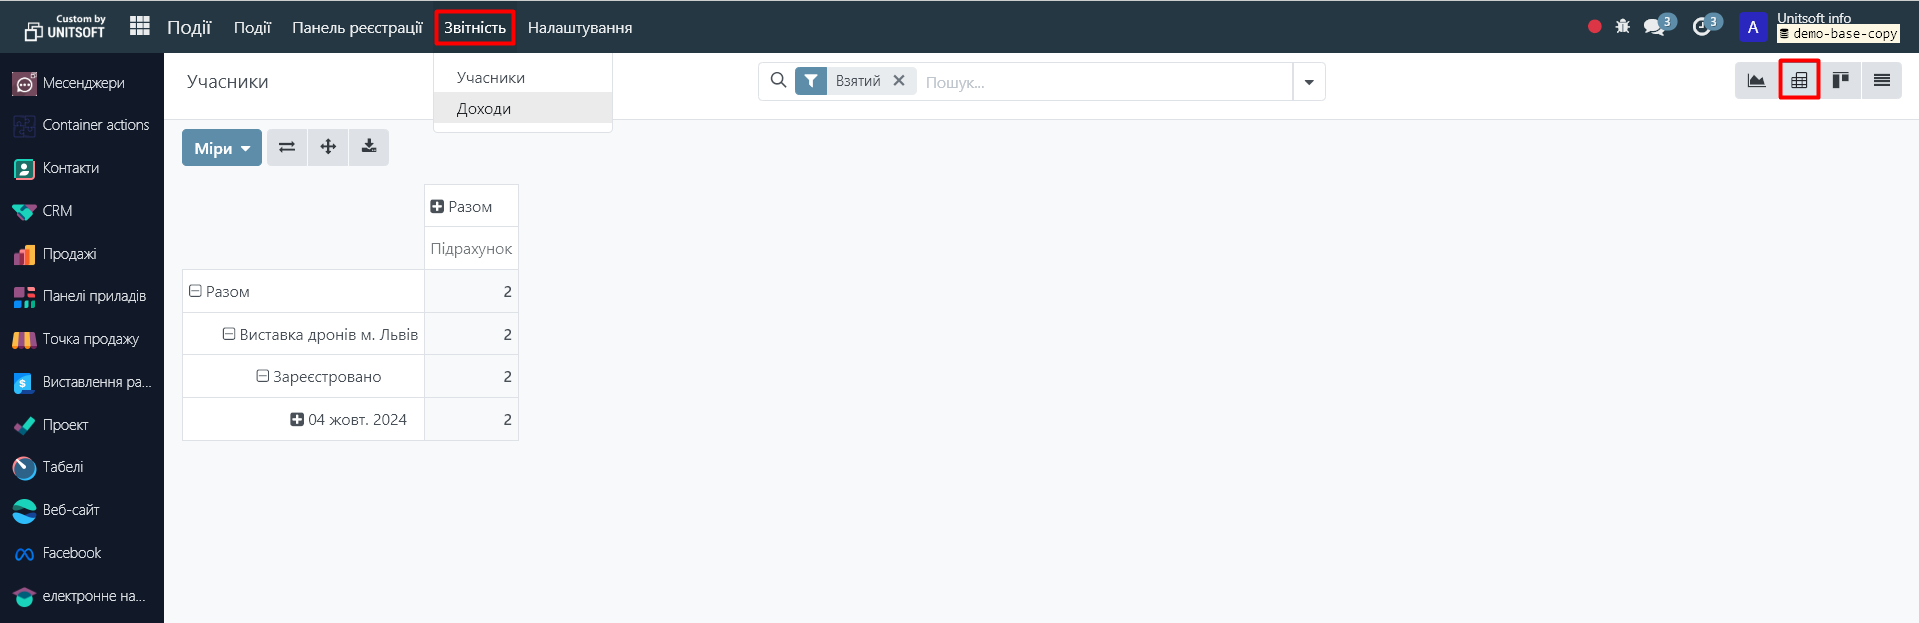
5. Reports and analytics
The module provides reports on:
- Number of registered.
- Ticket statistics.
- Revenue (if the event is paid).
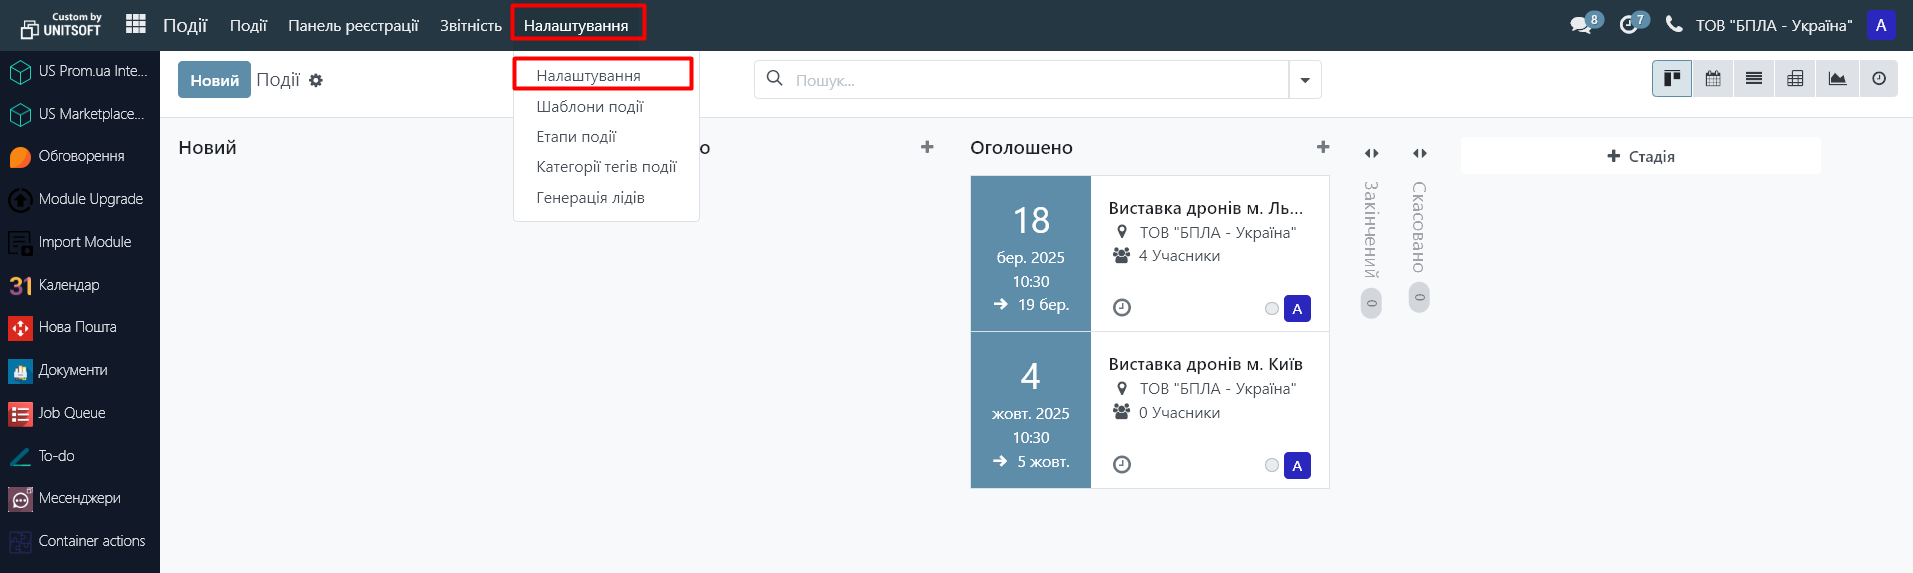
6. Additional features
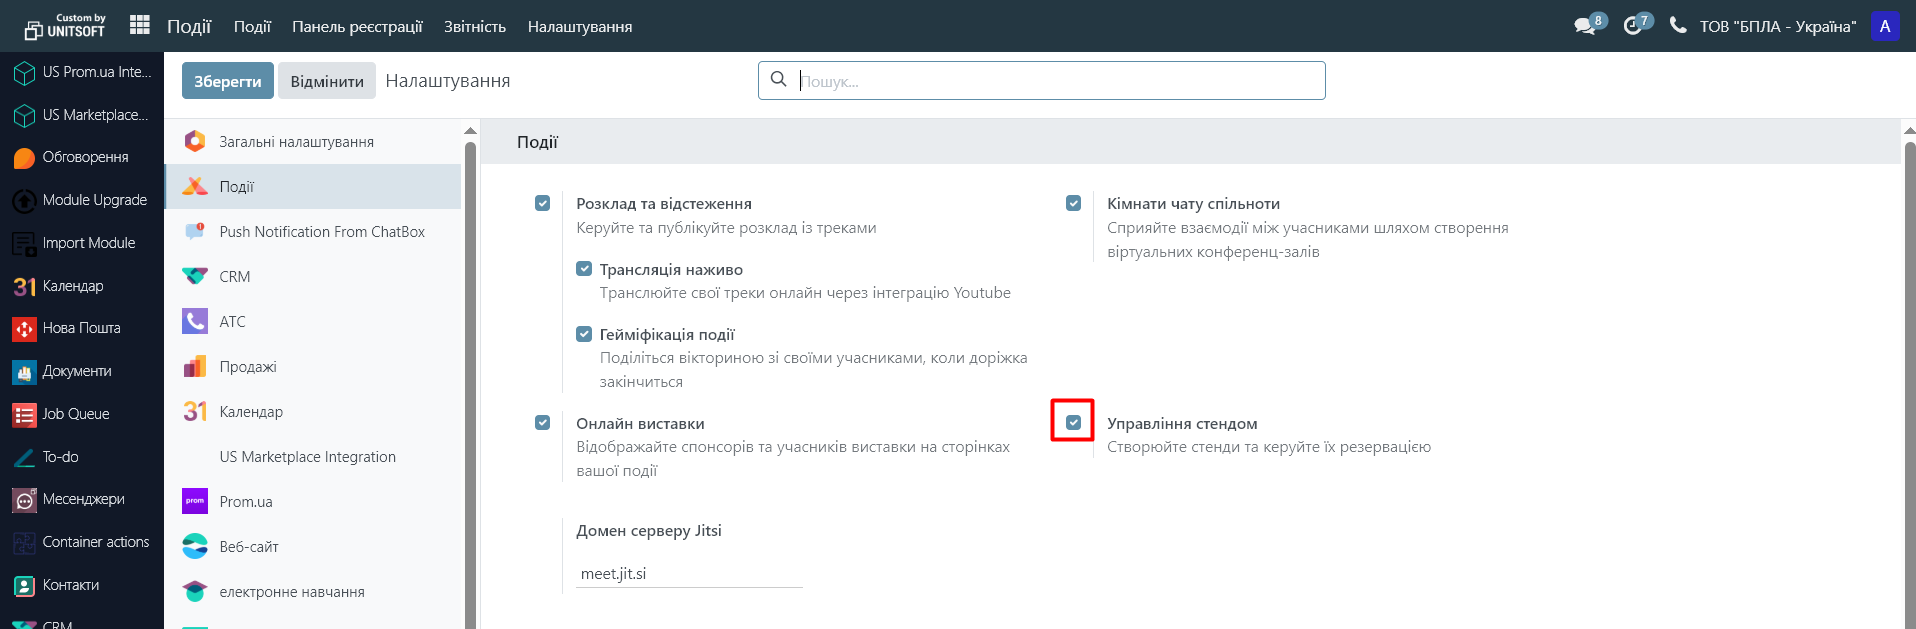
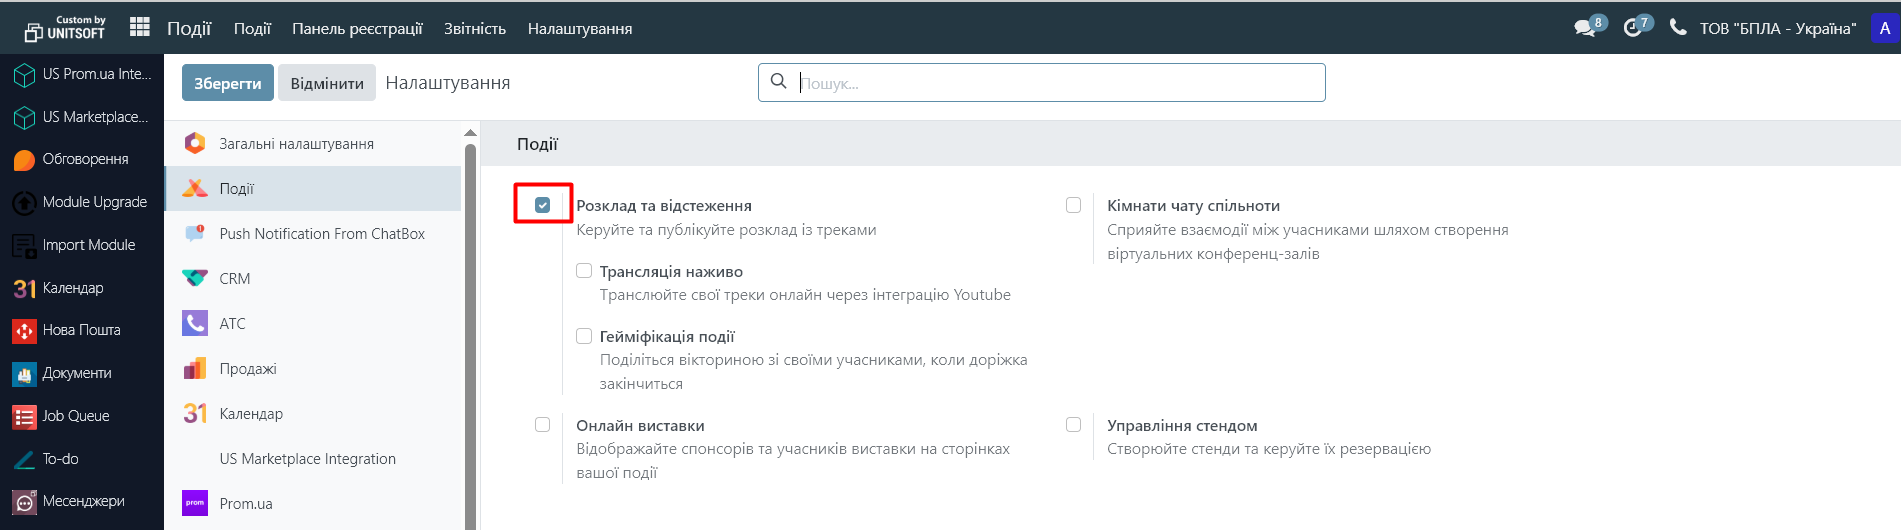
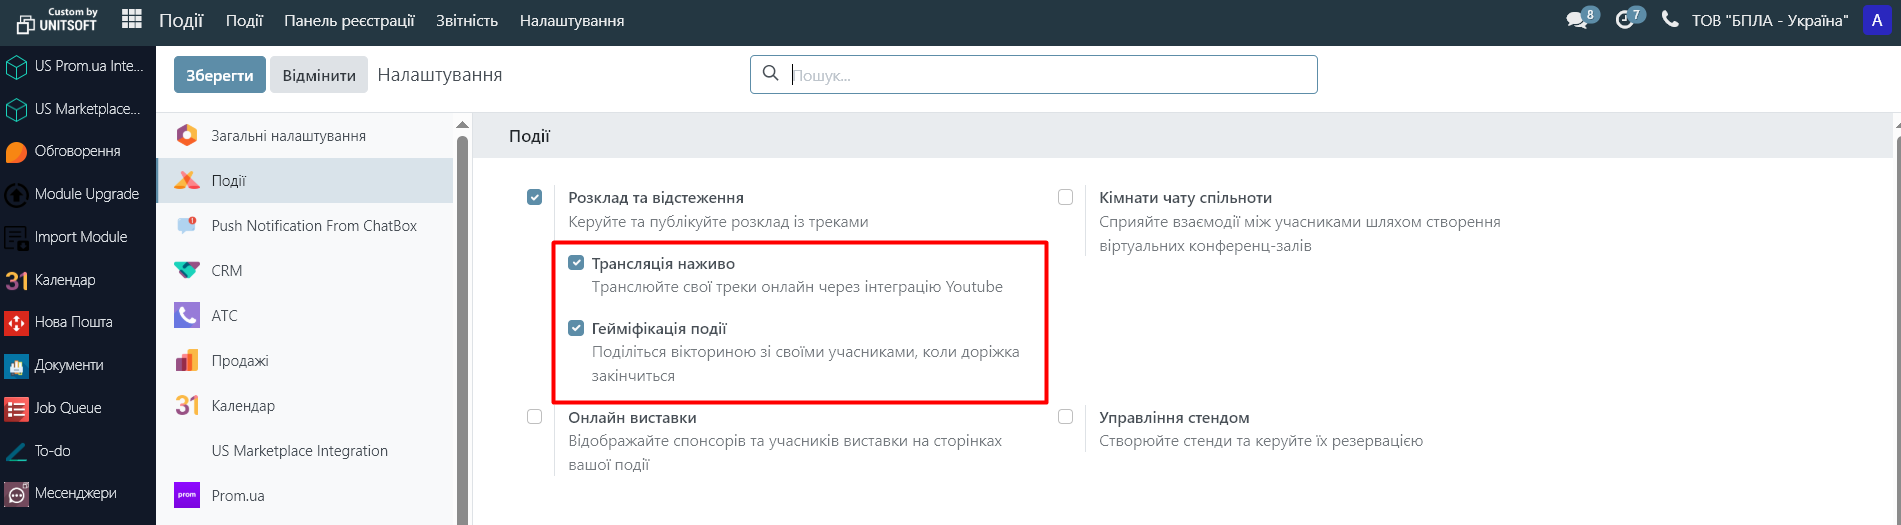
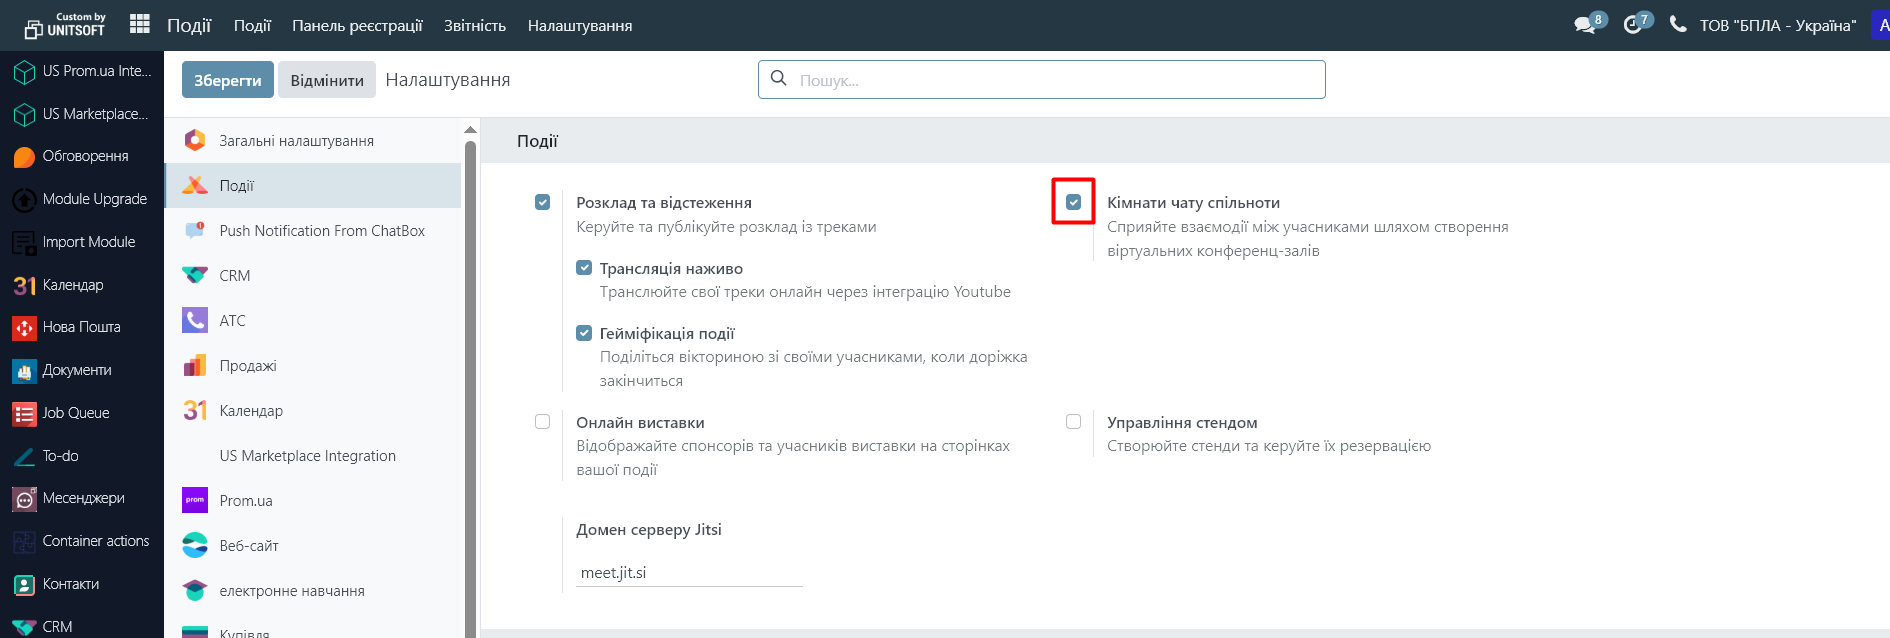
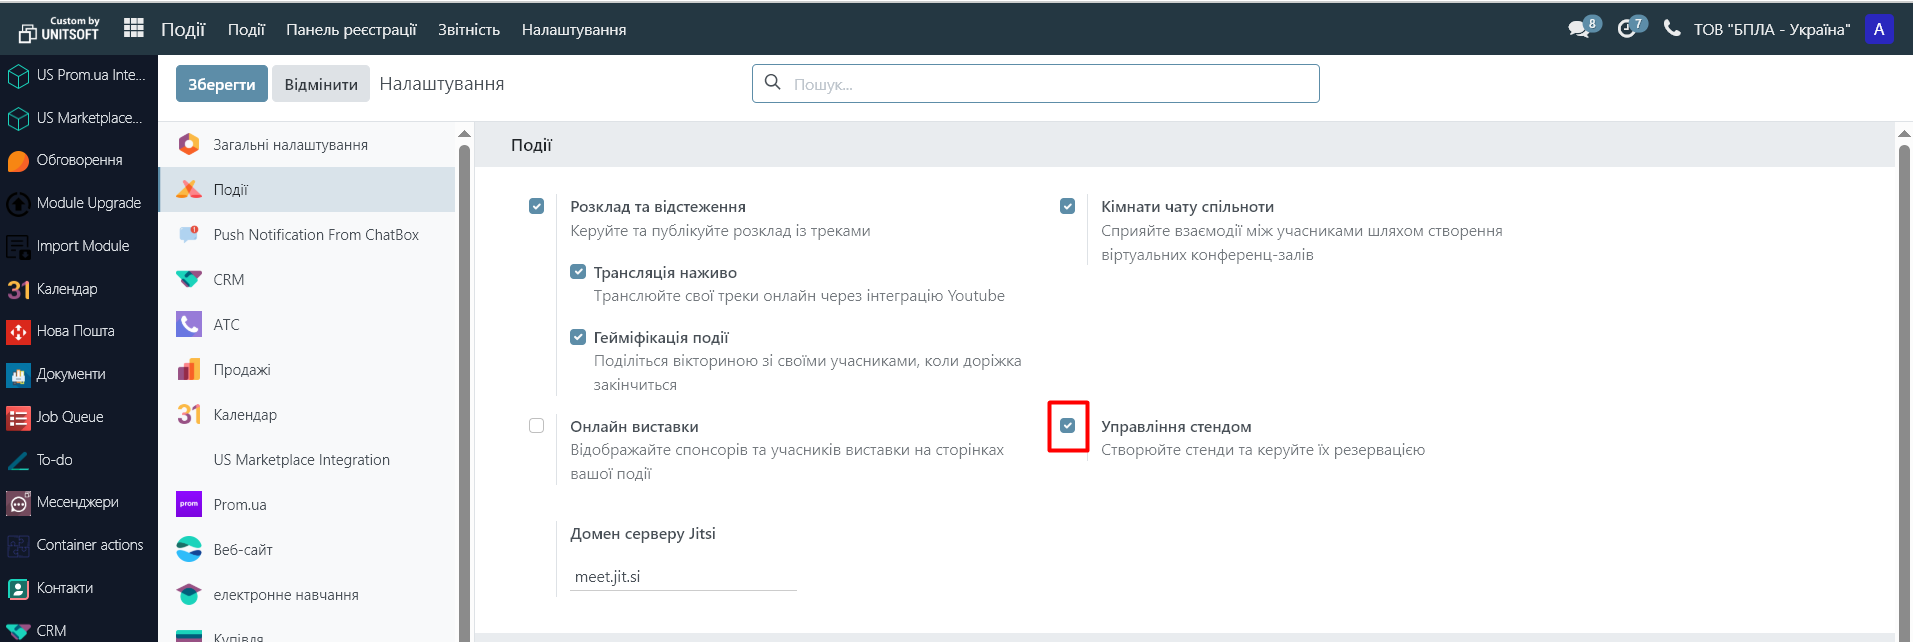
In the "Events" module settings, you can enable additional functionality of the "Events" module:
"Schedule and Tracking" is a useful feature if a company is holding a whole range of events. For example, a thematic forum consisting of speeches by various speakers.
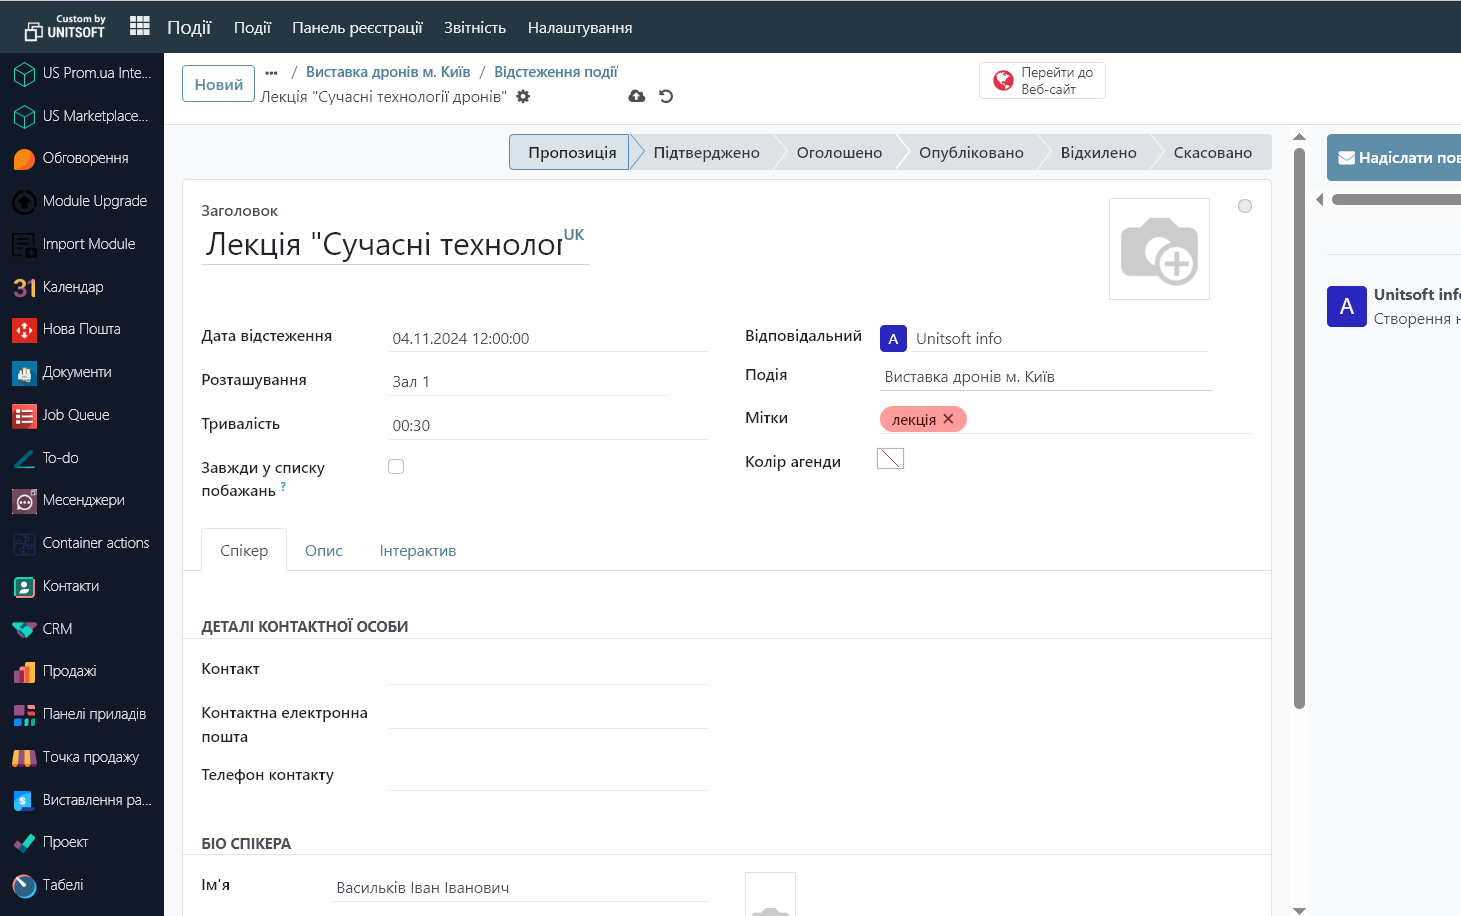
When adding this feature, you can create a schedule of sub-events (agenda), specify their start date, duration, and enter information about speakers.
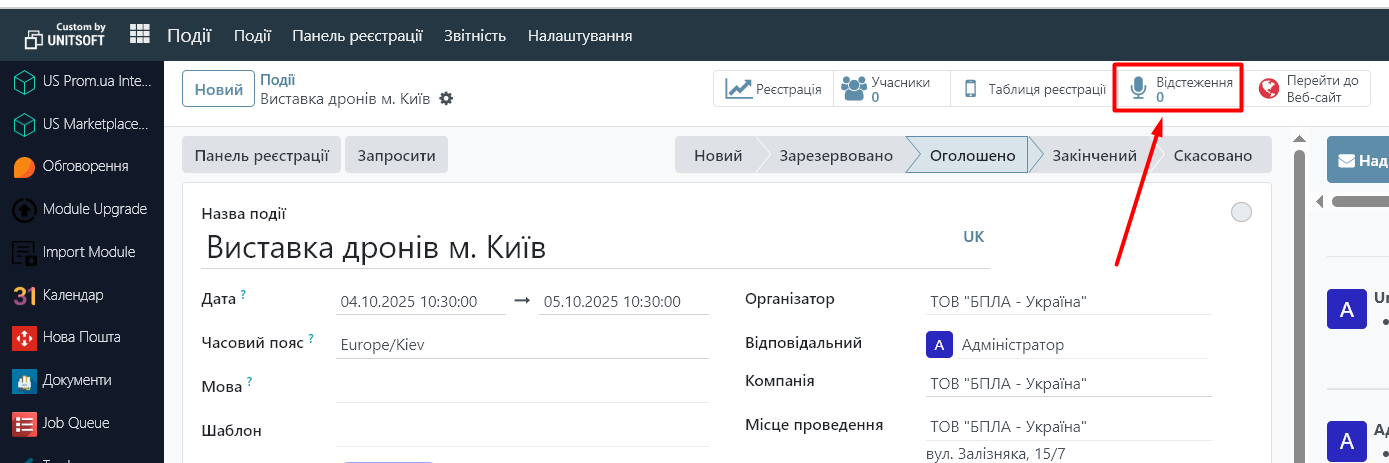
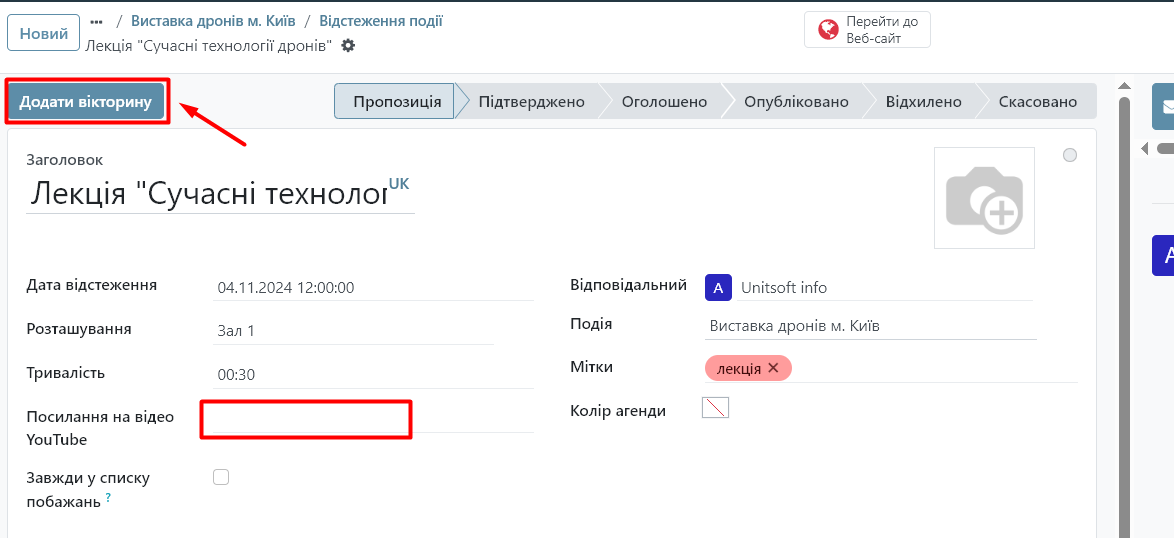
To do this, go to the "Tracking" menu in the event card:
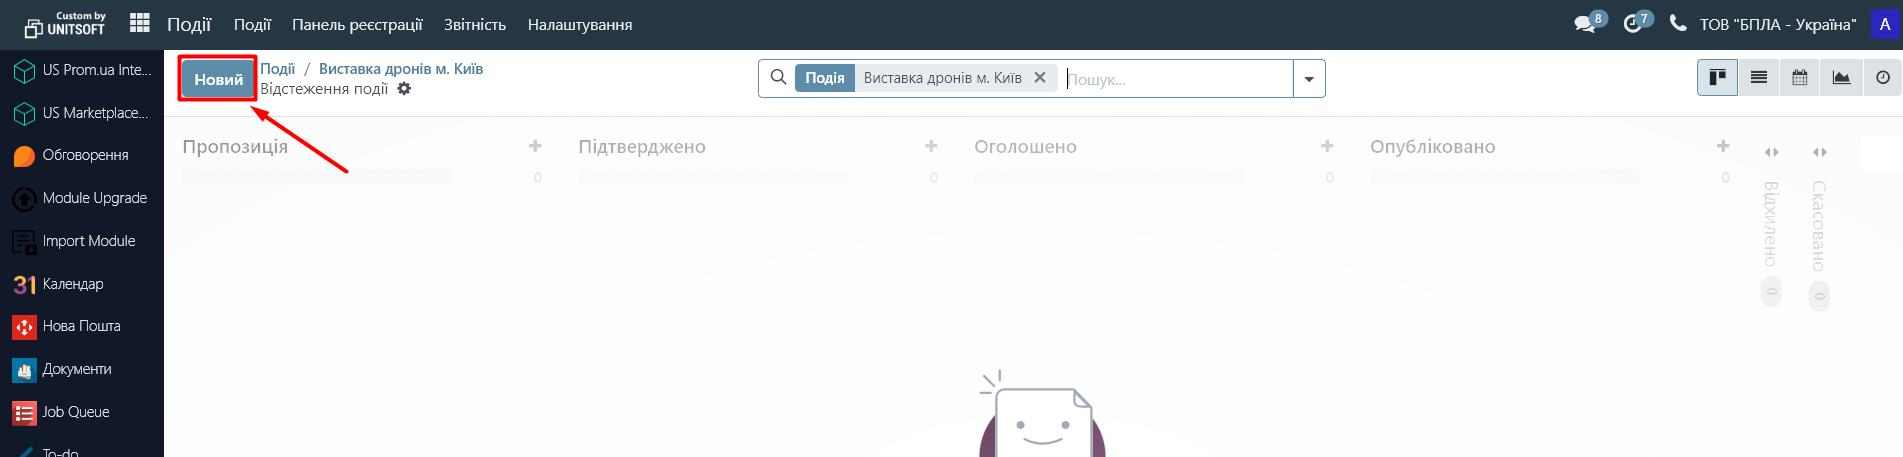
Click the "New" button:
Fill in all the necessary information. If necessary, publish sub-events on the site.
"Live Broadcast/Event Gamification" are gamification tools that allow you to add an online broadcast from Youtube to the website for a sub-event and conduct online surveys.
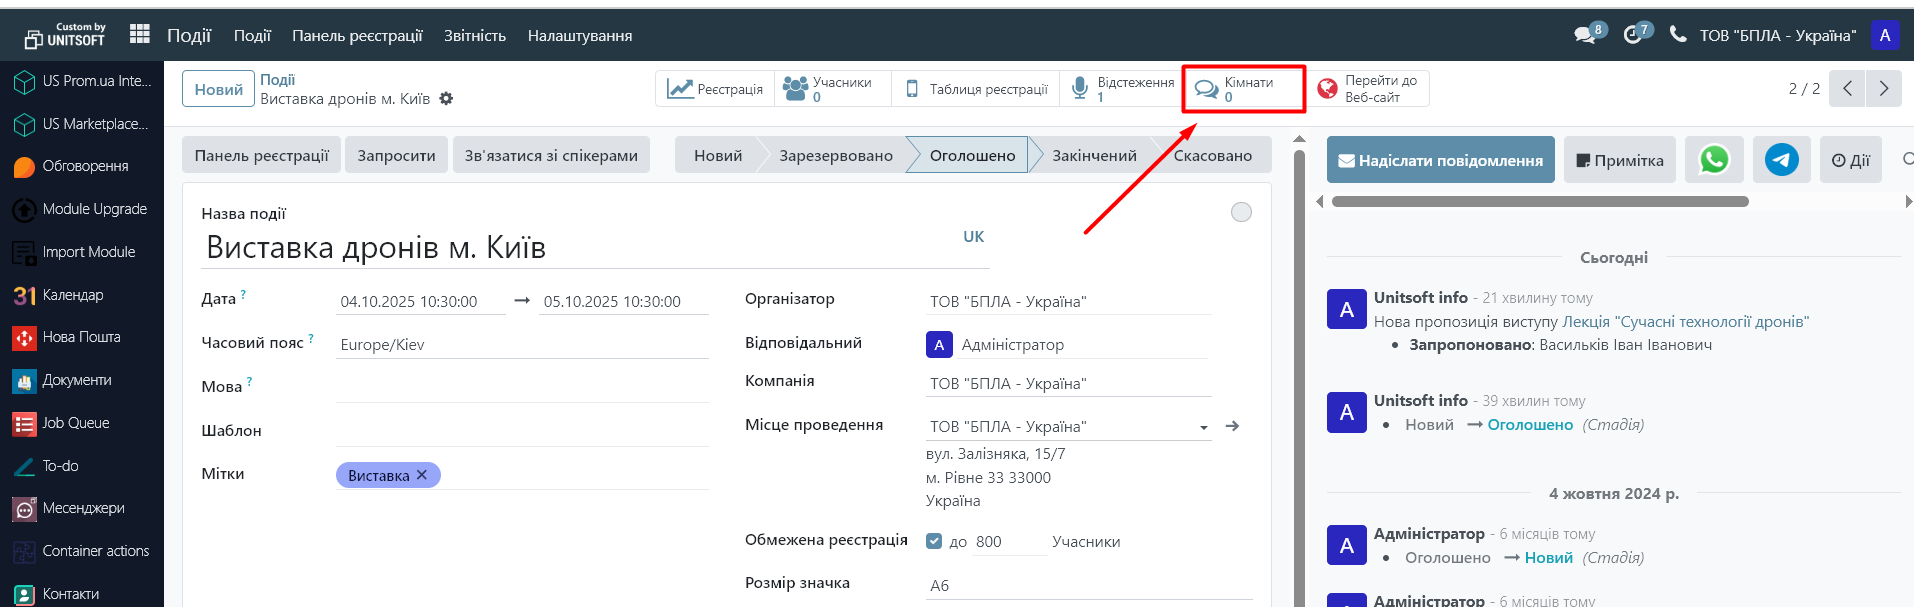
"Community Chat Rooms" - allows you to create online rooms to discuss issues on a specific topic.
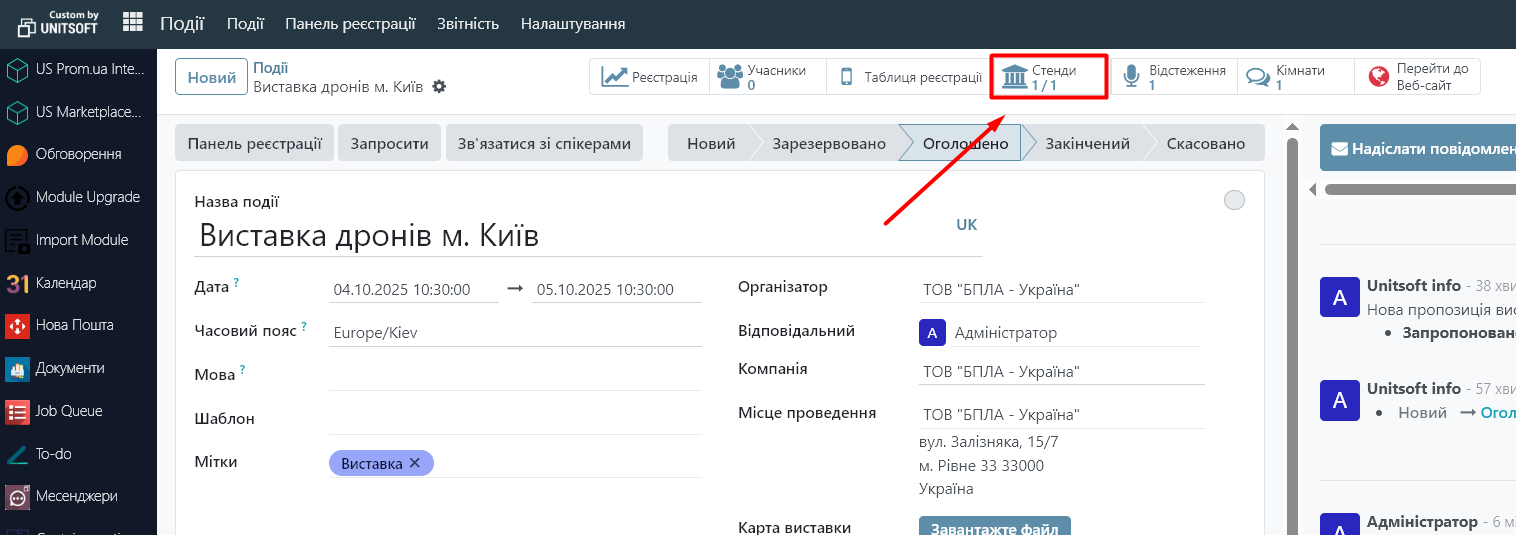
To create such a room, go to the event card, "Rooms" menu:
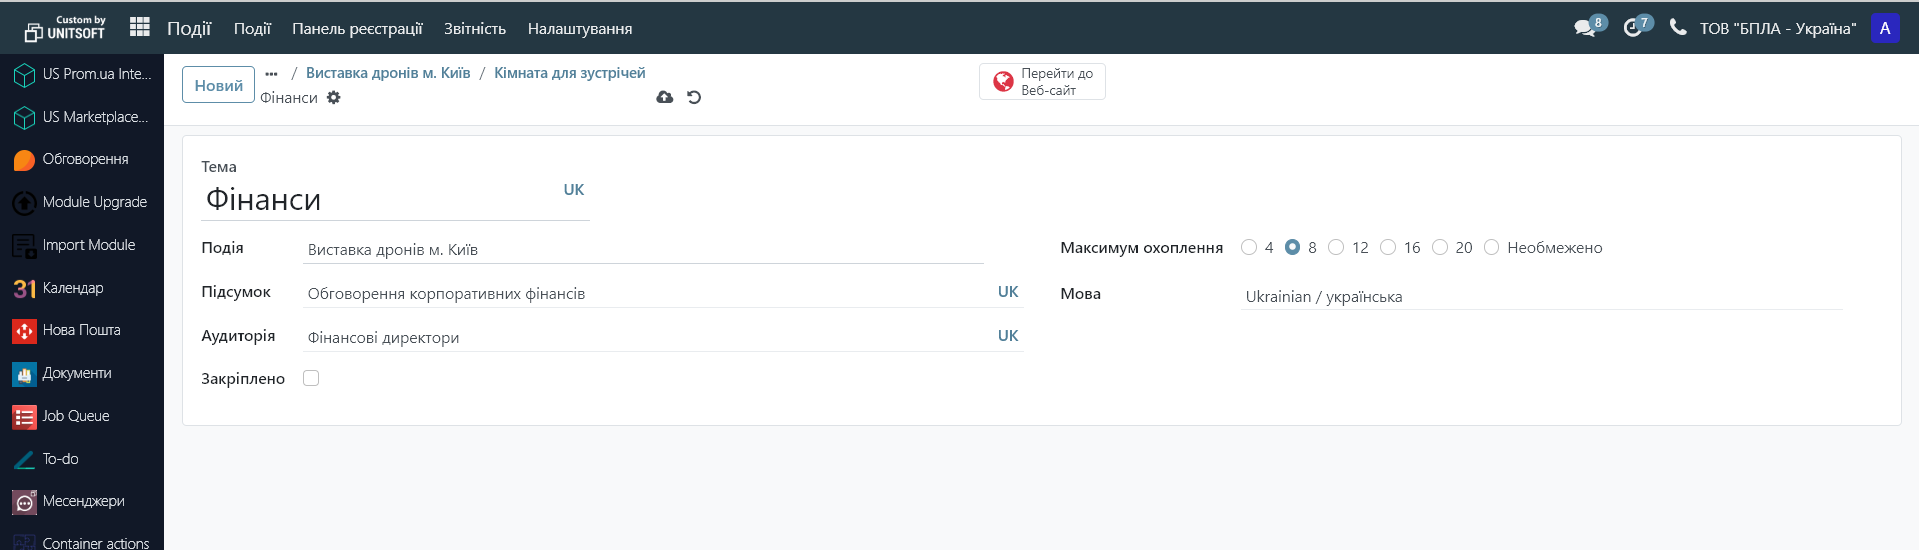
To create a room, click "New":
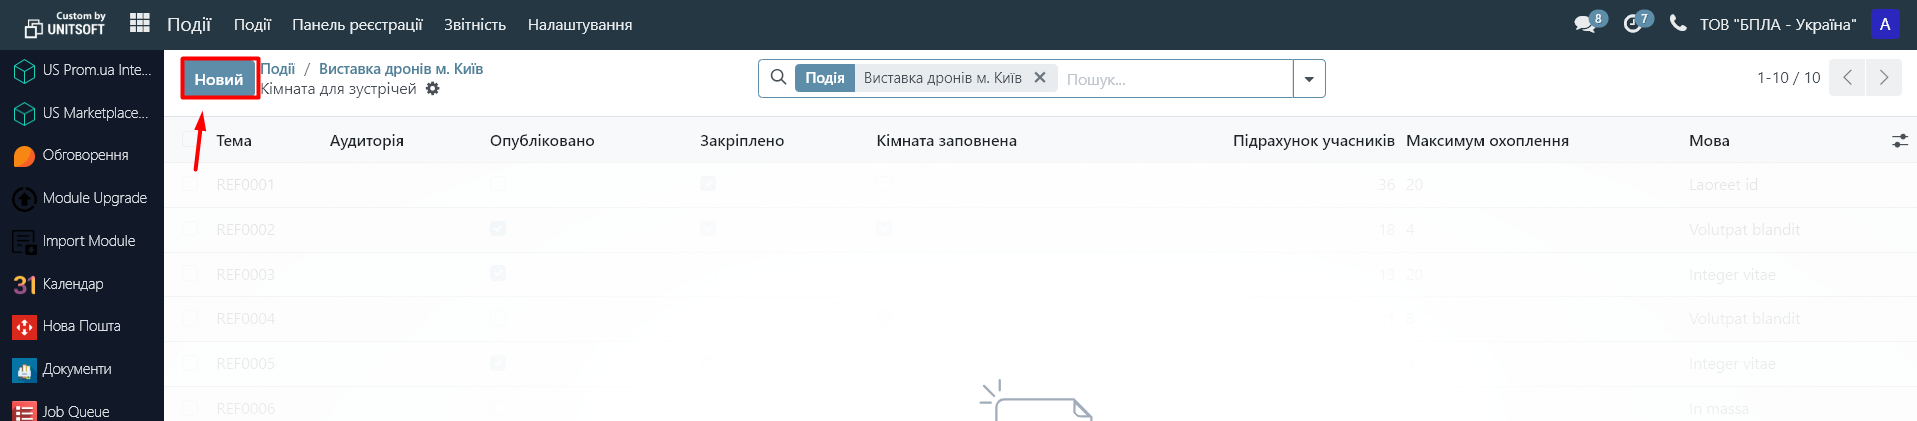
Specify the topic of the room, its capacity and the language of discussion:
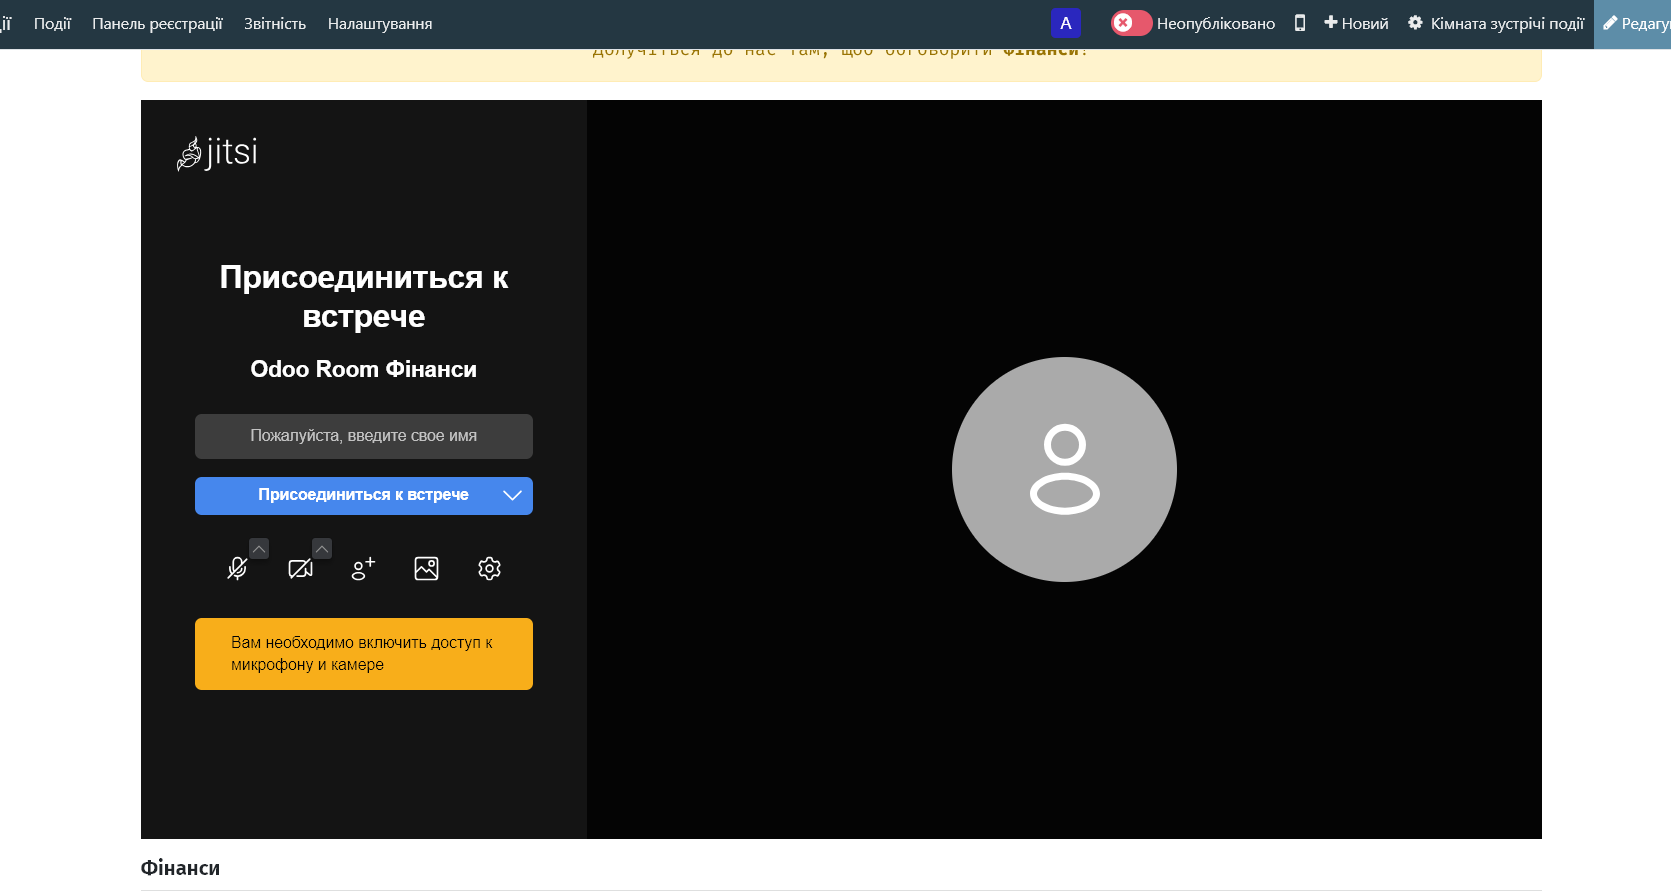
After publishing on the website, its visitors will be able to choose a room theme and connect to it using a video connection:
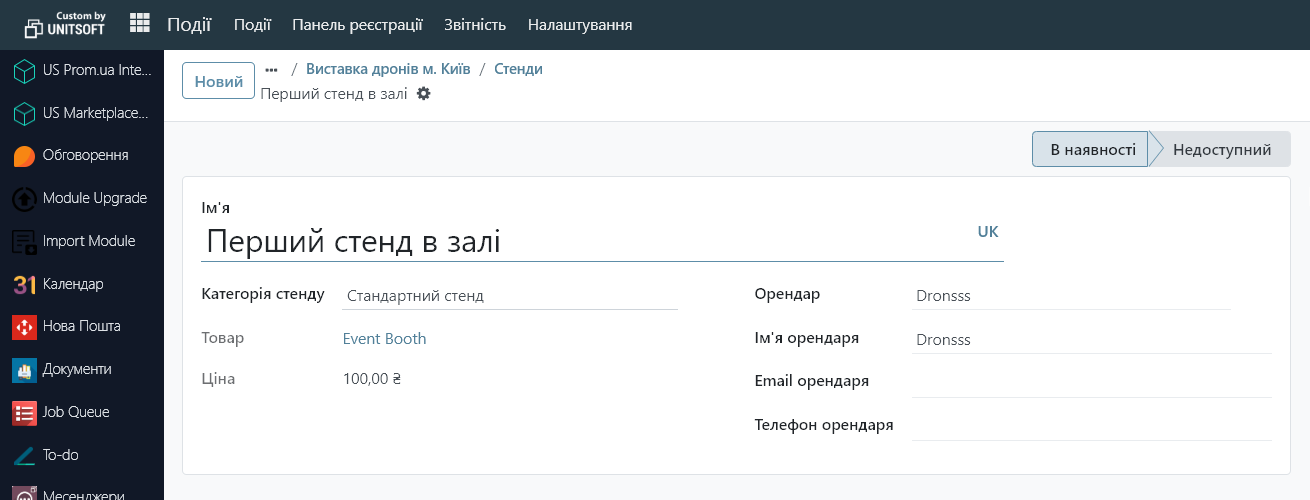
"Stand Management" is a setting that allows you to rent out stands during events.
It allows you to create categories of stands with a specific price, description and sponsorship level. Each stand can be assigned to a specific event and see who has rented it. Stands are displayed on the event website, where participants can book and pay online. After payment, the information is automatically saved in the system, and the stand becomes unavailable to others.
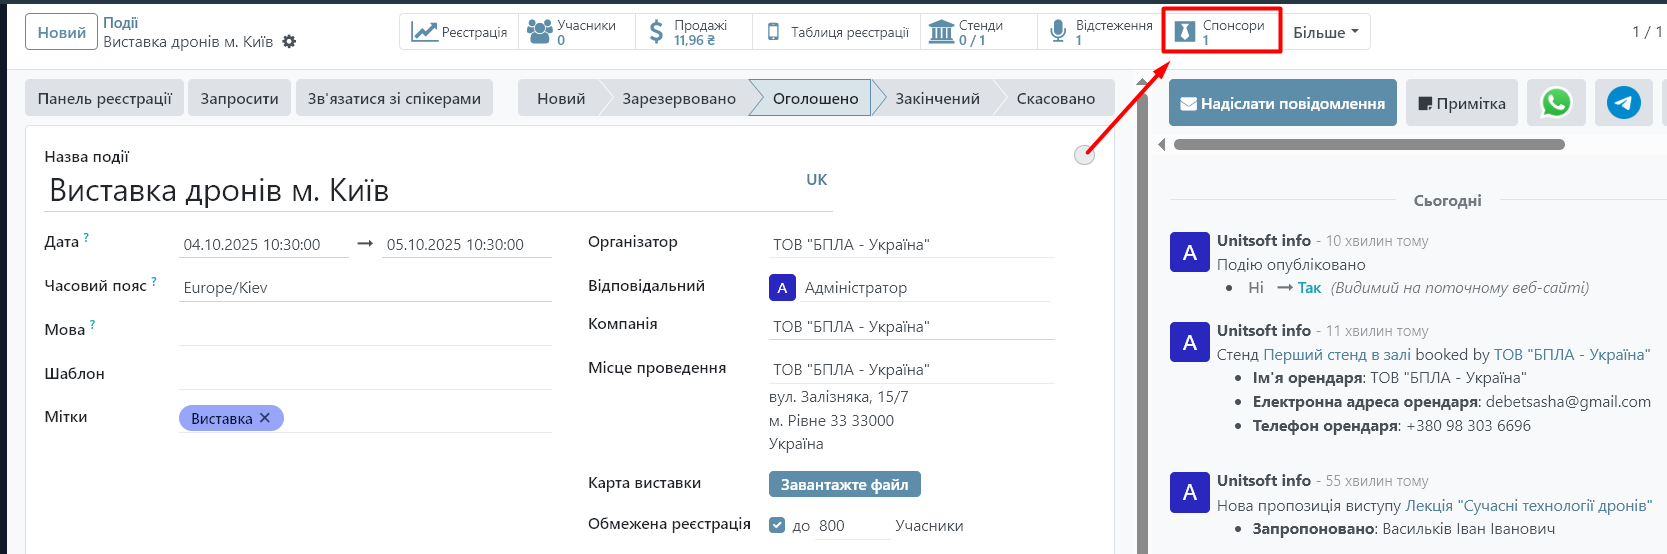
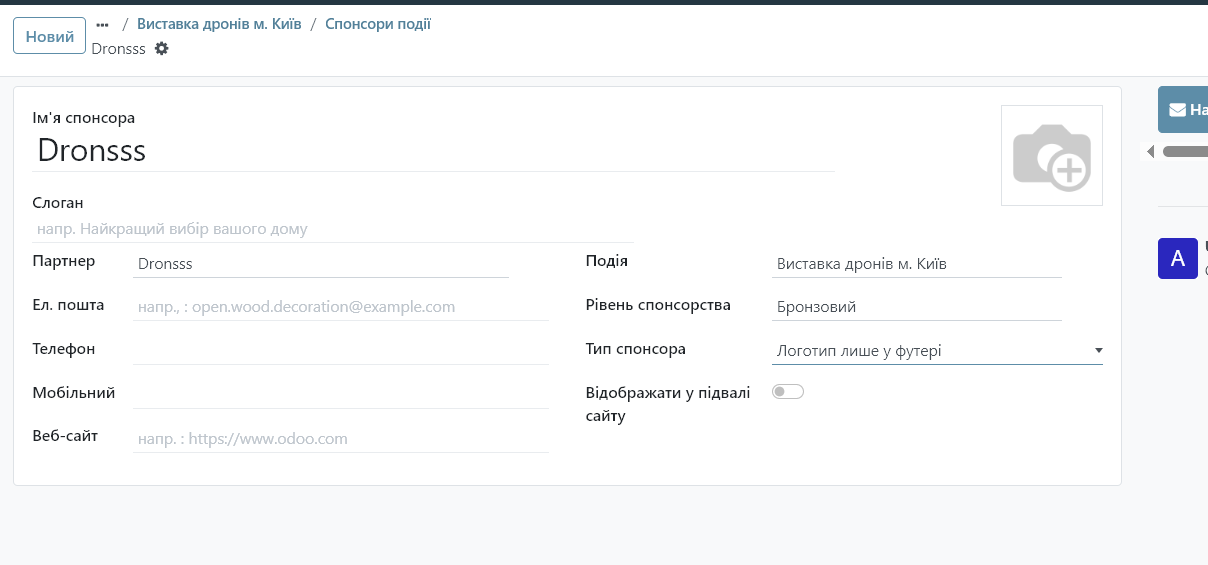
"Online Exhibitions" - a setting that allows you to keep track of event sponsors (manually, or create them automatically at the time of purchasing a stand rental). You can track the level of sponsorship, customize the display of sponsors, or make them a participant in the event.