Olx Instruction
1. Configuration
1.1 User Roles
To manage OLX ads in the module, there are two user roles:
- OLX User
- OLX Administrator
Administrators have full rights to manage ads and change settings, users can only manage ads: view, create, and edit them.
1.2 Olx Setup
Go to the Odoo menu "OLX" - "Configuration" - "Applications" and create a new one or configure the default application.
First, specify the country, and then perform the following actions to obtain OLX API credentials:
OLX provides the following list of available countries for integration:
- Ukraine,
- Poland,
- Bulgaria,
- Romania,
- Portugal,
- Kazakhstan.
Go to https://developer.olx.ua and create an application by clicking the "Add application" button. Then fill in the required fields and the "Redirect uri" field by copying the URL from the "Callback URL" field in Odoo.
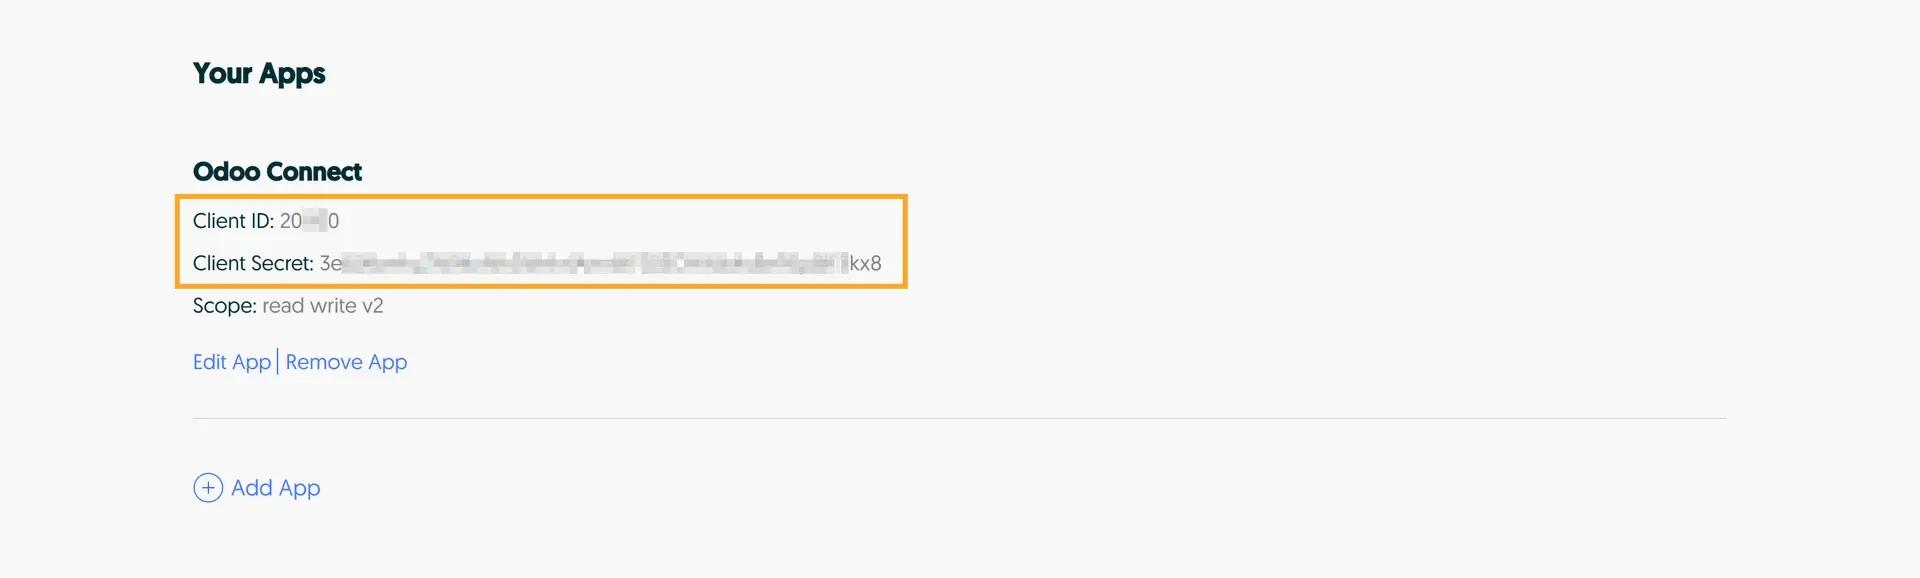
After that, copy the "Client ID" and "Client Secret" into Odoo.
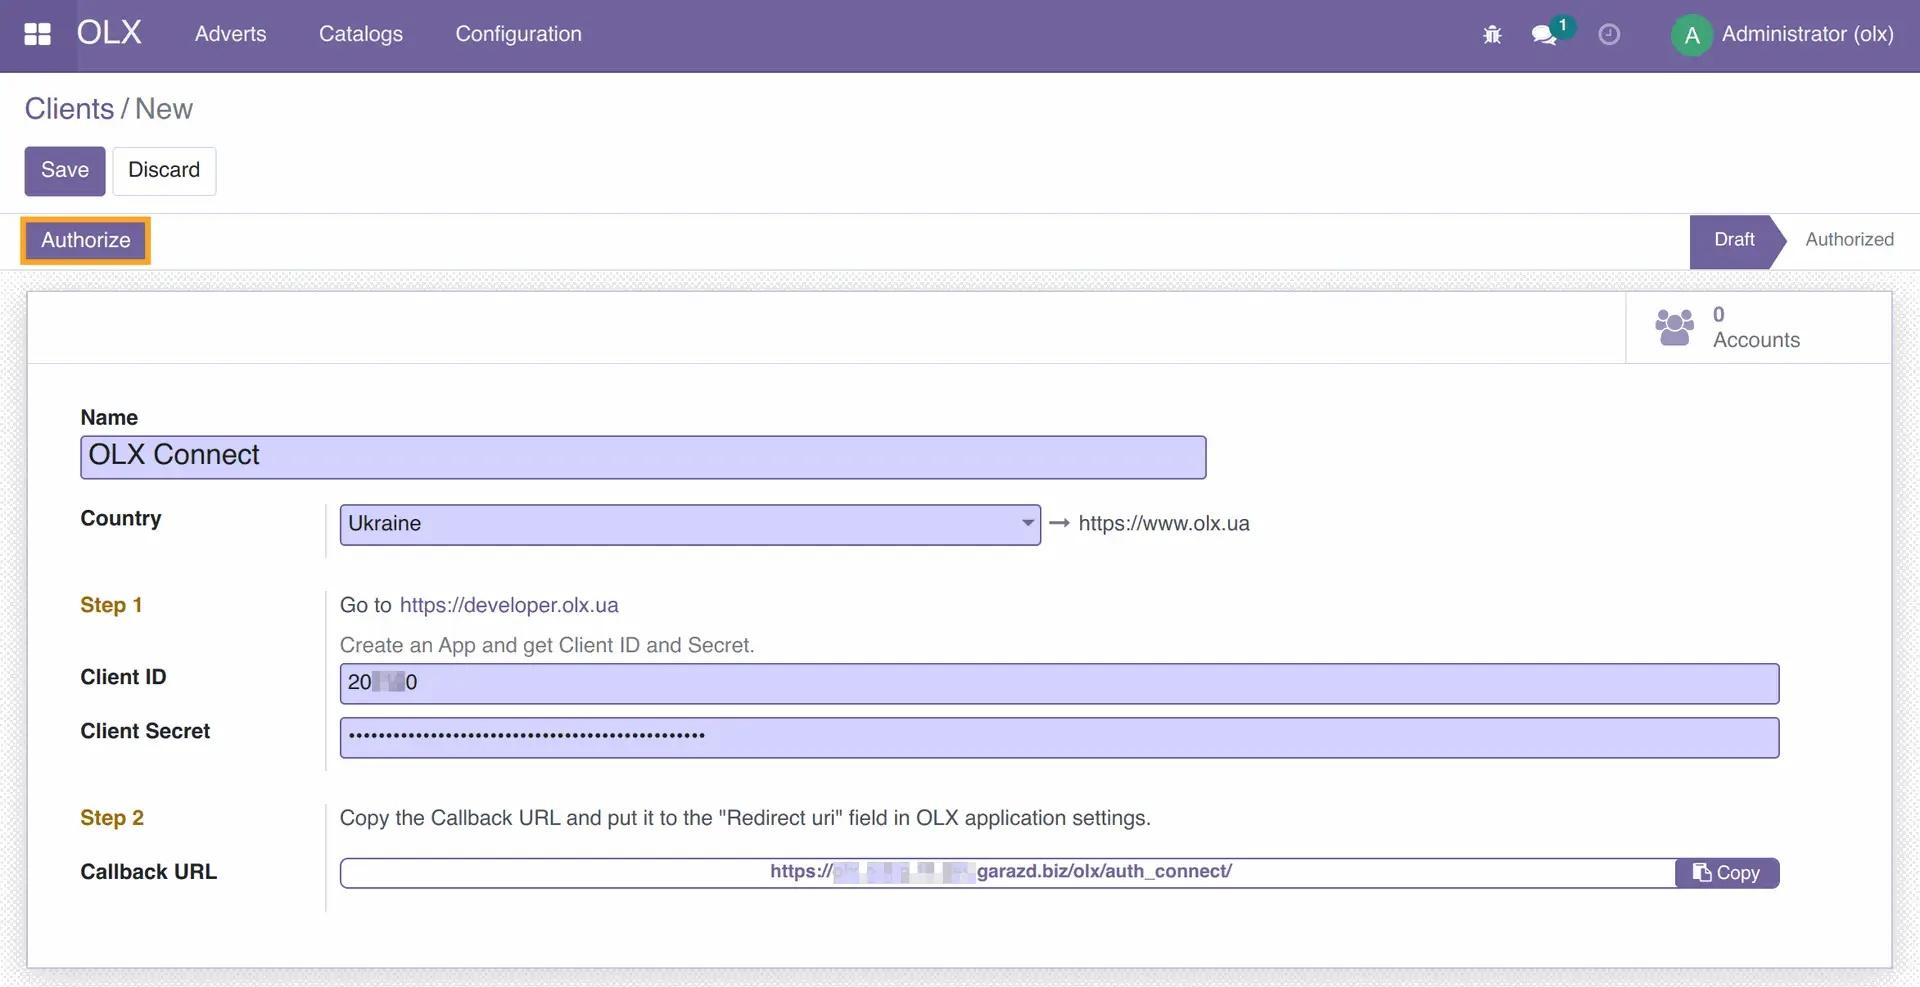
Click the "Authorize" button to obtain API credentials. Eventually, your OLX account will be created in Odoo, and all account data will be loaded.
2. Initial Setup
Catalog Synchronization
First, run the catalog synchronization task from the OLX application action menu.
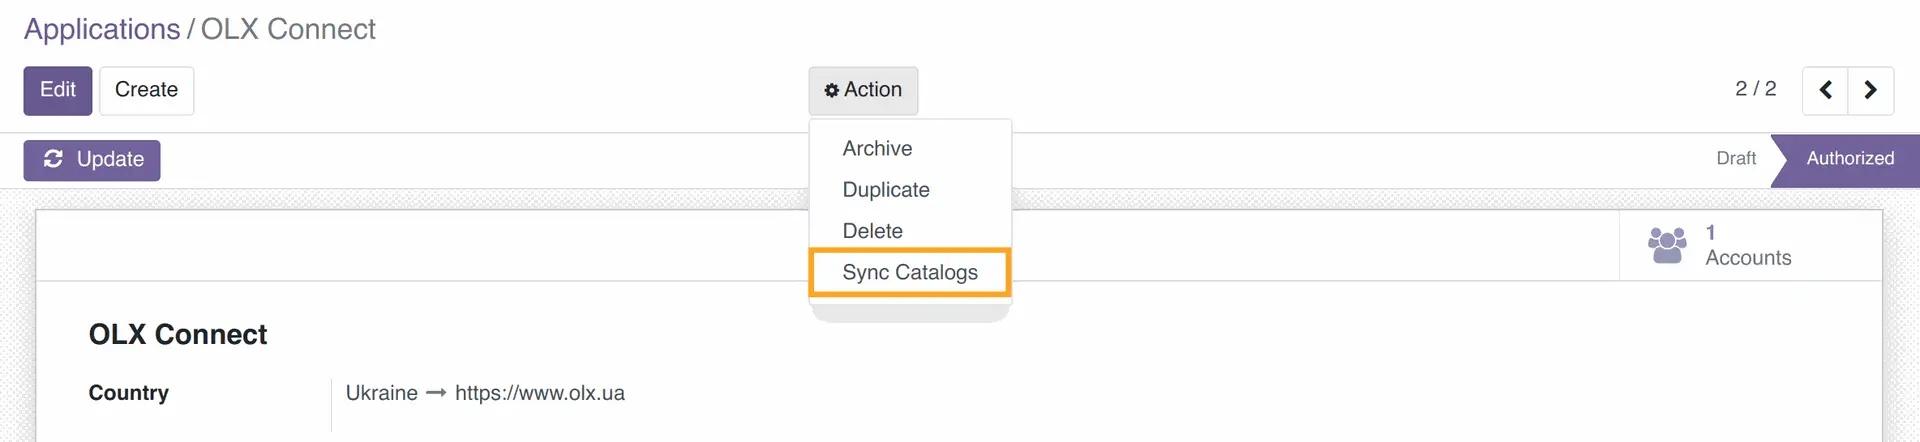 You need to perform this action manually only once after installing the module, then it will be performed automatically once a day.
3. Usage
3.1 Create Ad
Go to the "OLX" - "Ads" menu and create a new ad.
Fill in the mandatory field:
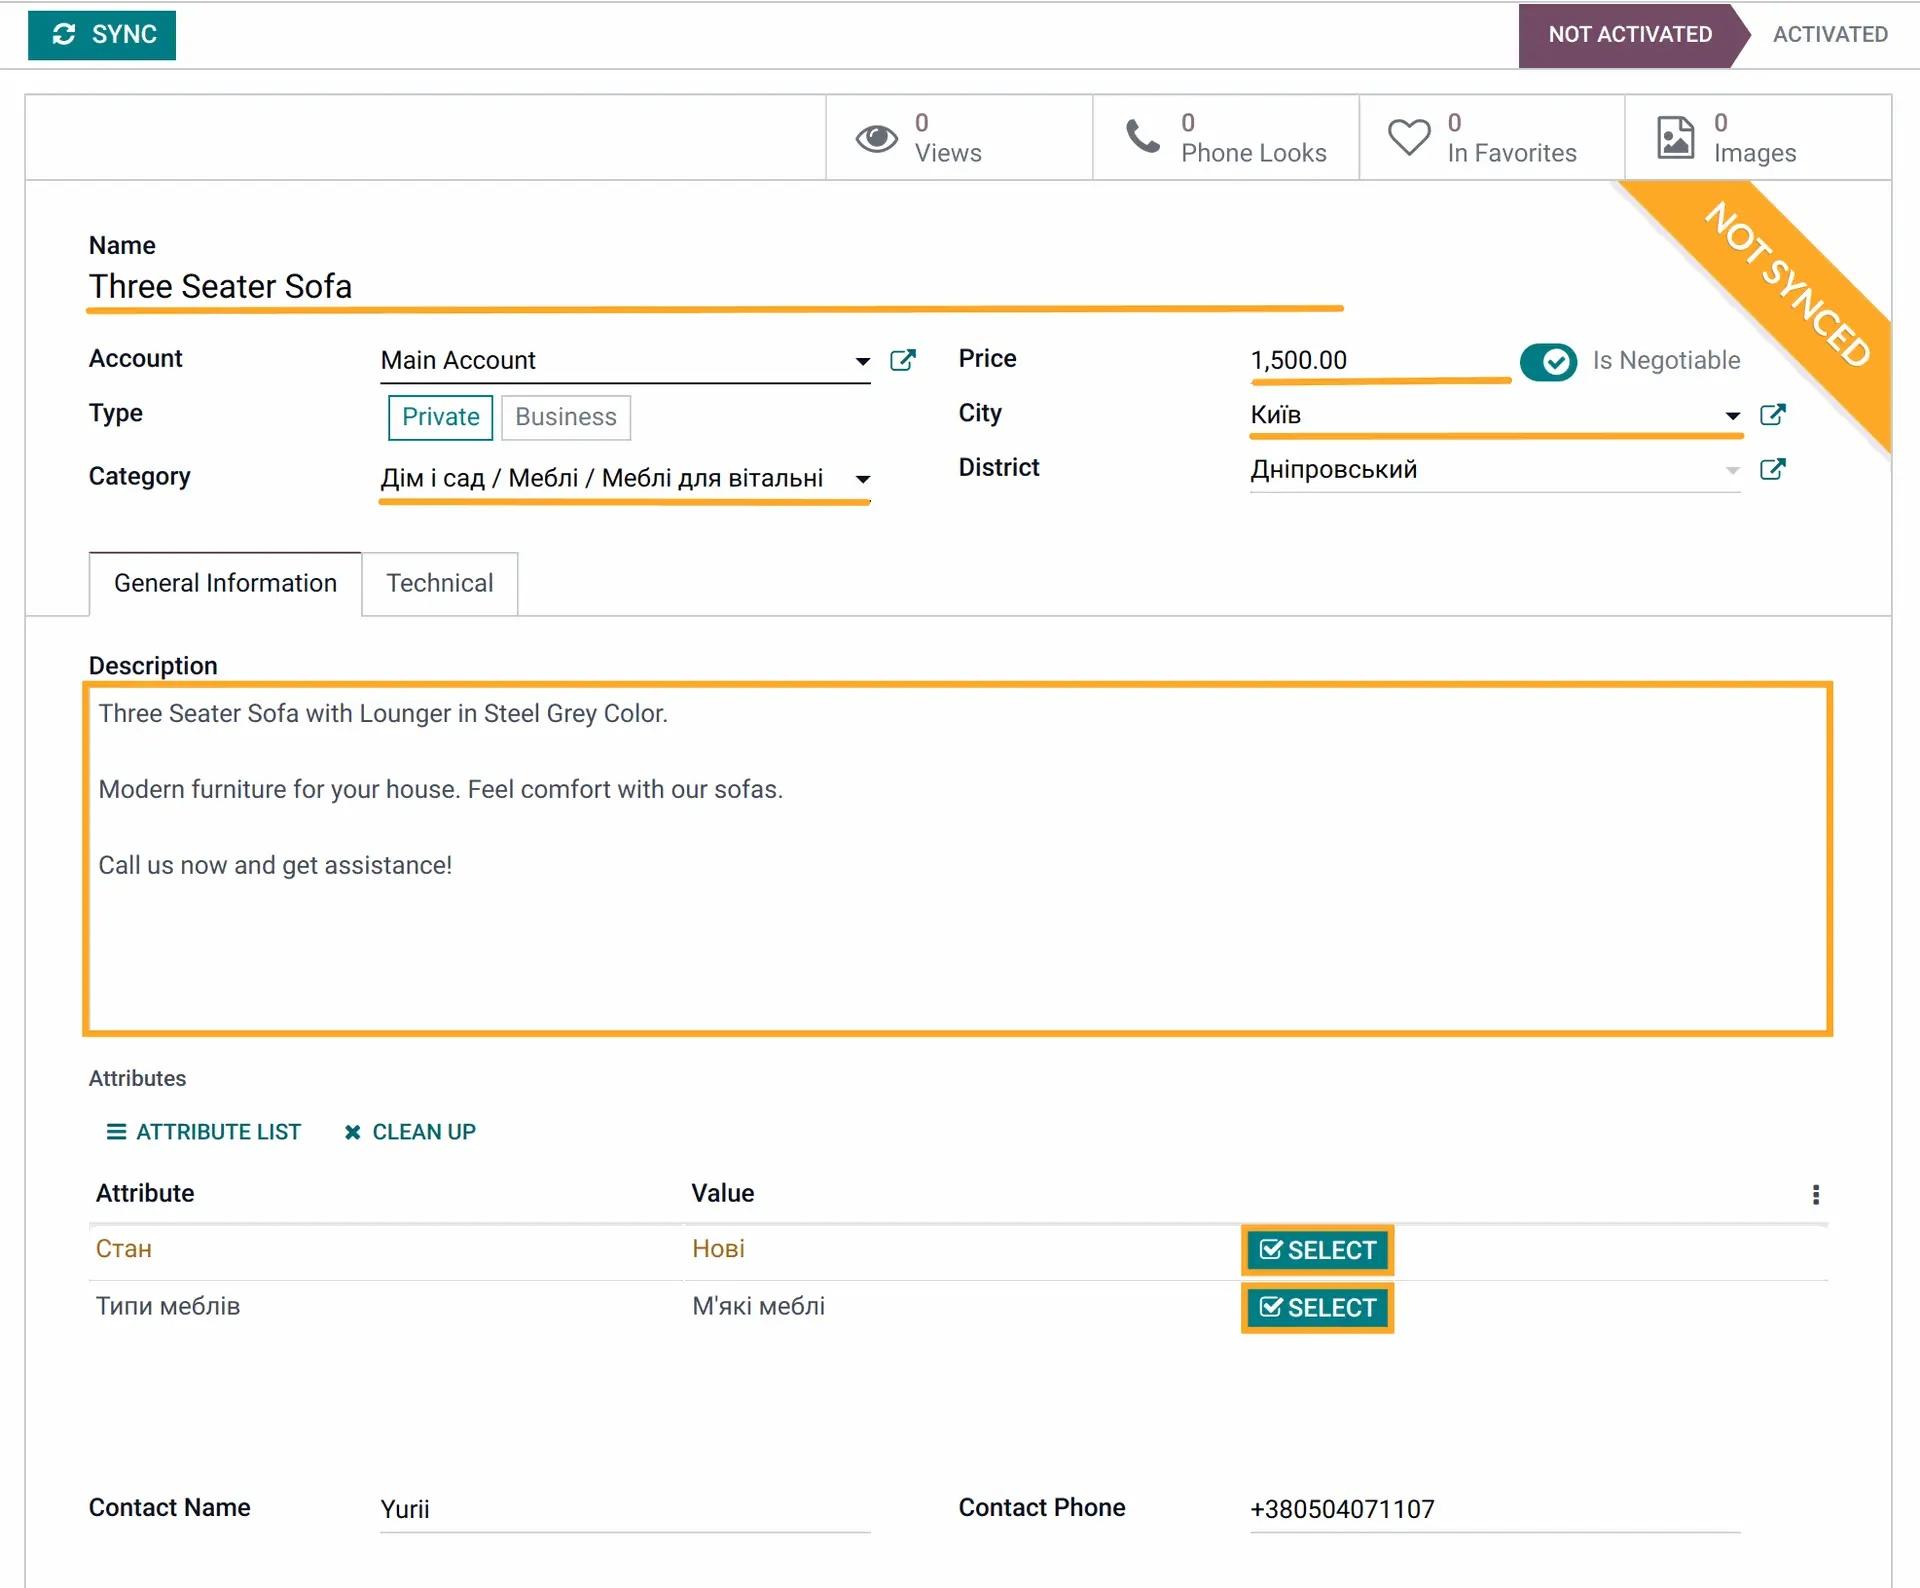
To select category attribute values, click the "Select" button.
Save changes.
3.2 Add Images
Click the "Images" button and create new attachments:

3.3 Synchronization with Olx
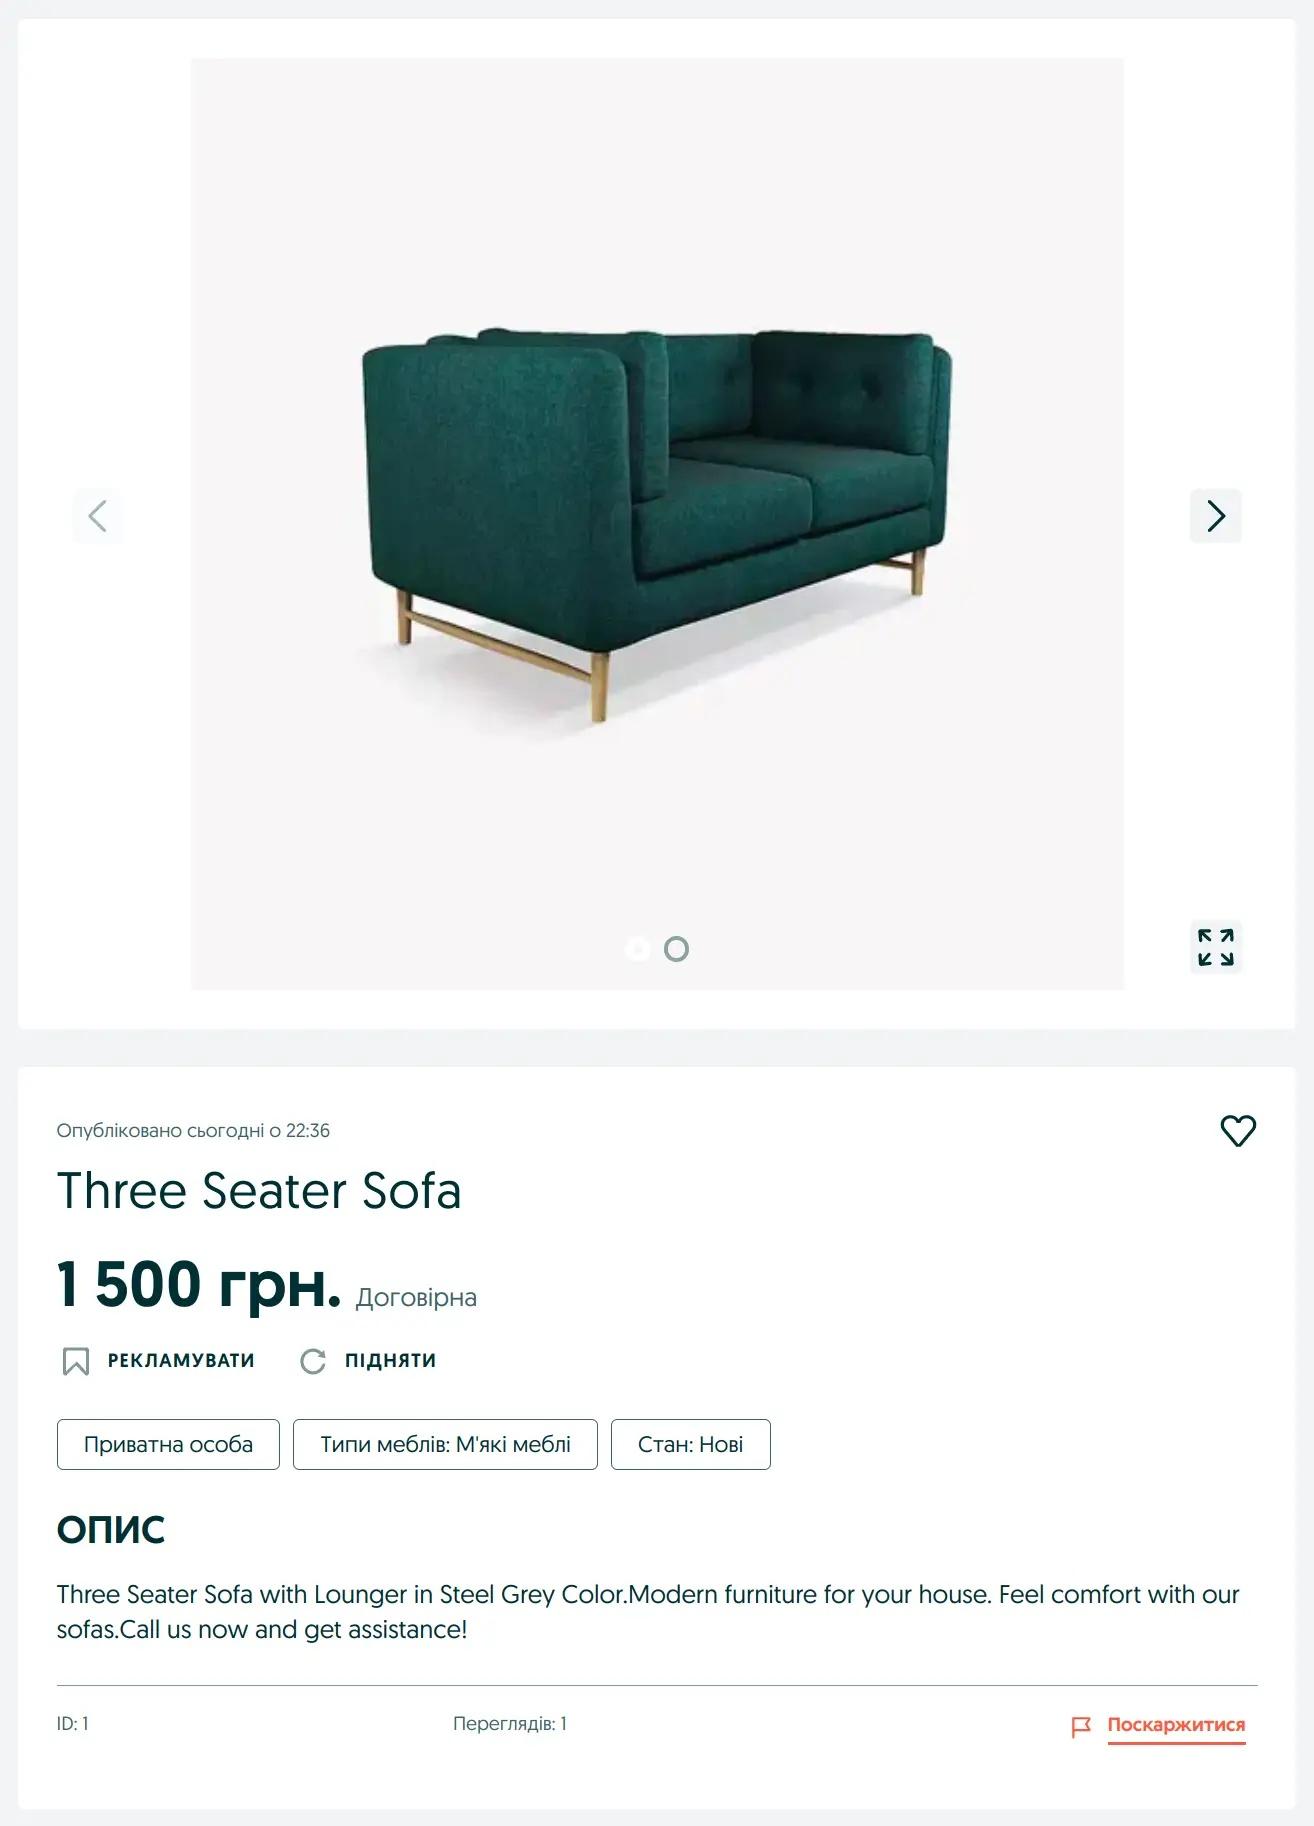
Once all the necessary information is filled in, synchronize the ads with OLX by clicking "Synchronize".
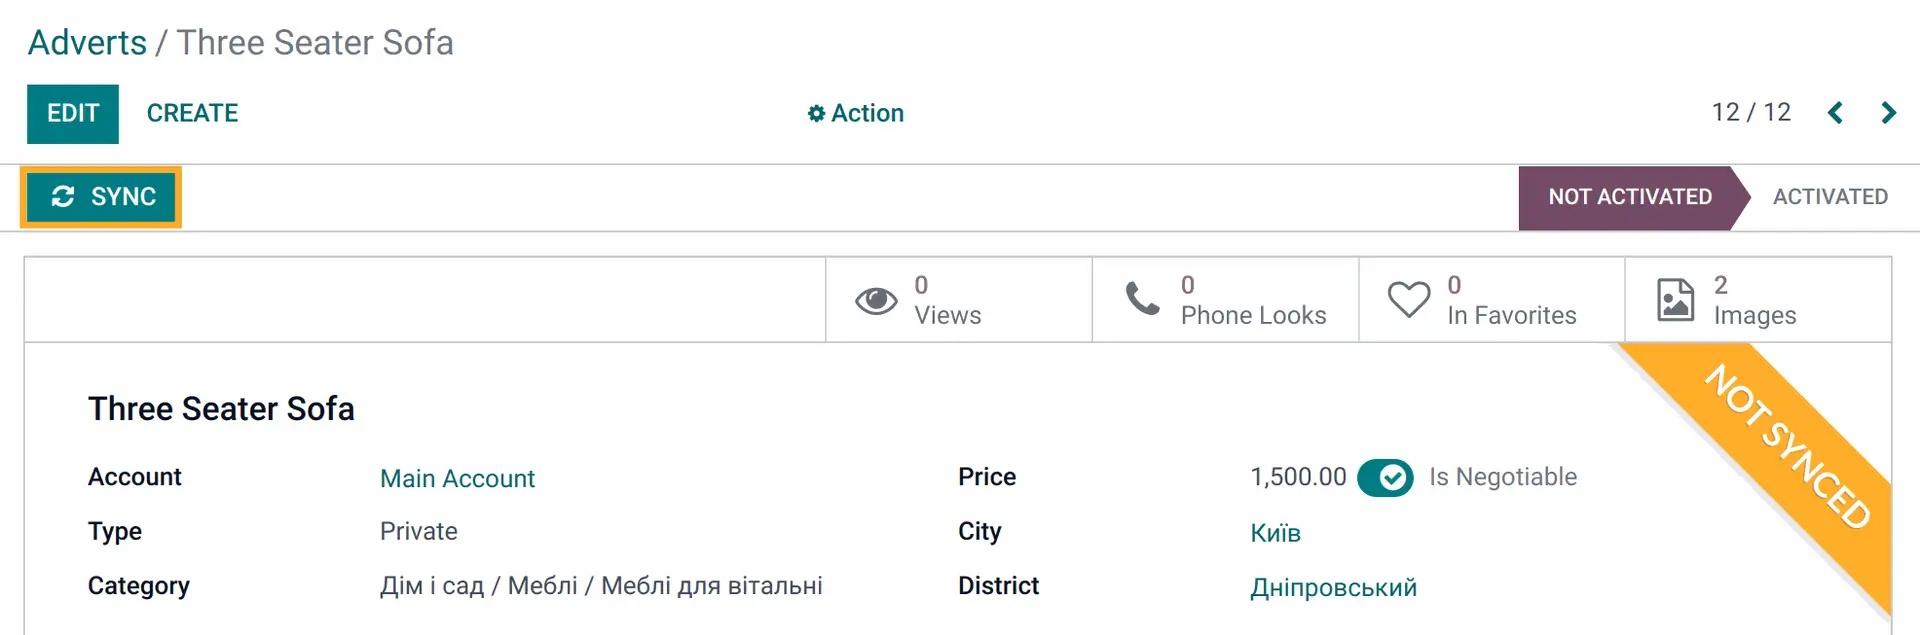
The ad will be uploaded to OLX: