Outlook Instruction
1. Enable the mail plugin
First, enable the featureMail Pluginin the database. Go to Settings ‣ General Settings ‣ Integrations, enable Mail Plugin and save the configuration.
2. Install the Outlook plugin
Download (save page as ‣ XML web page only) such an XML file to upload later:https://download.odoocdn.com/plugins/outlook/manifest.xml.
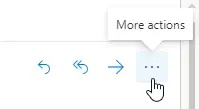
Next, open the Outlook mailbox and select any email. Then click the Other actions button in the top right corner and select Get add-ins.
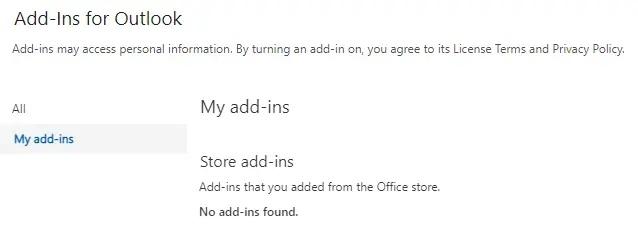
 After this step, select the My add-ins tab on the left.
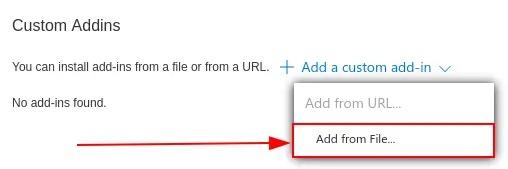
 At the bottom in the Custom add-ins section, click + Add custom add-in, and then Add from file…
 For the next step, add the manifest.xml file downloaded above and click OK. Then read the warning and click Install.
 3. Connect the database
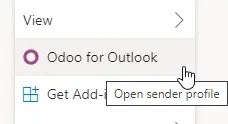
Now Outlook will be connected to the Odoo database. First, open any email in the Outlook mailbox, click the Additional actions button in the top right corner, and select Odoo for Outlook.
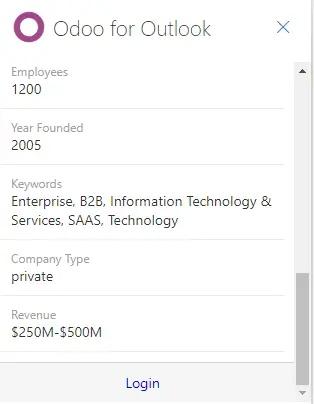
 The right-side panel may now displaycompany information. At the bottom, click Login.
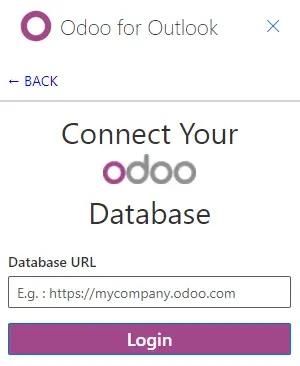
 Now enter the Odoo database URL and click Login.
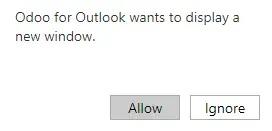
 Next, click Allow to open the pop-up window.
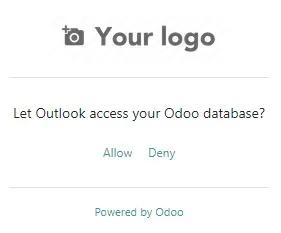
 If the user is not logged into the database, enter the credentials. Click Allow to enable the Outlook plugin to connect to the database.
 4. Add a shortcut to the plugin
By default, the Outlook plugin can be opened from the menuadditional actions. However, to save time, it can be added alongside other default actions.
In the Outlook mailbox, click Options, and then View all Outlook settings.
 Now select Configure actions in the Mail section, click Odoo for Outlook, and then Save.
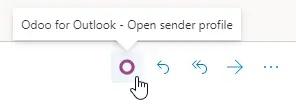
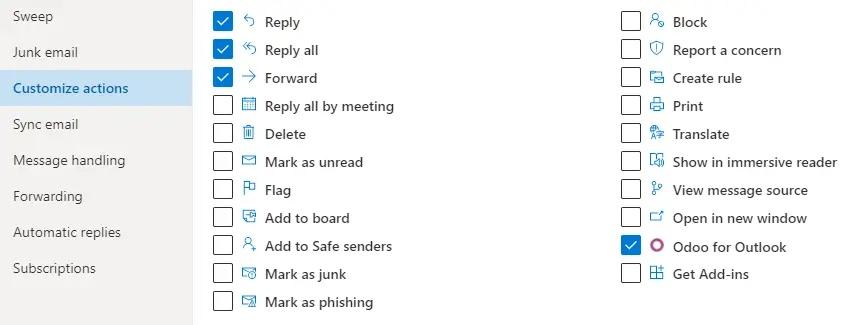 After this step, open any email; a shortcut should appear.
 5. Using the plugin
Now that the plugin is installed and running, all you need to do to create a lead is click O[Odoo icon] or go to Additional actions and click Odoo for Outlook. A sidebar will appear on the right, and in the Opportunities section, click Create. A new window will open with the opportunity created in the Odoo database.