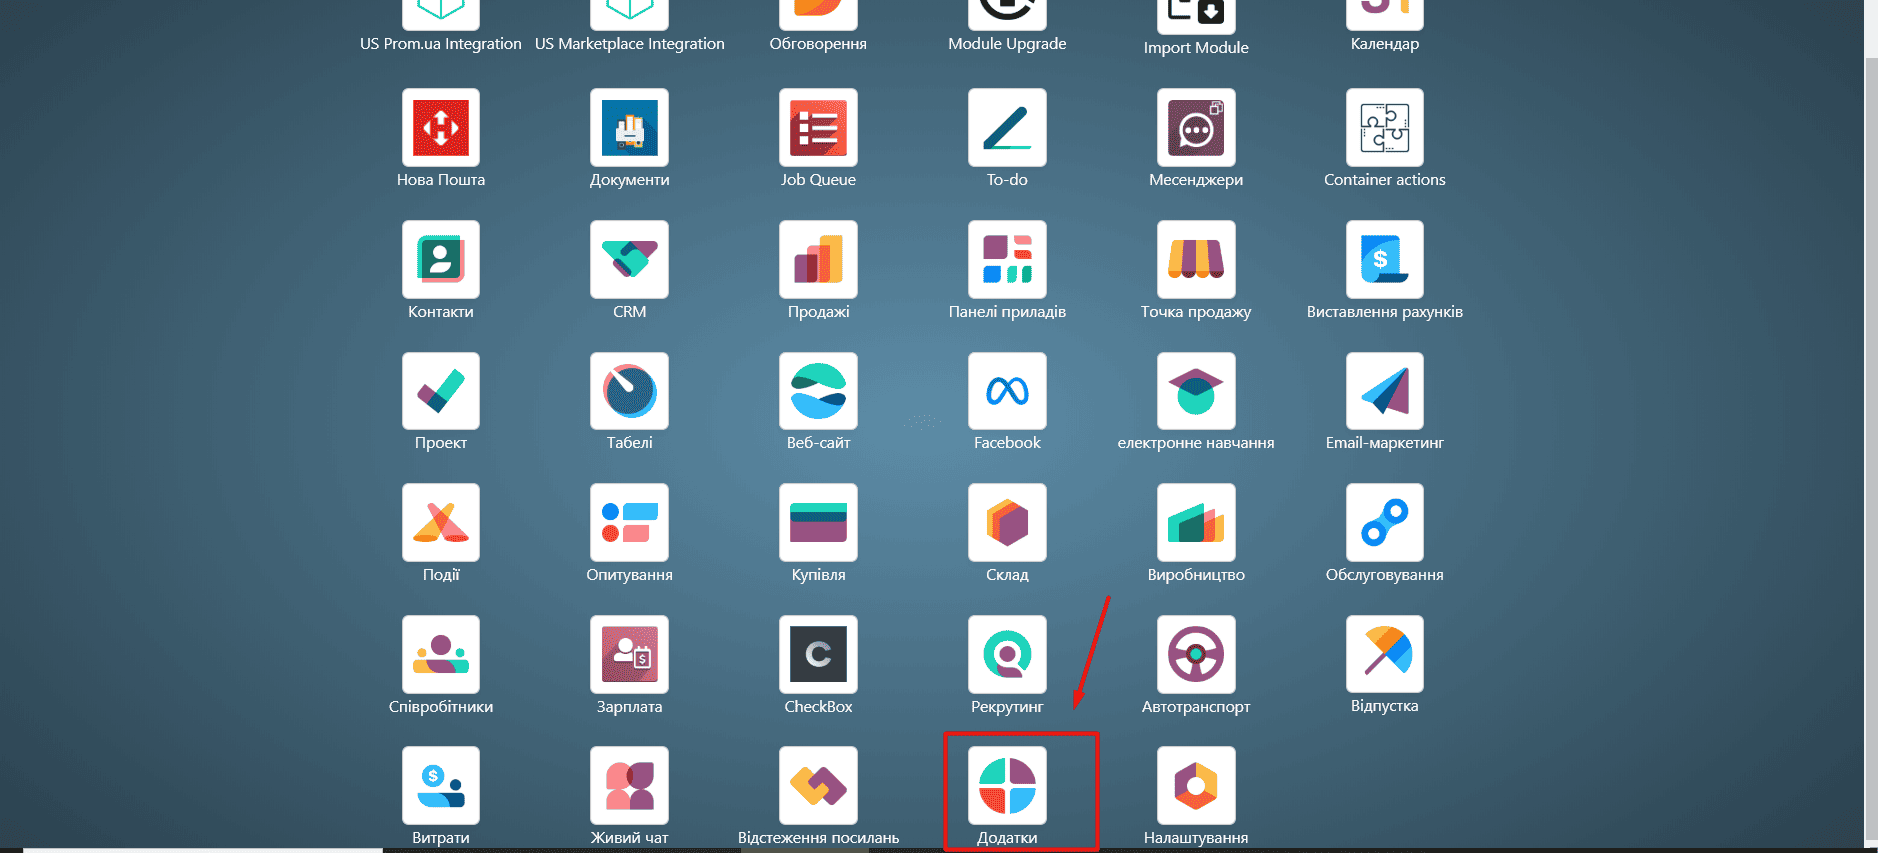
Step 1. Installing the Checkbox module in Odoo
- Go to the "Add-ons" menu in Odoo.
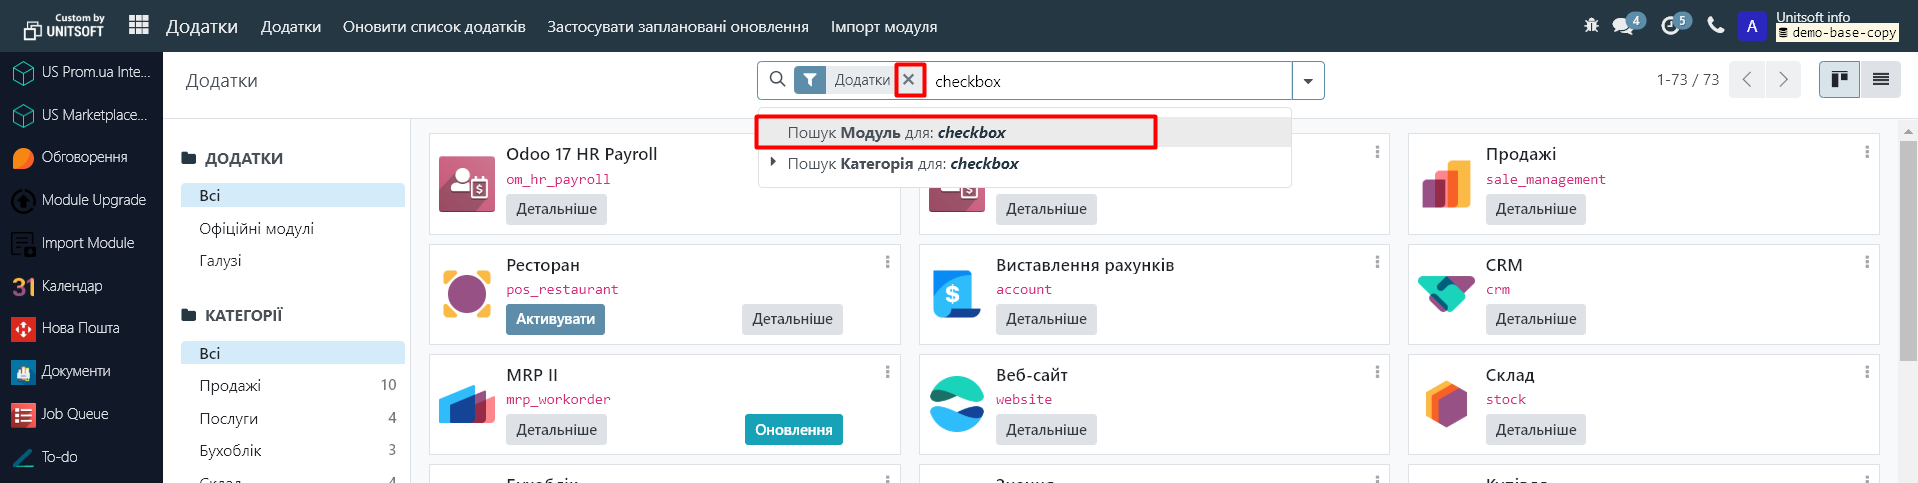
2. In the search bar, remove the "Add-ons" filter and enter "checkbox":
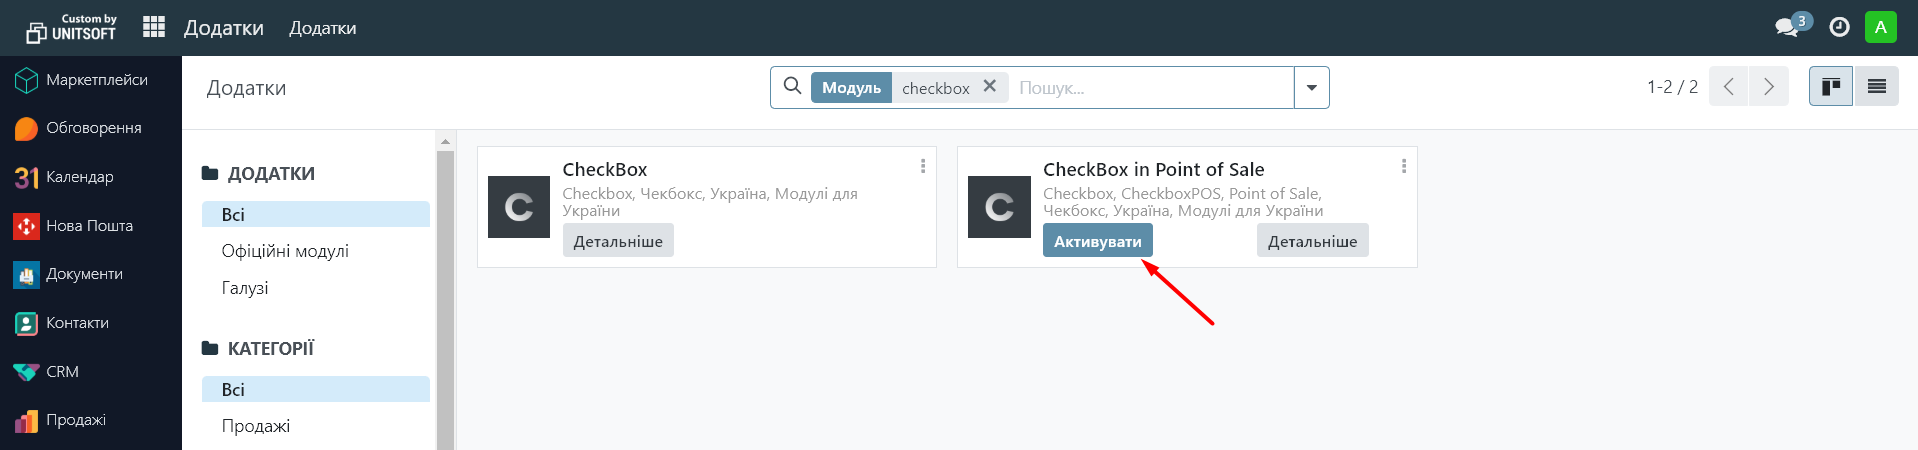
3. Install the two modules found (Activate button):
Step 2. Adding a cashier to the system
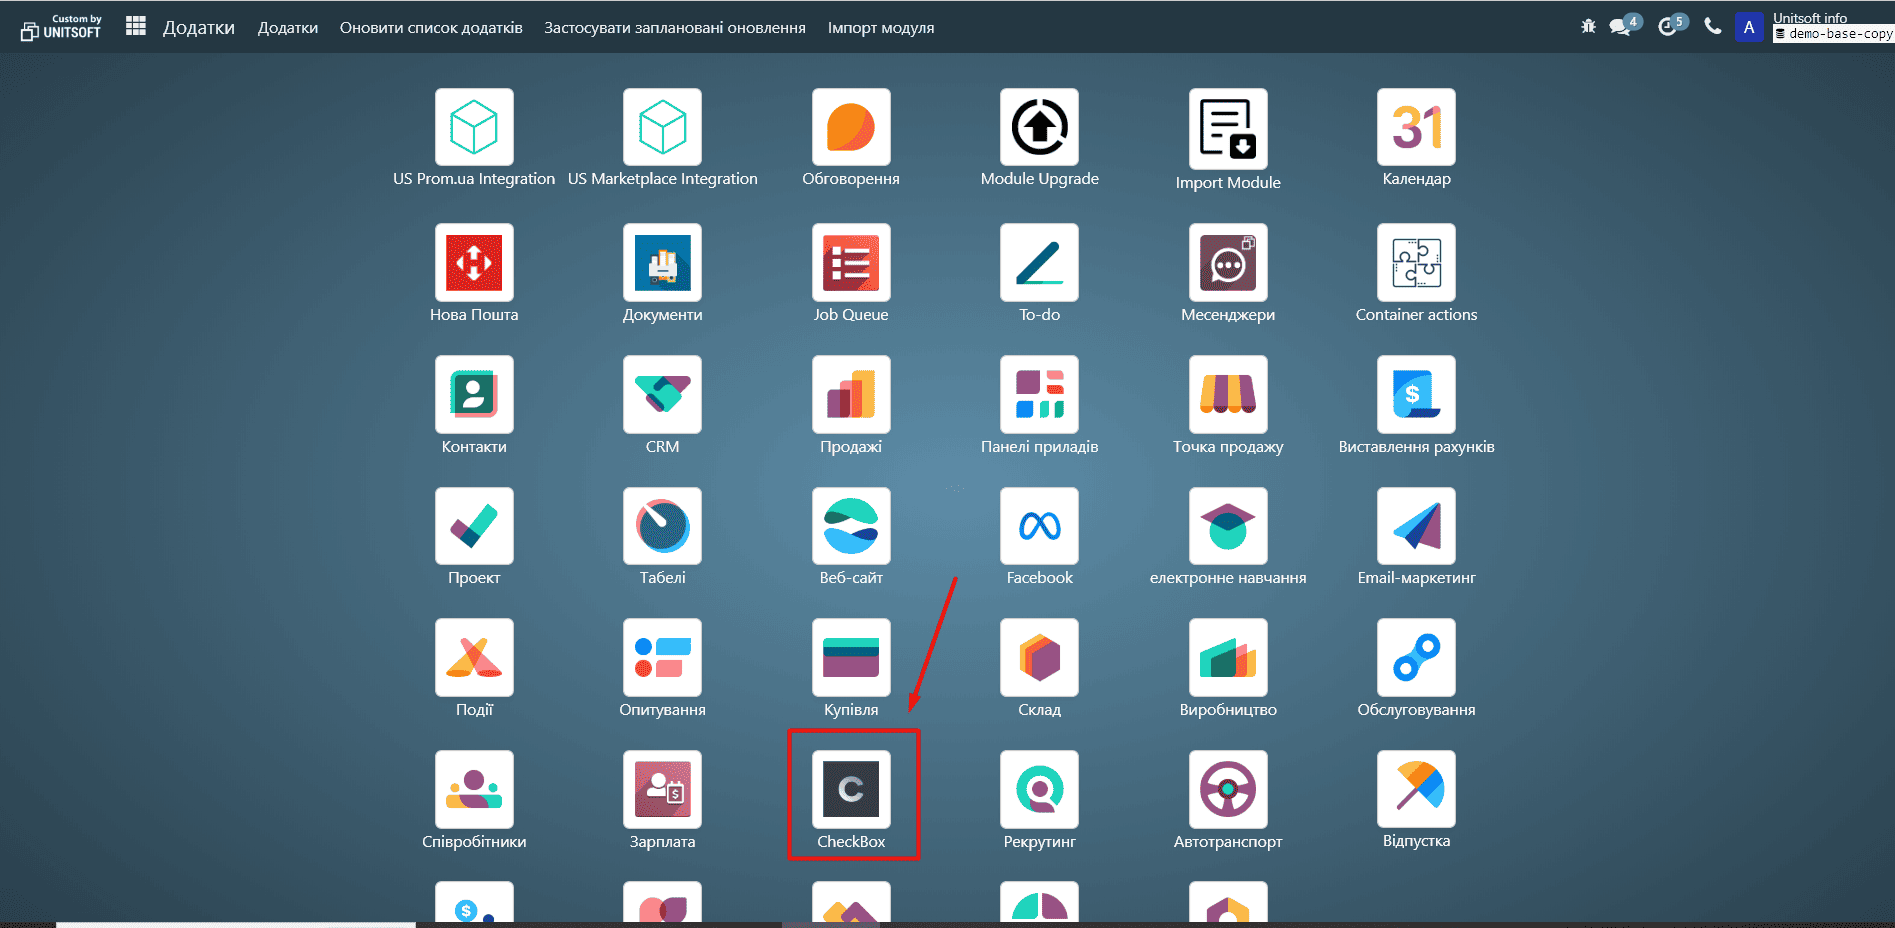
1. Go to the “Checkbox” module:
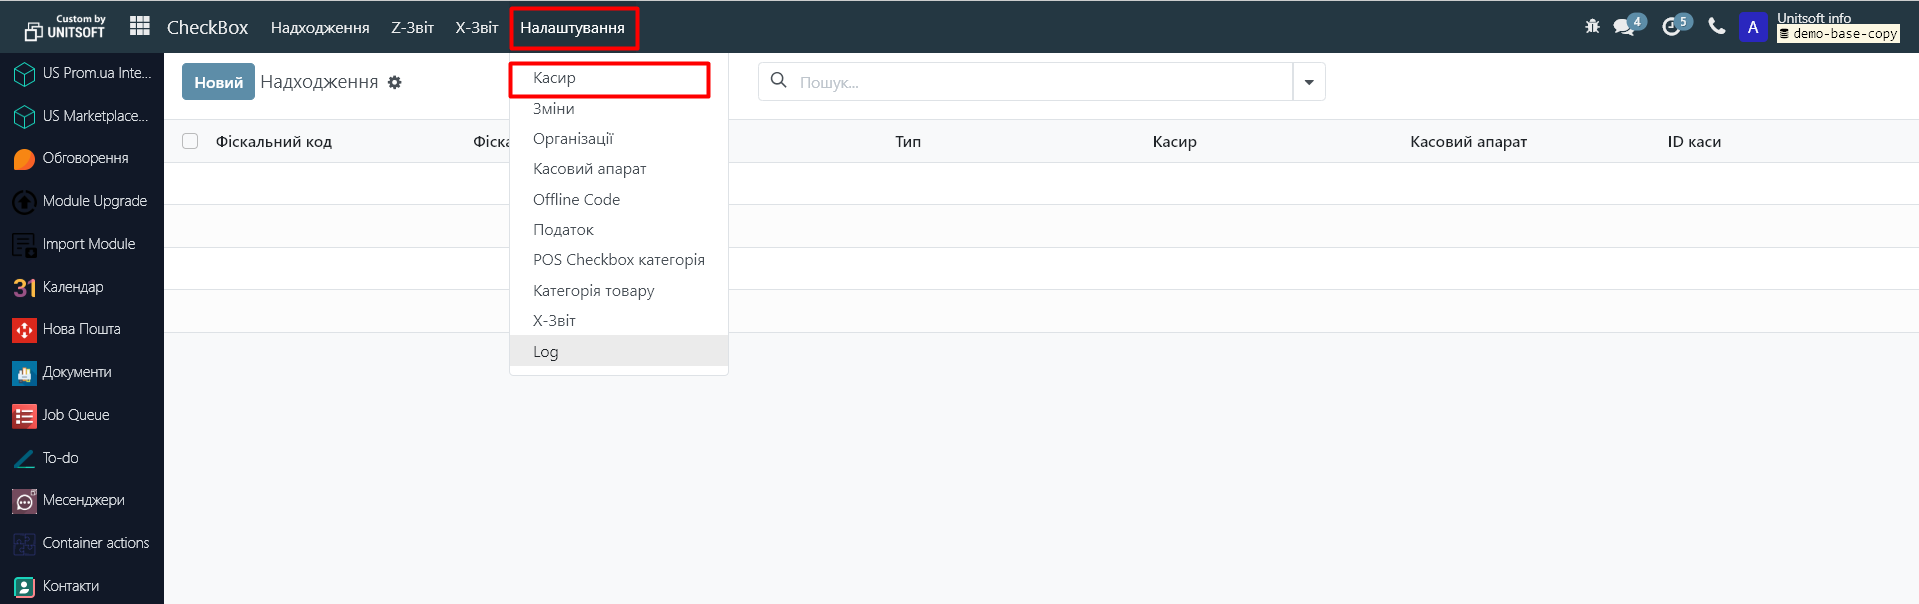
2. Go to the "Settings" - "Cashier" menu:
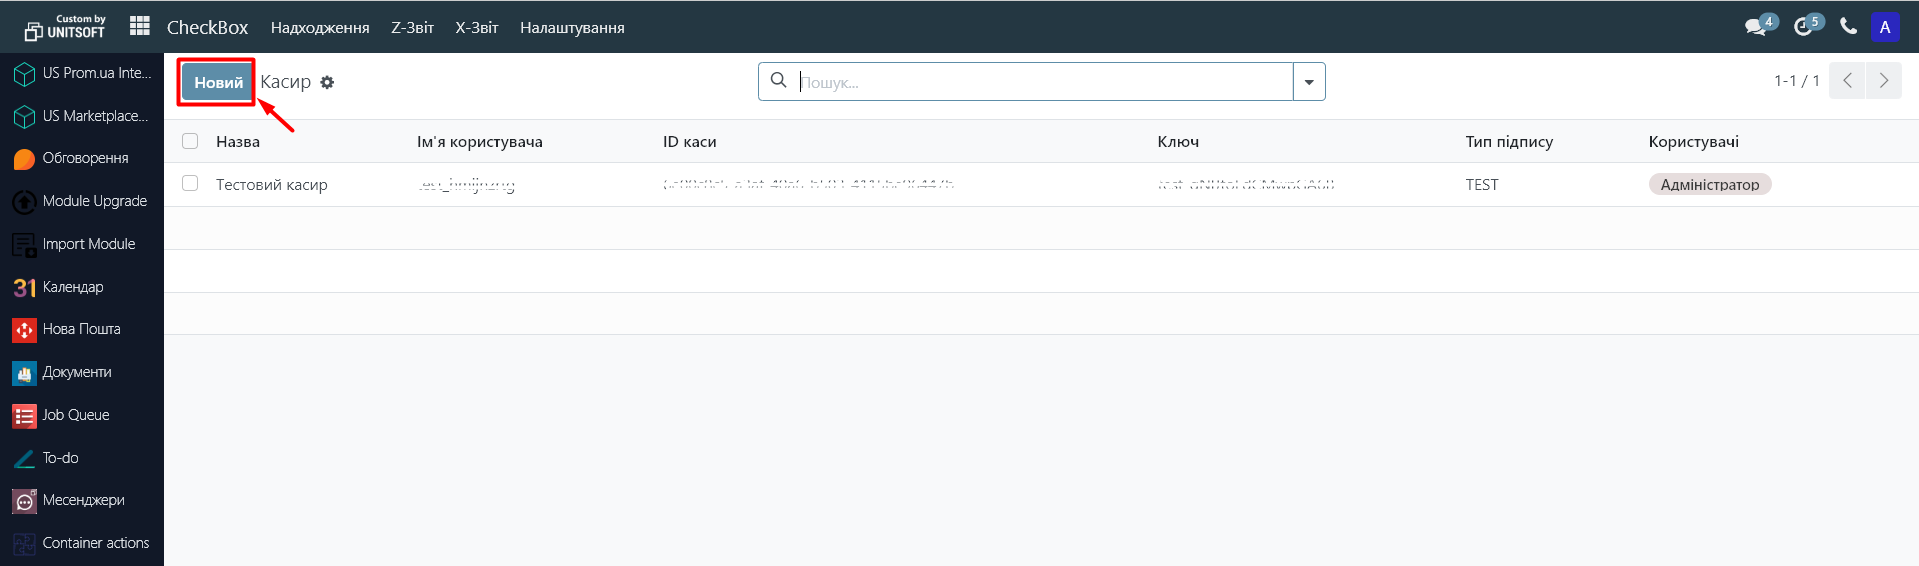
3. Click the "New" button.
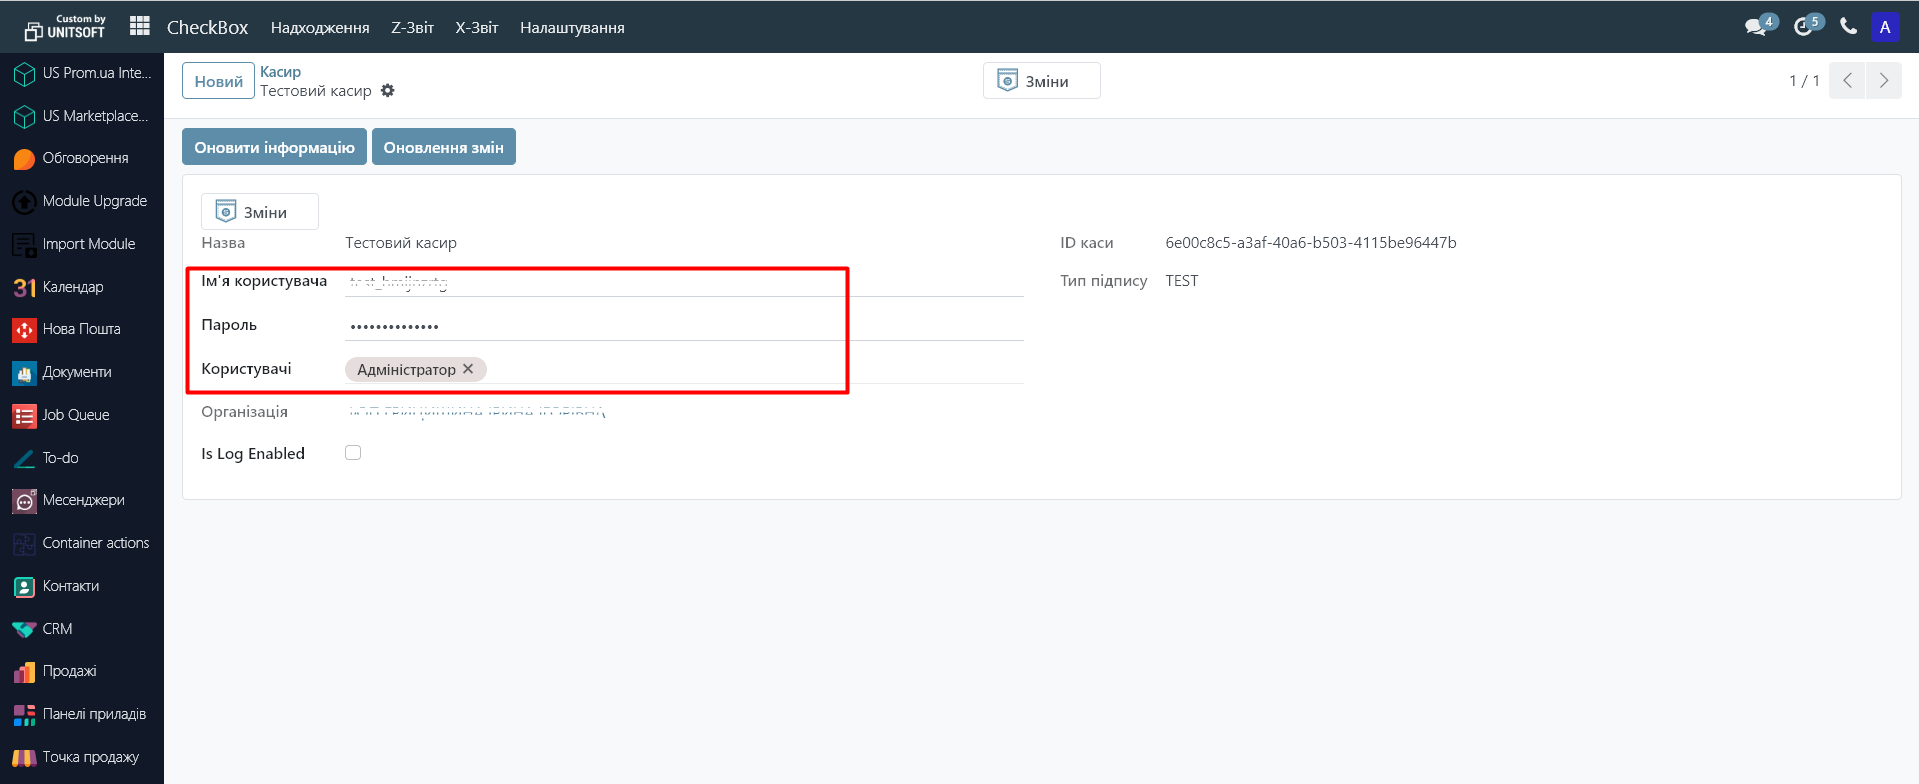
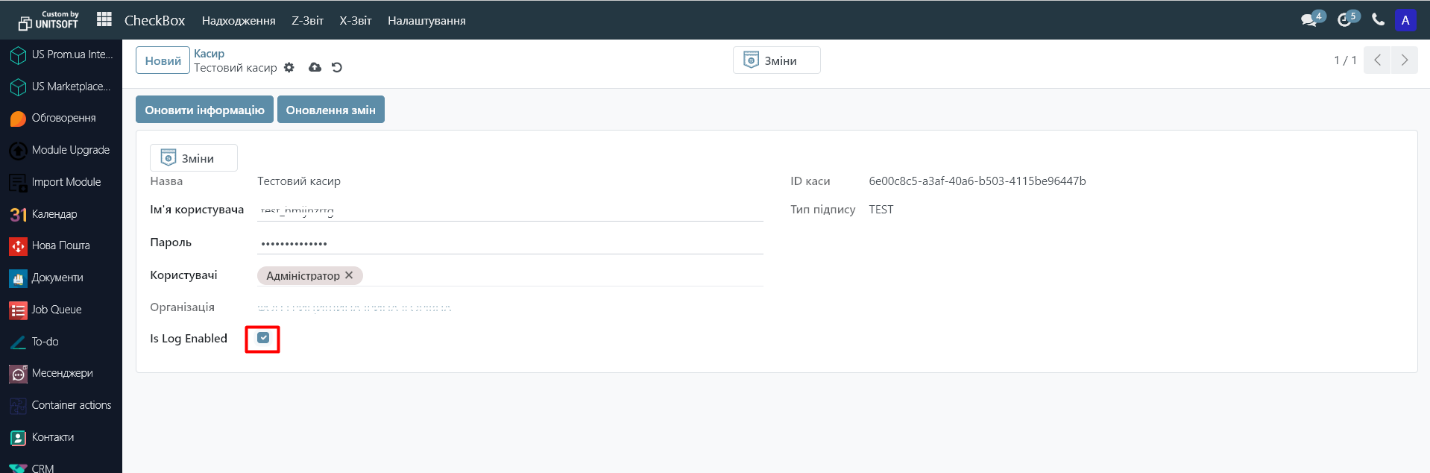
4. In the cashier edit window:
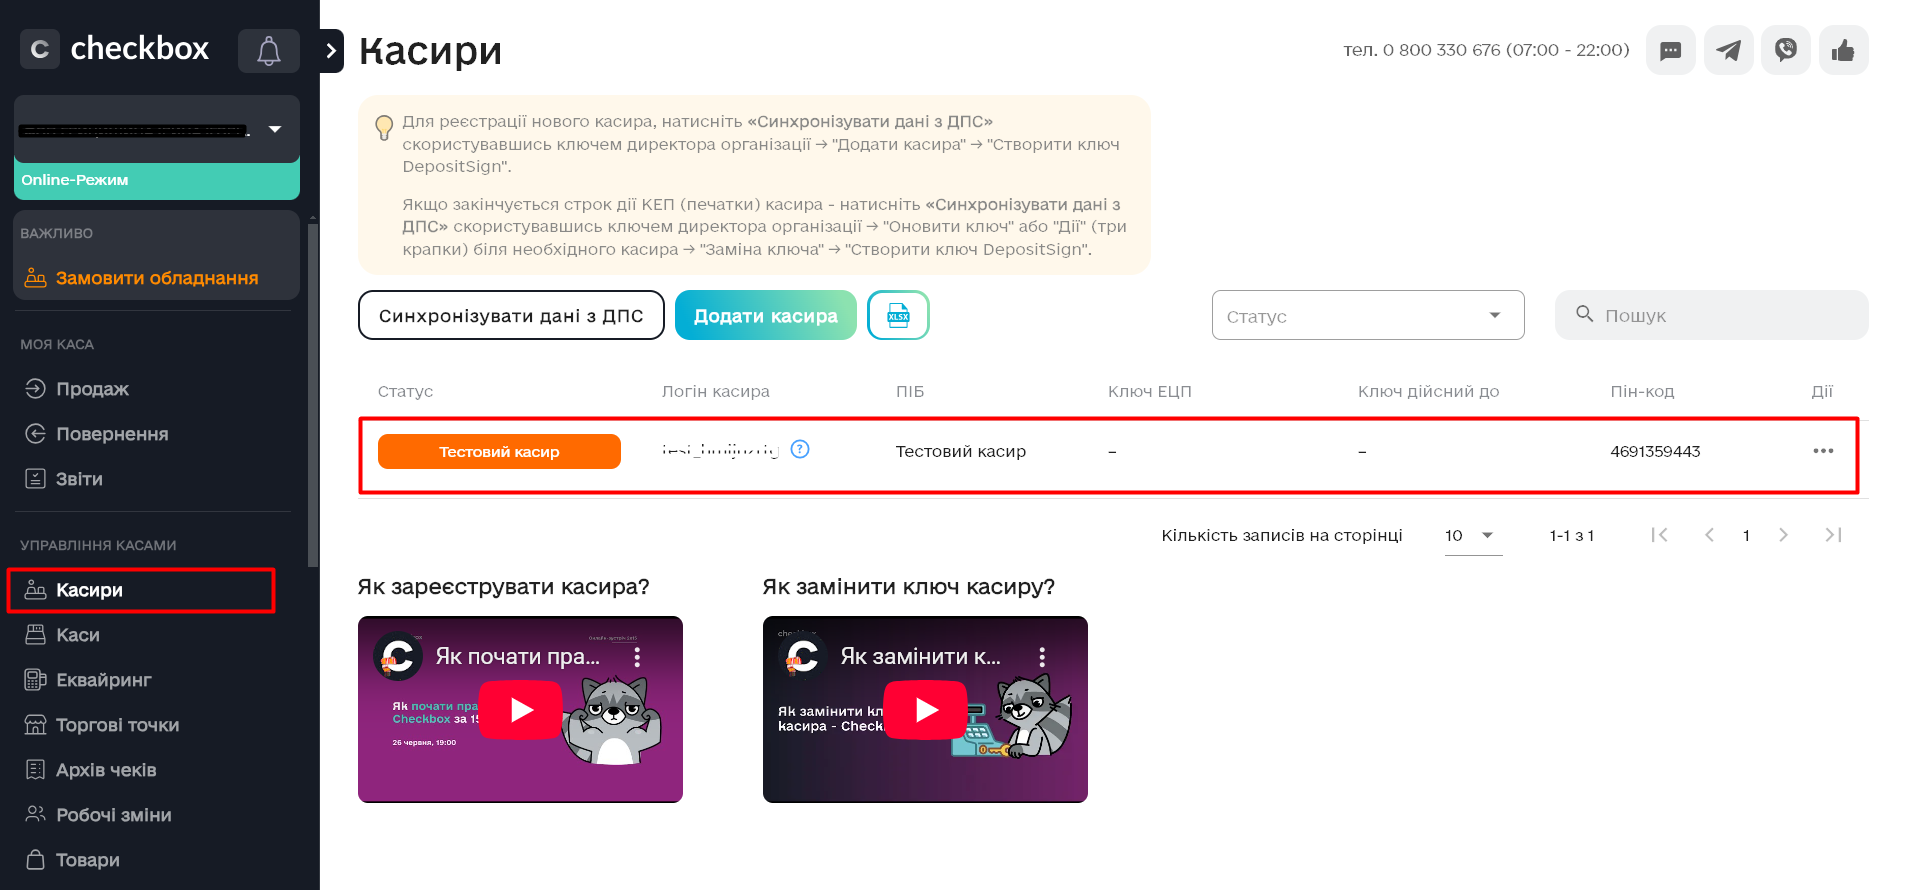
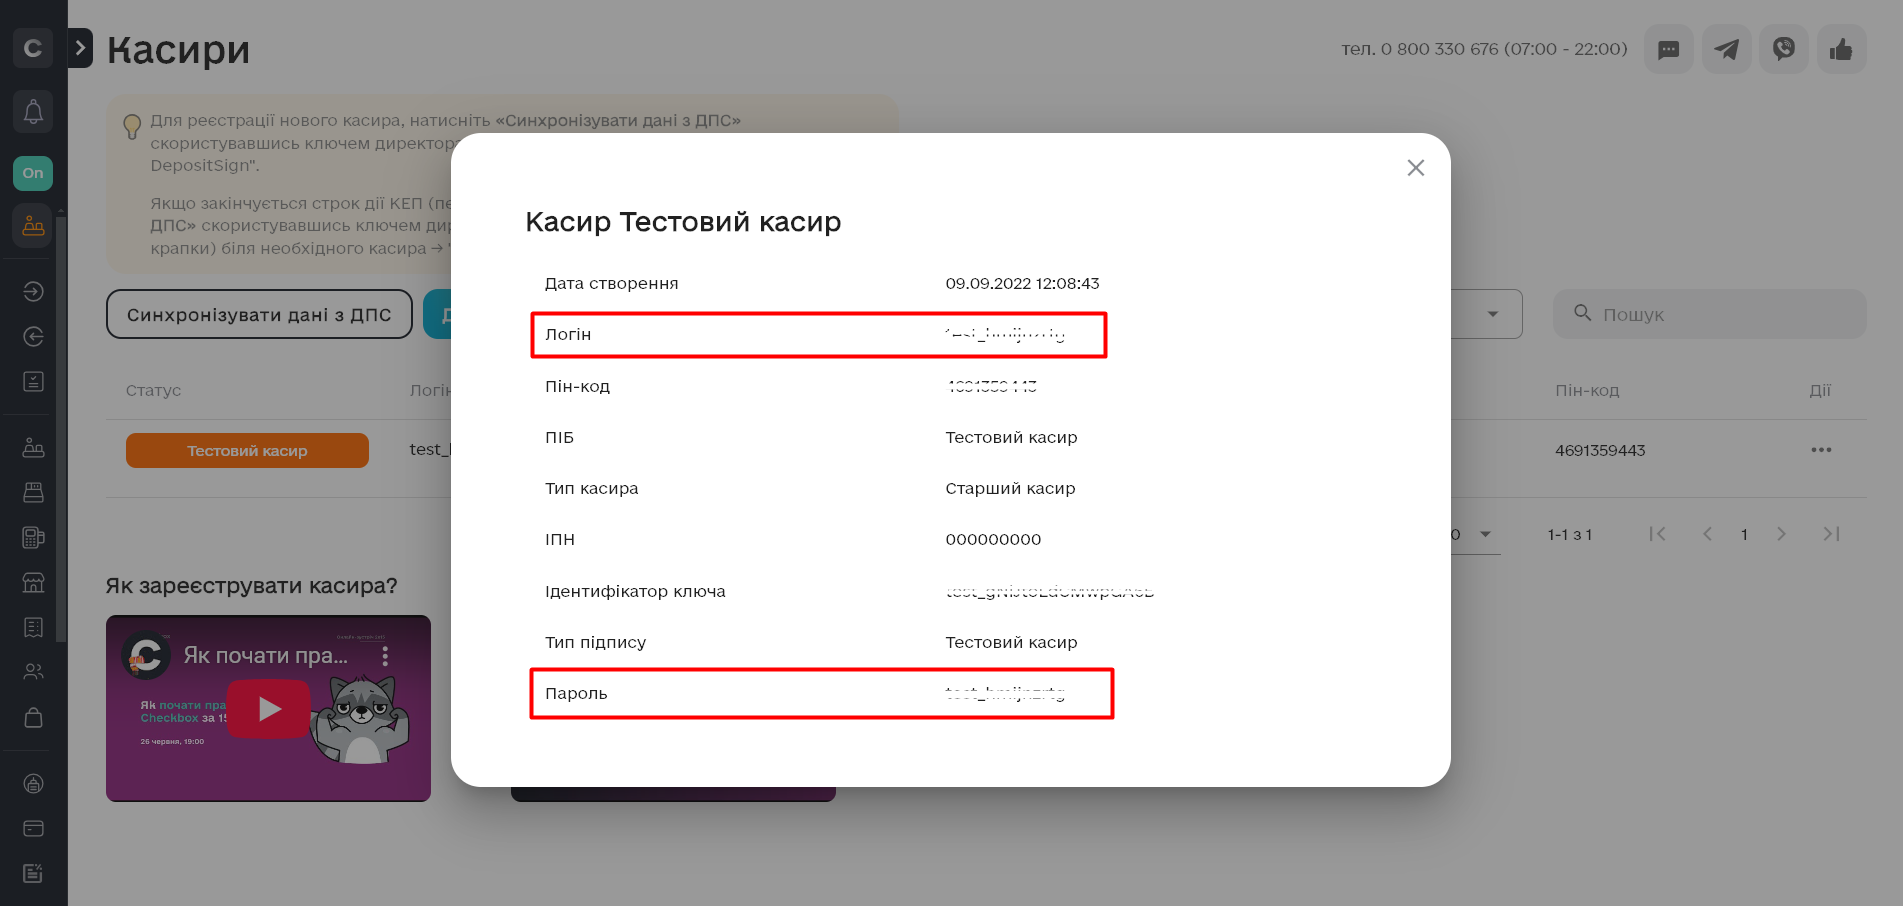
- In the "Username" field, insert the value from the "Login" field in the CheckBox account.
- In the "Password" field, insert the value from the "Password" field in the CheckBox cabinet.
- In the "User" field, specify all Odoo system users who will work under this login.
5. Click "Save."
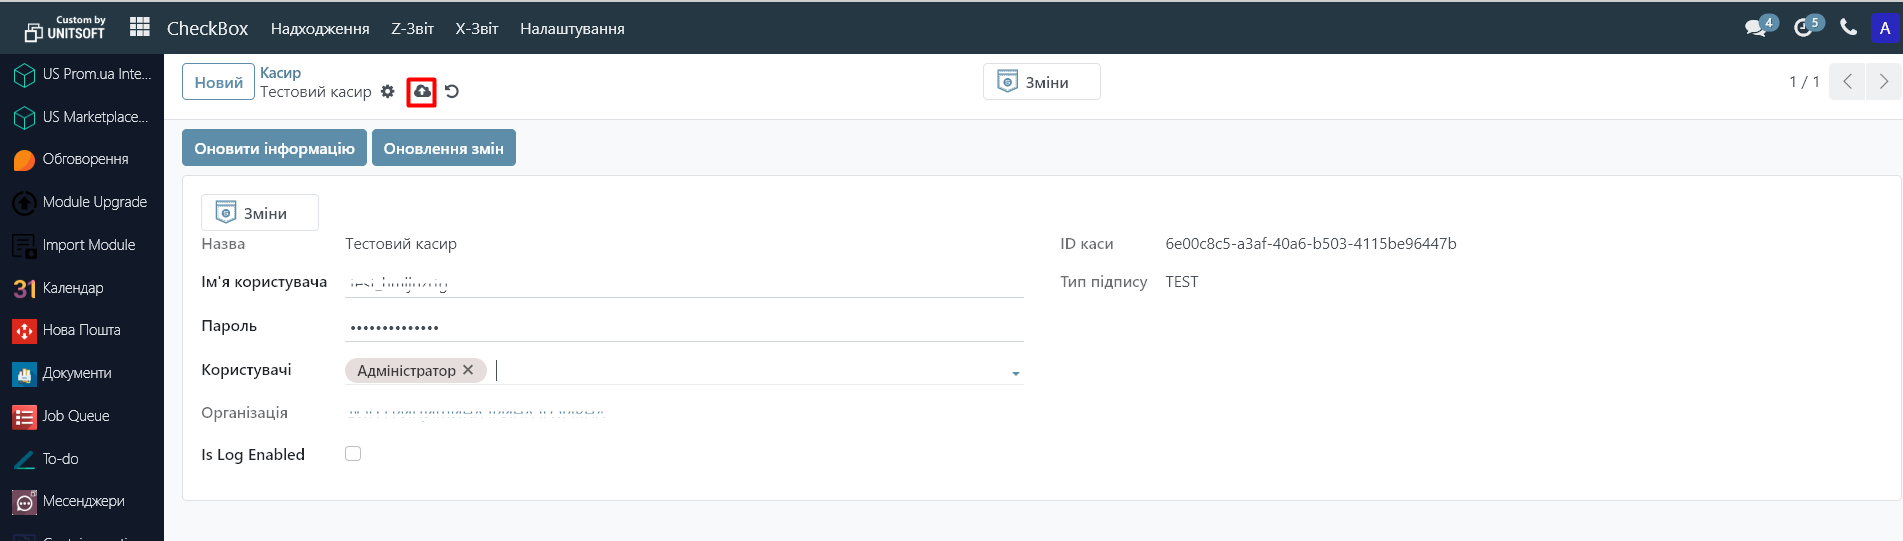
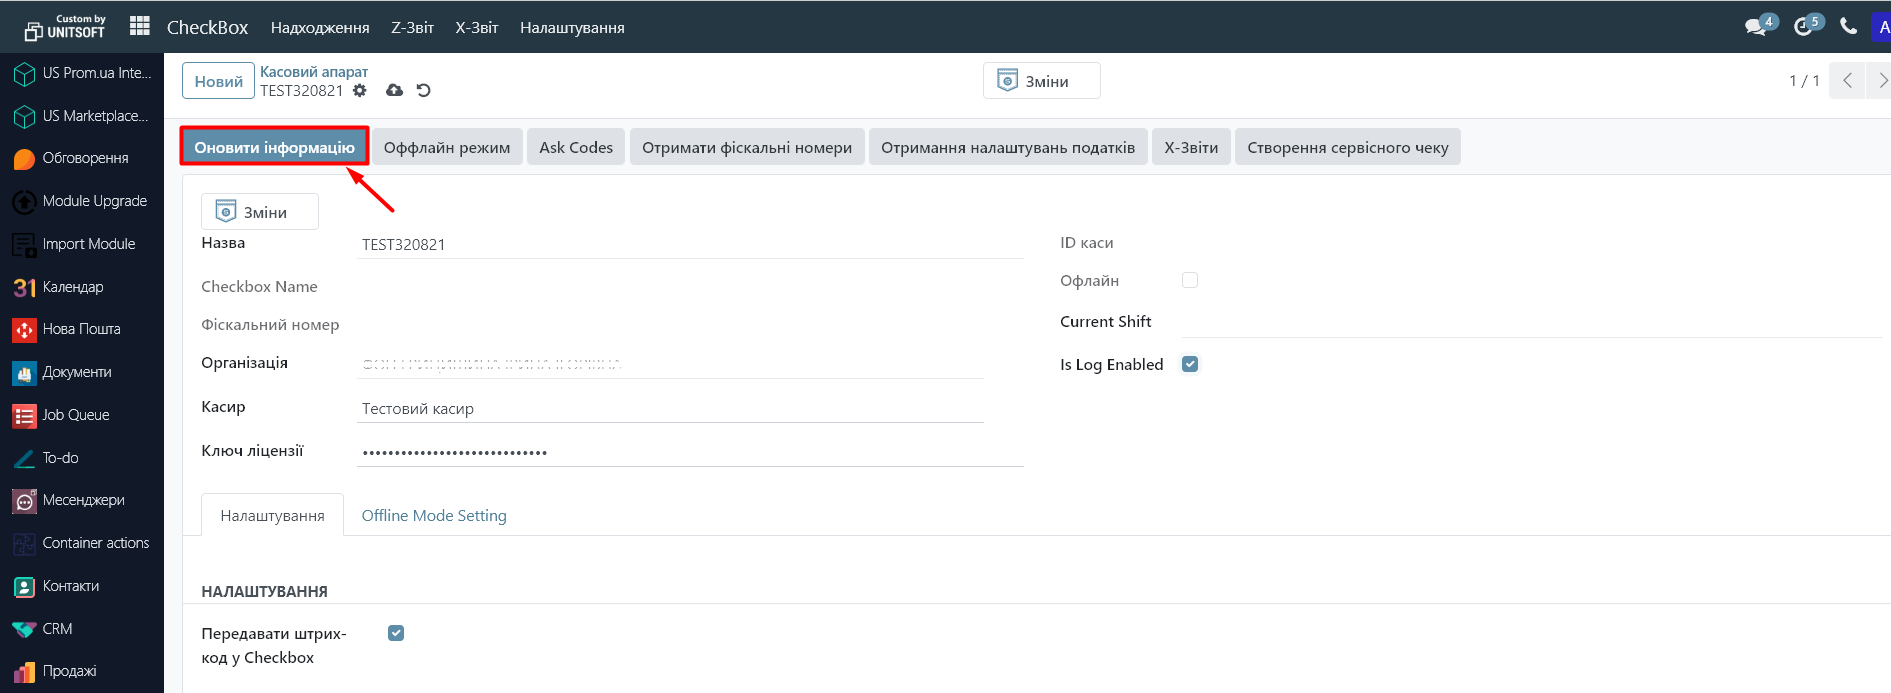
6. Click "Update Information" to synchronize the cashier with CheckBox.
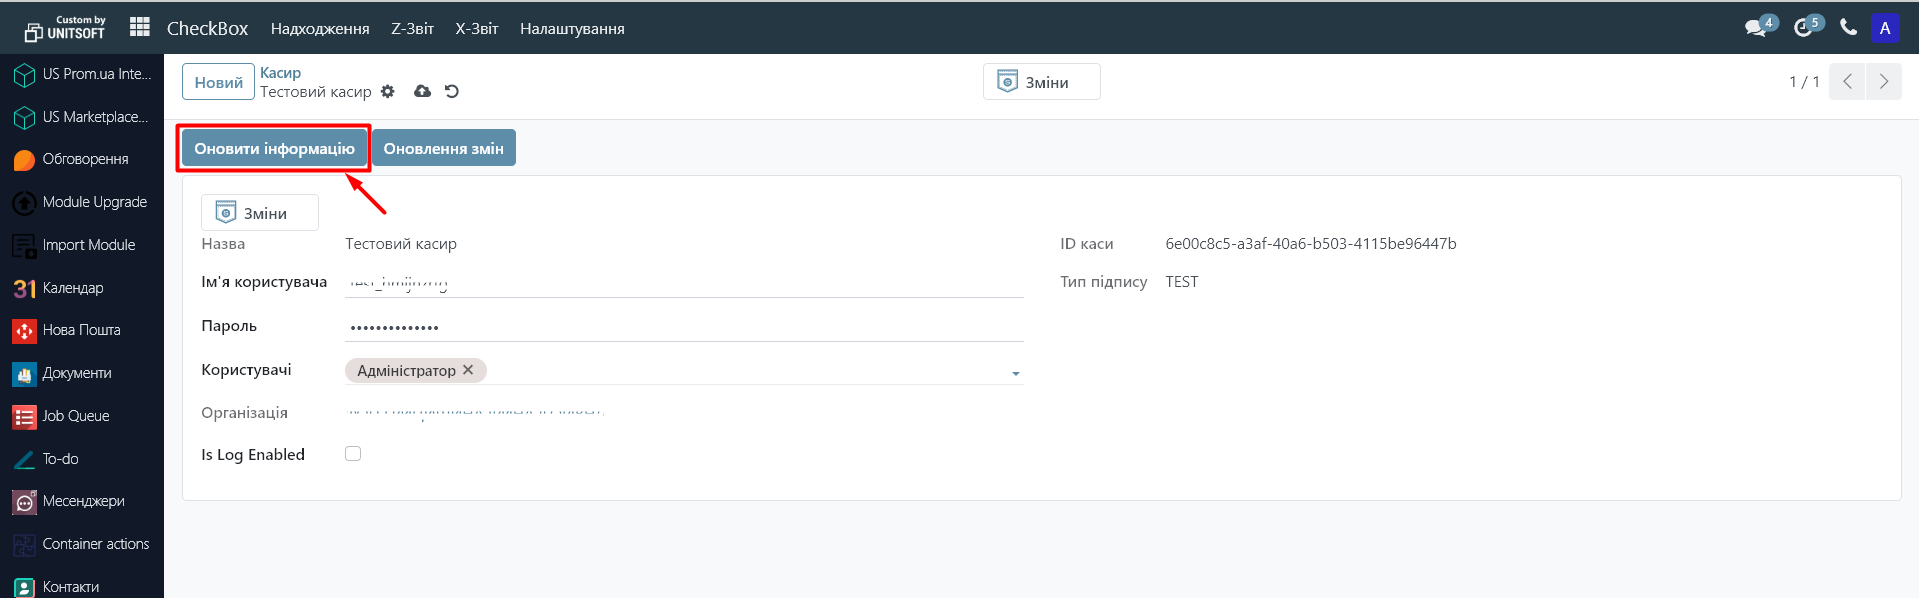
After successful synchronization, additional data and organization will be pulled up.
7. At the beginning of work, it is recommended to enable logging by activating the "Is Log Enabled" function.
Step 3. Adding a cash register
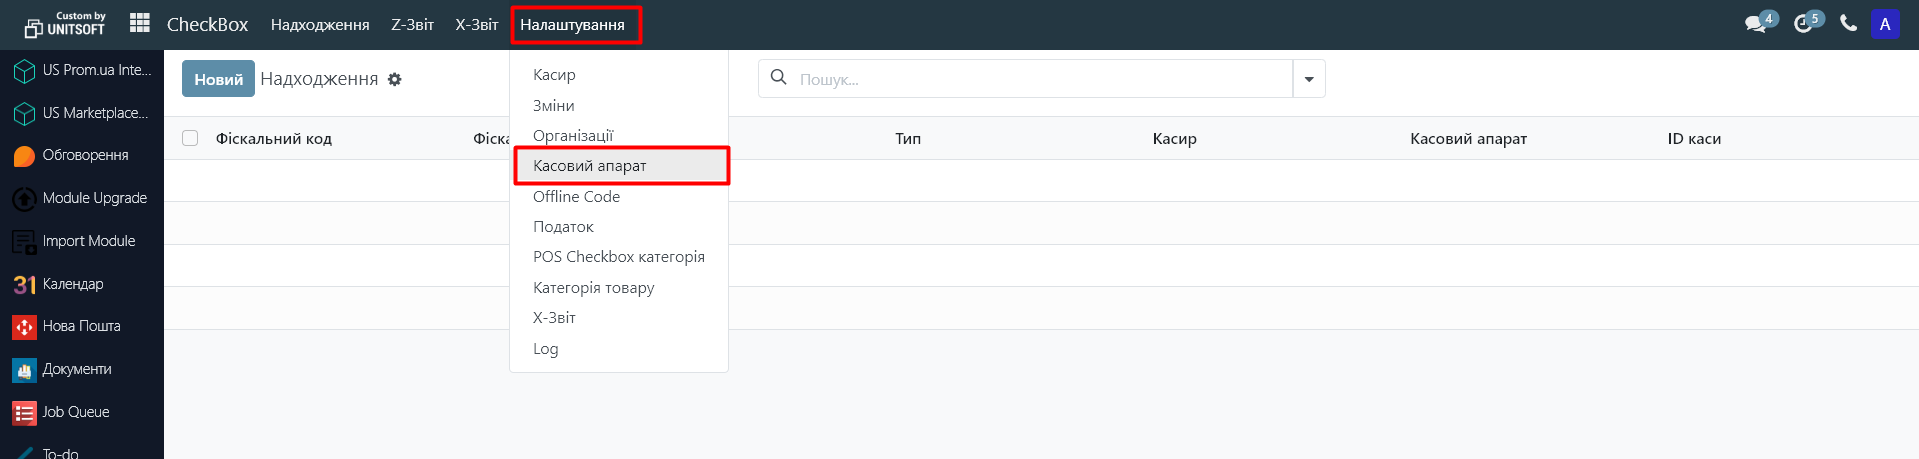
1. In the "CheckBox" module, go to "Settings" - "Cash Register":
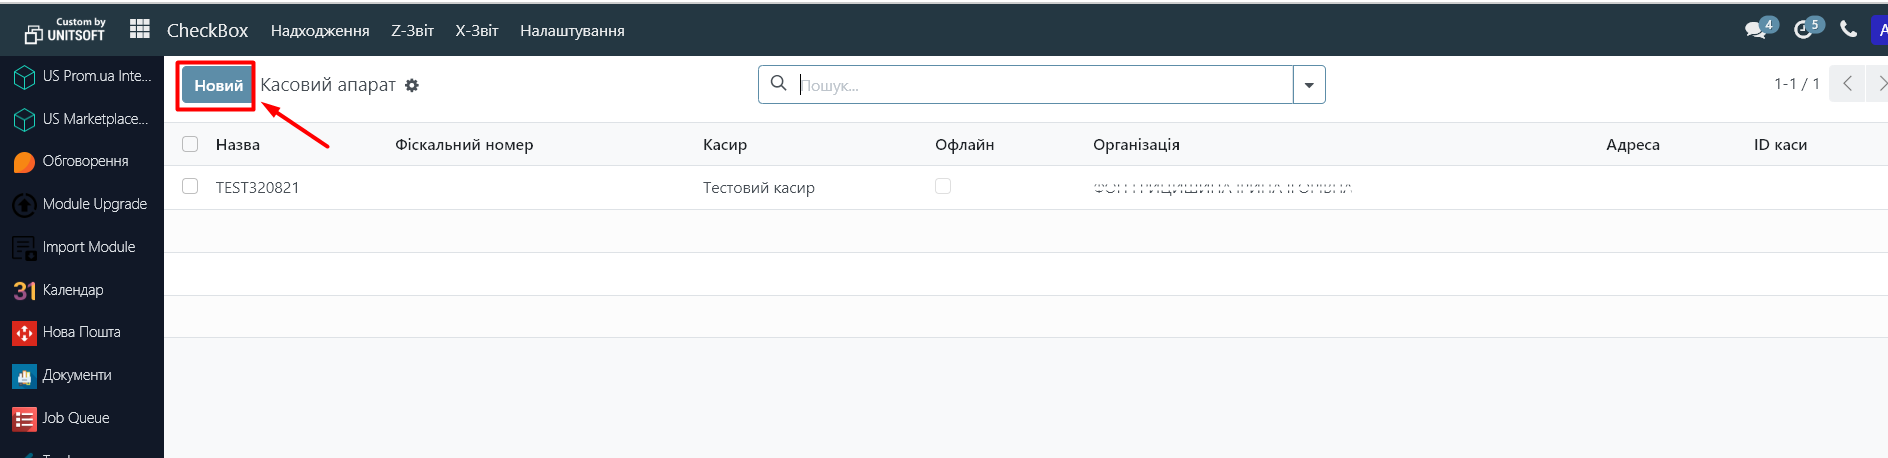
2. Click "New".
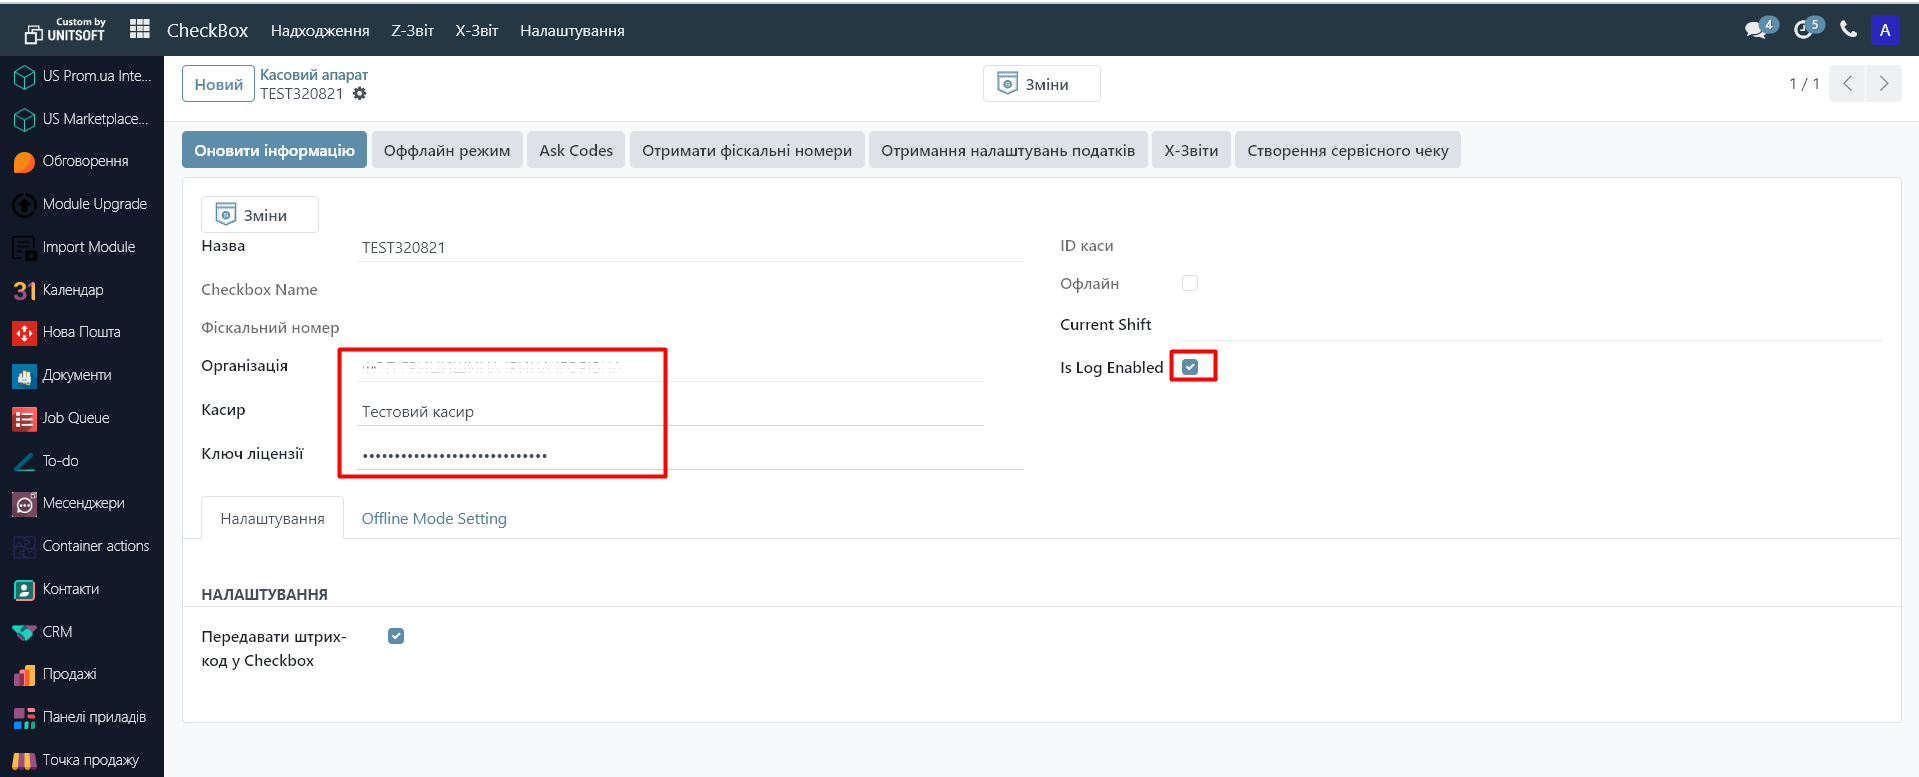
3. Enter the License Key from the CheckBox cabinet. Select the appropriate organization and enable "Is Log Enable" (recommended).
4. Click "Save."
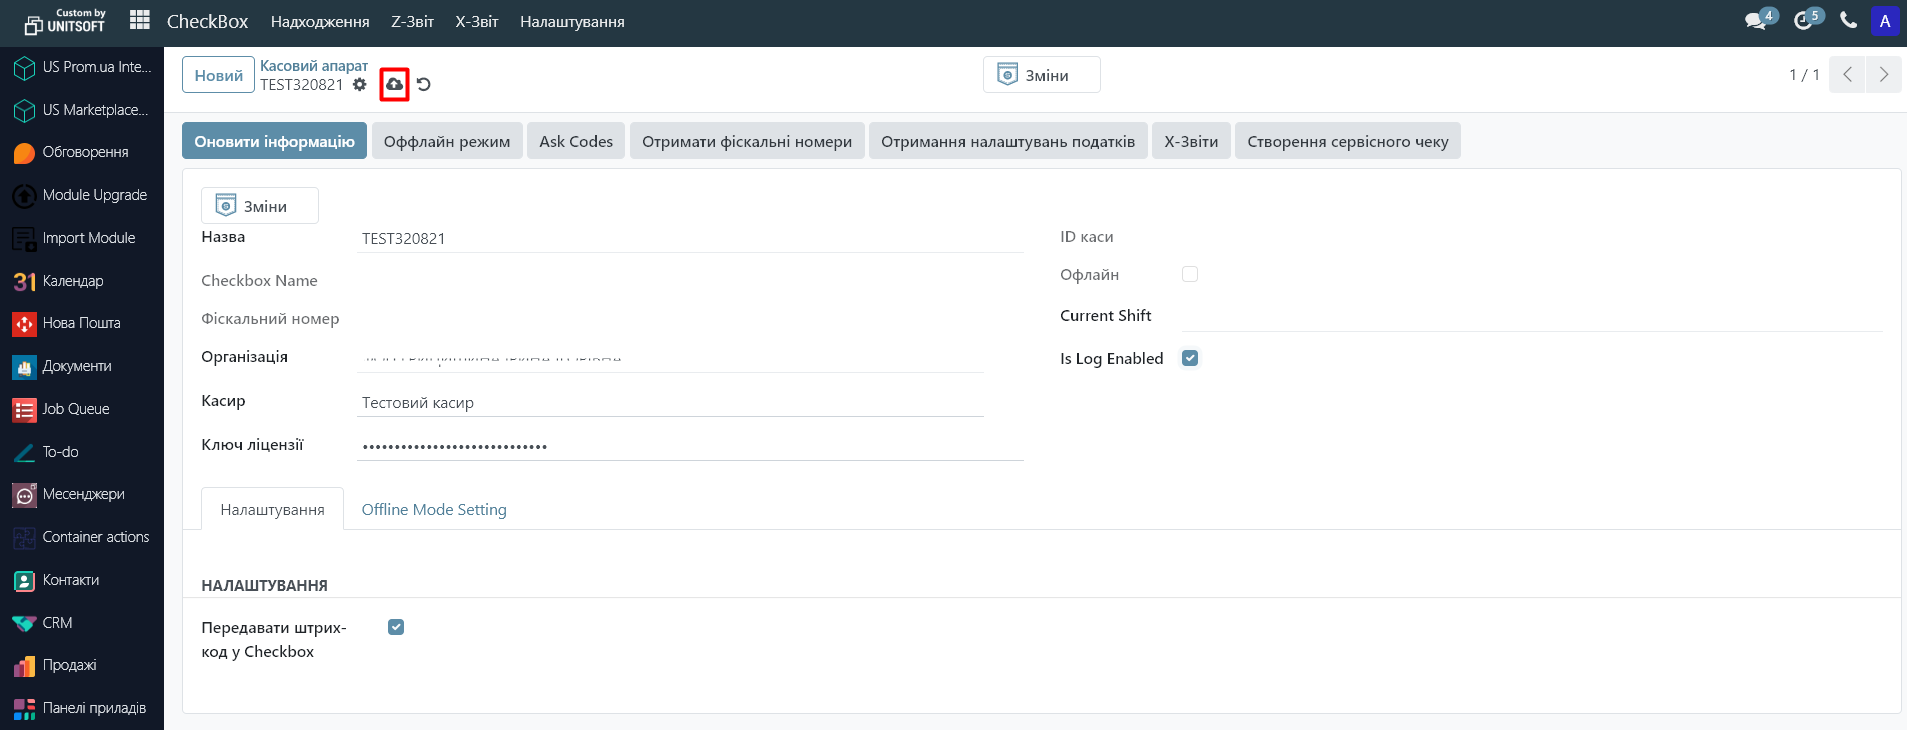
5. Click "Update Information" to synchronize.
Step 4. Tax settings (if you are not a VAT or excise tax payer – skip this step)
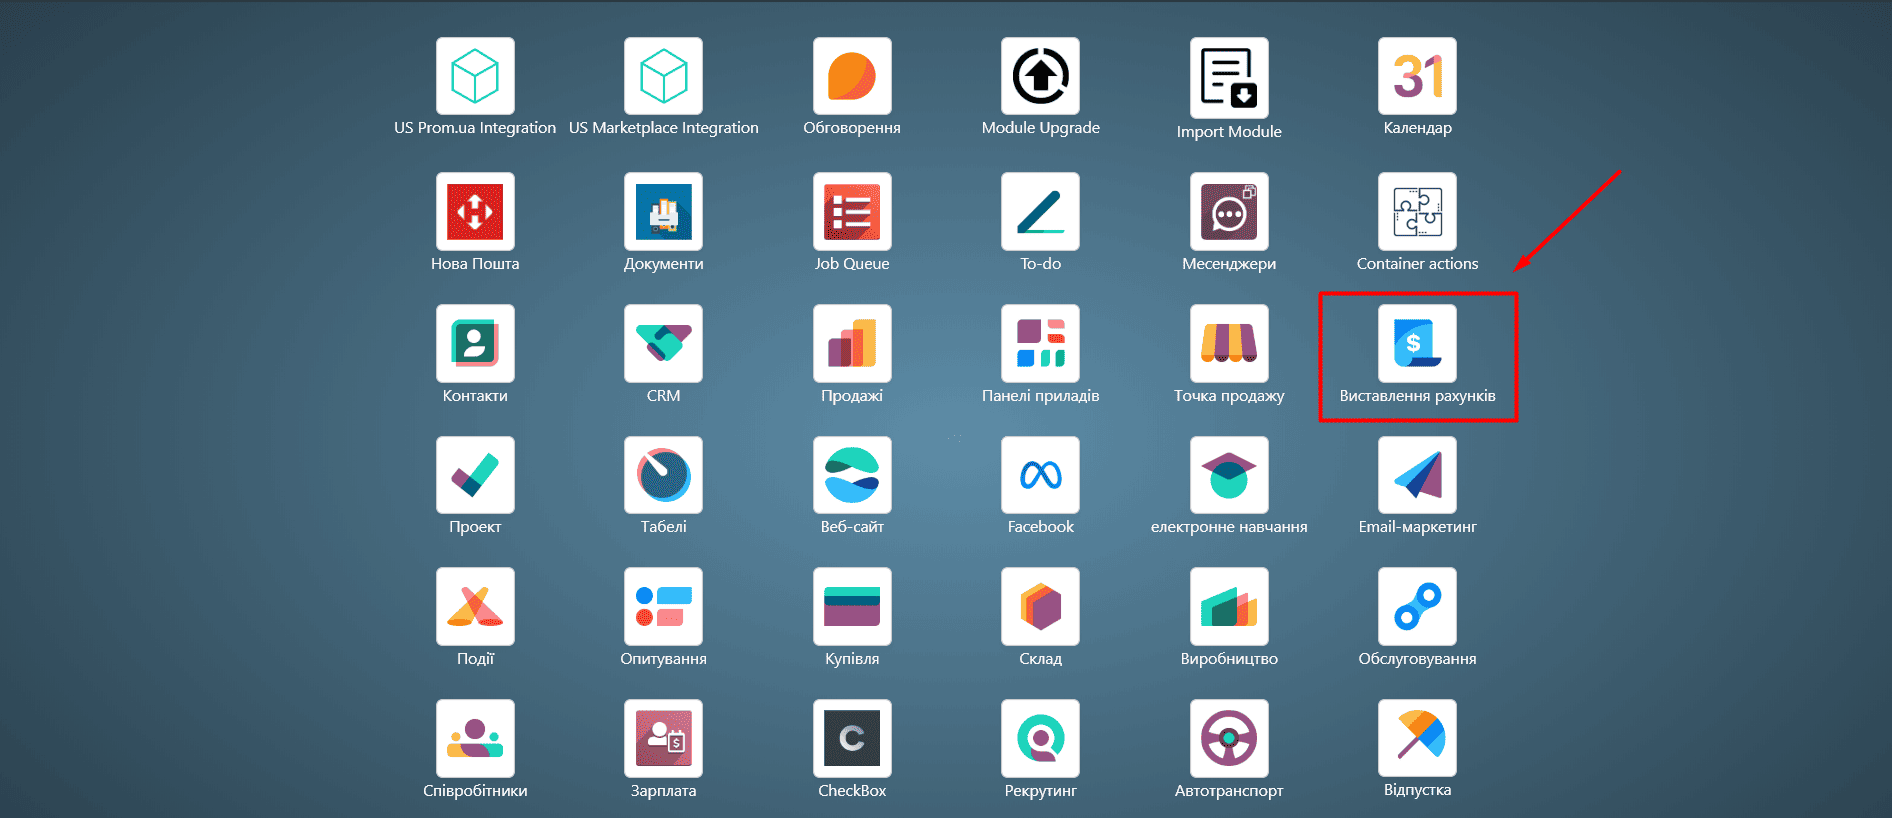
1. Go to the "Invoicing" module:
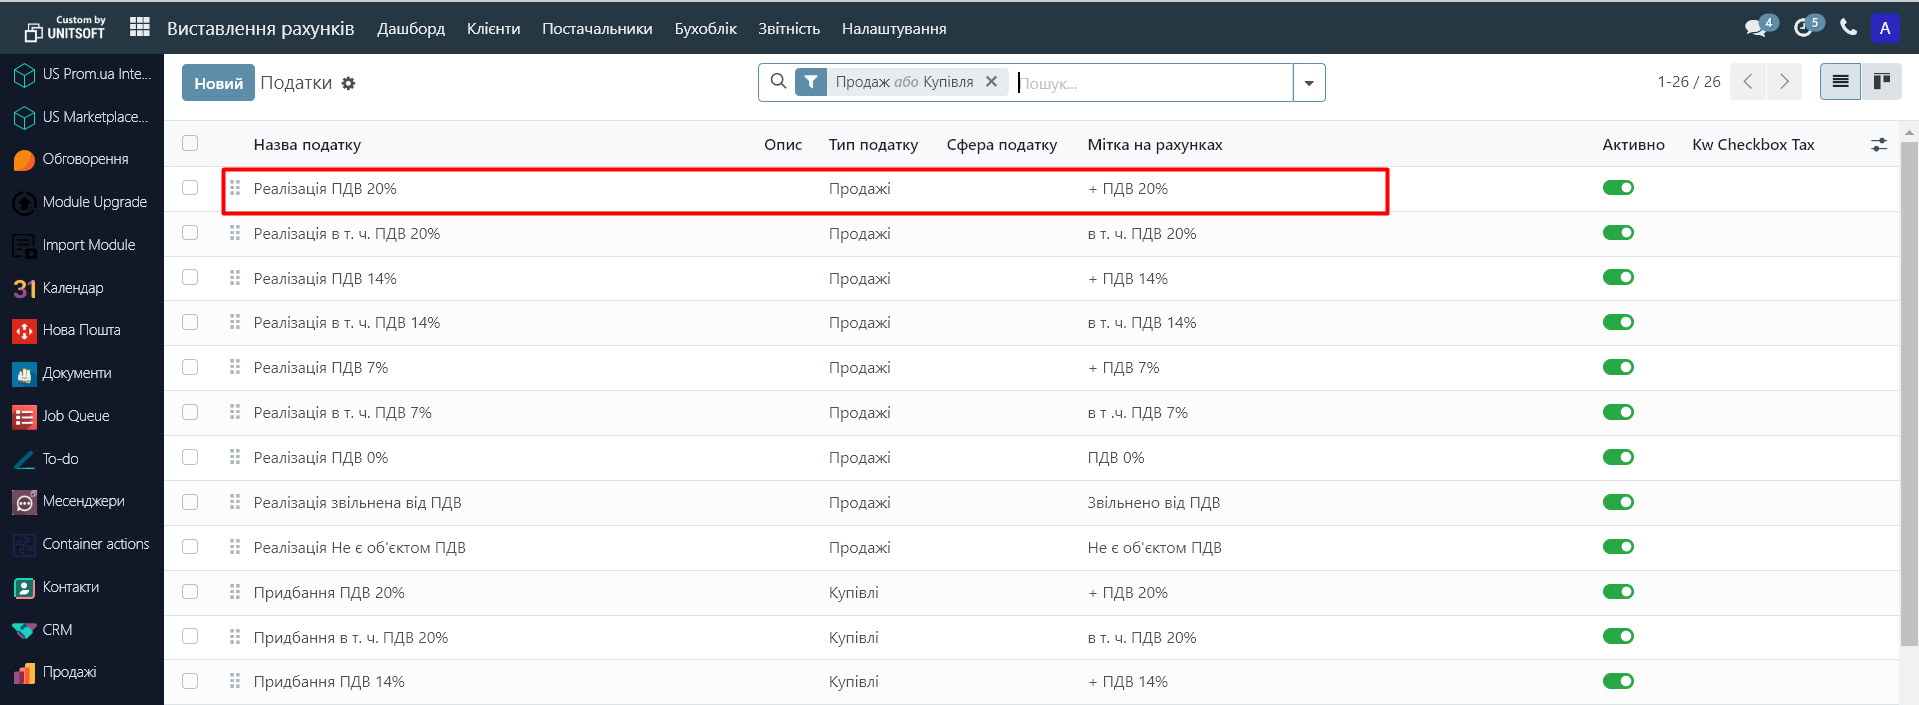
2. Go to the "Settings" - "Taxes" menu:
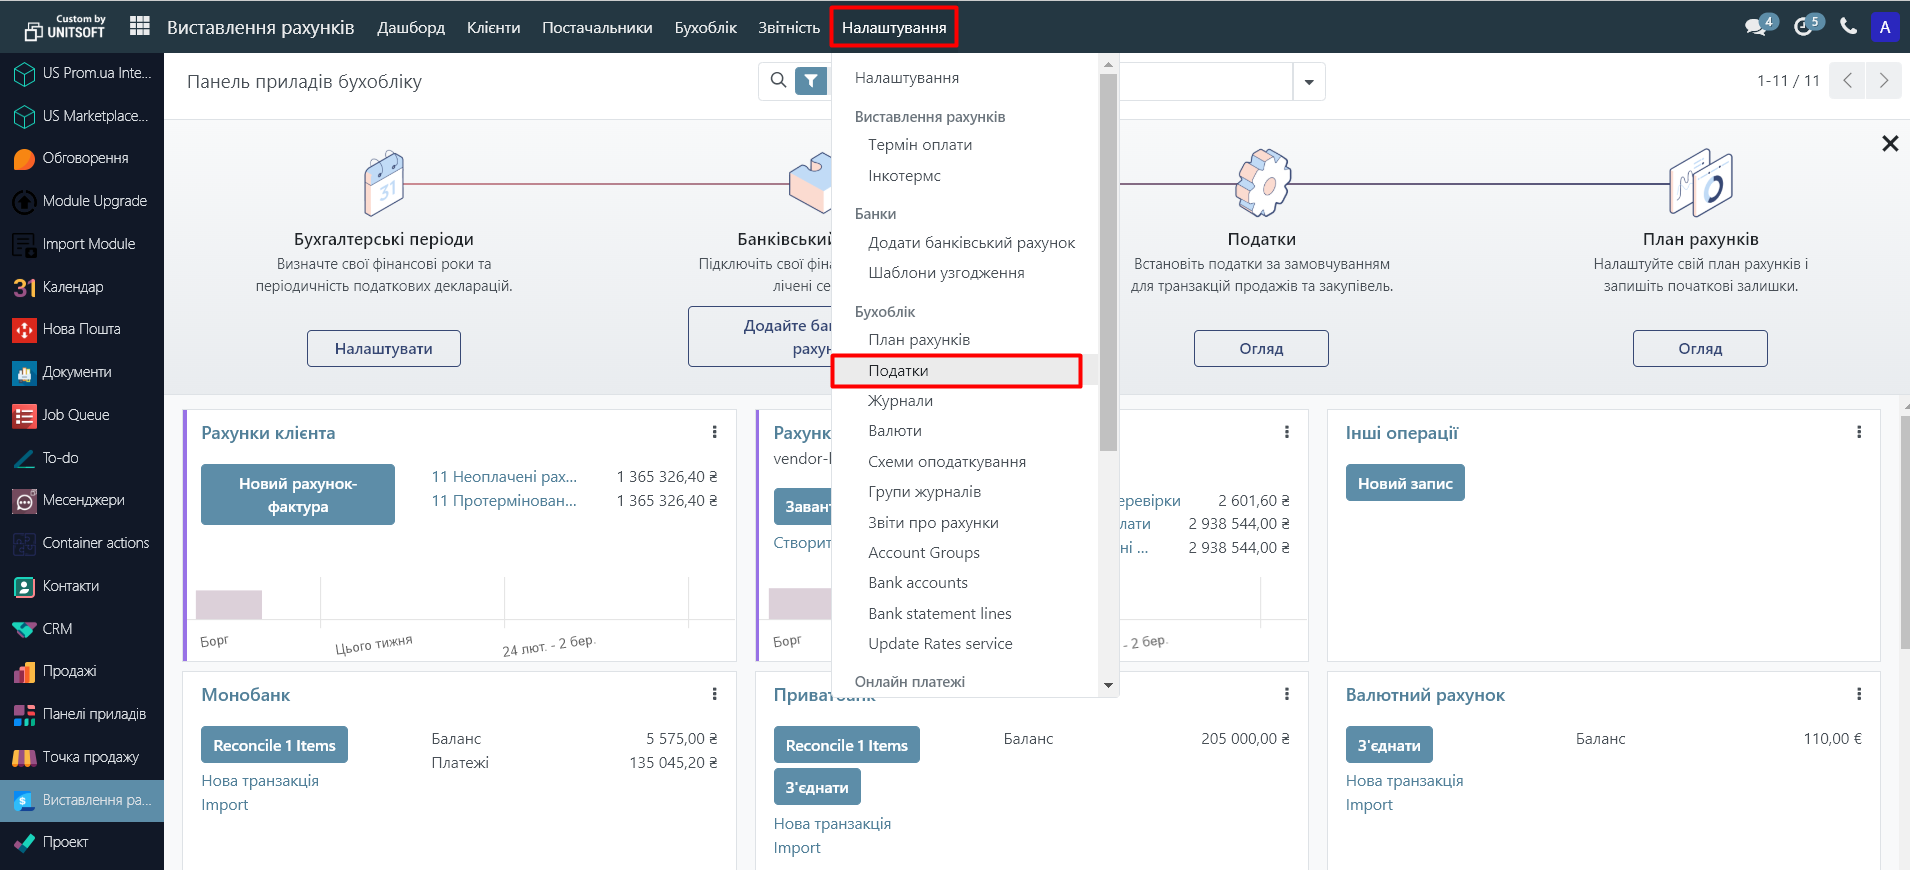
3. Go to the tax you want to configure:
4. Go to the "Relation CheckBox Tax" tab. Specify the tax that was automatically downloaded from the "CheckBox" account after synchronization was enabled.
To do this, click "Add row" and select the required tax from the drop-down list.
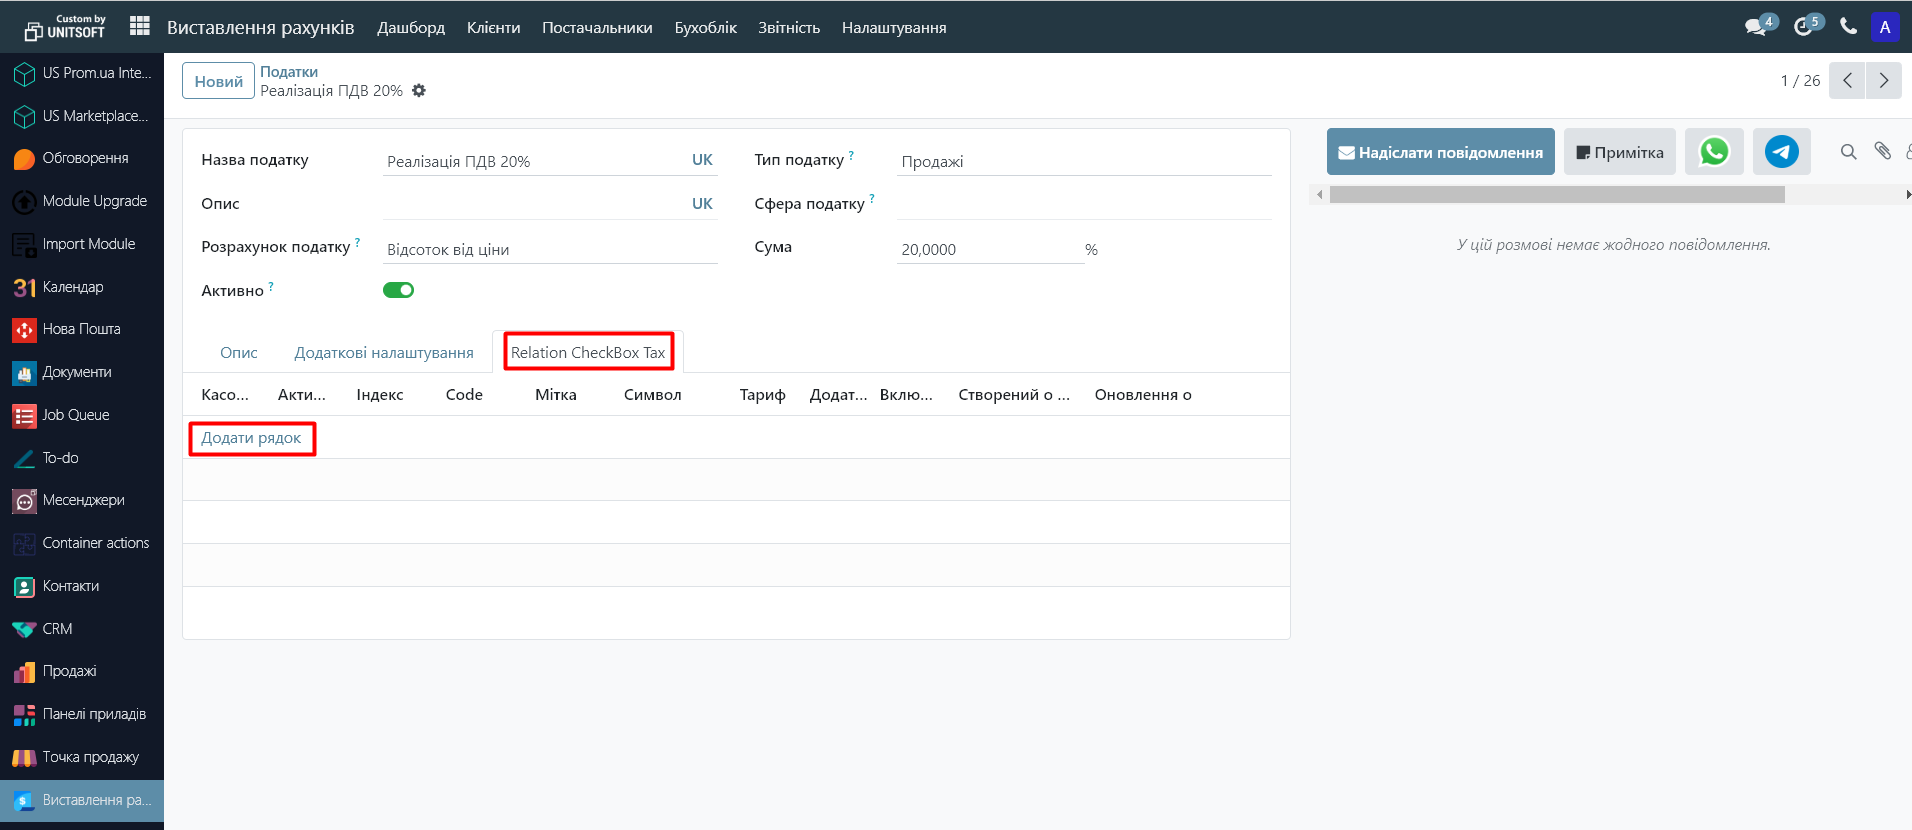
5. Save your changes
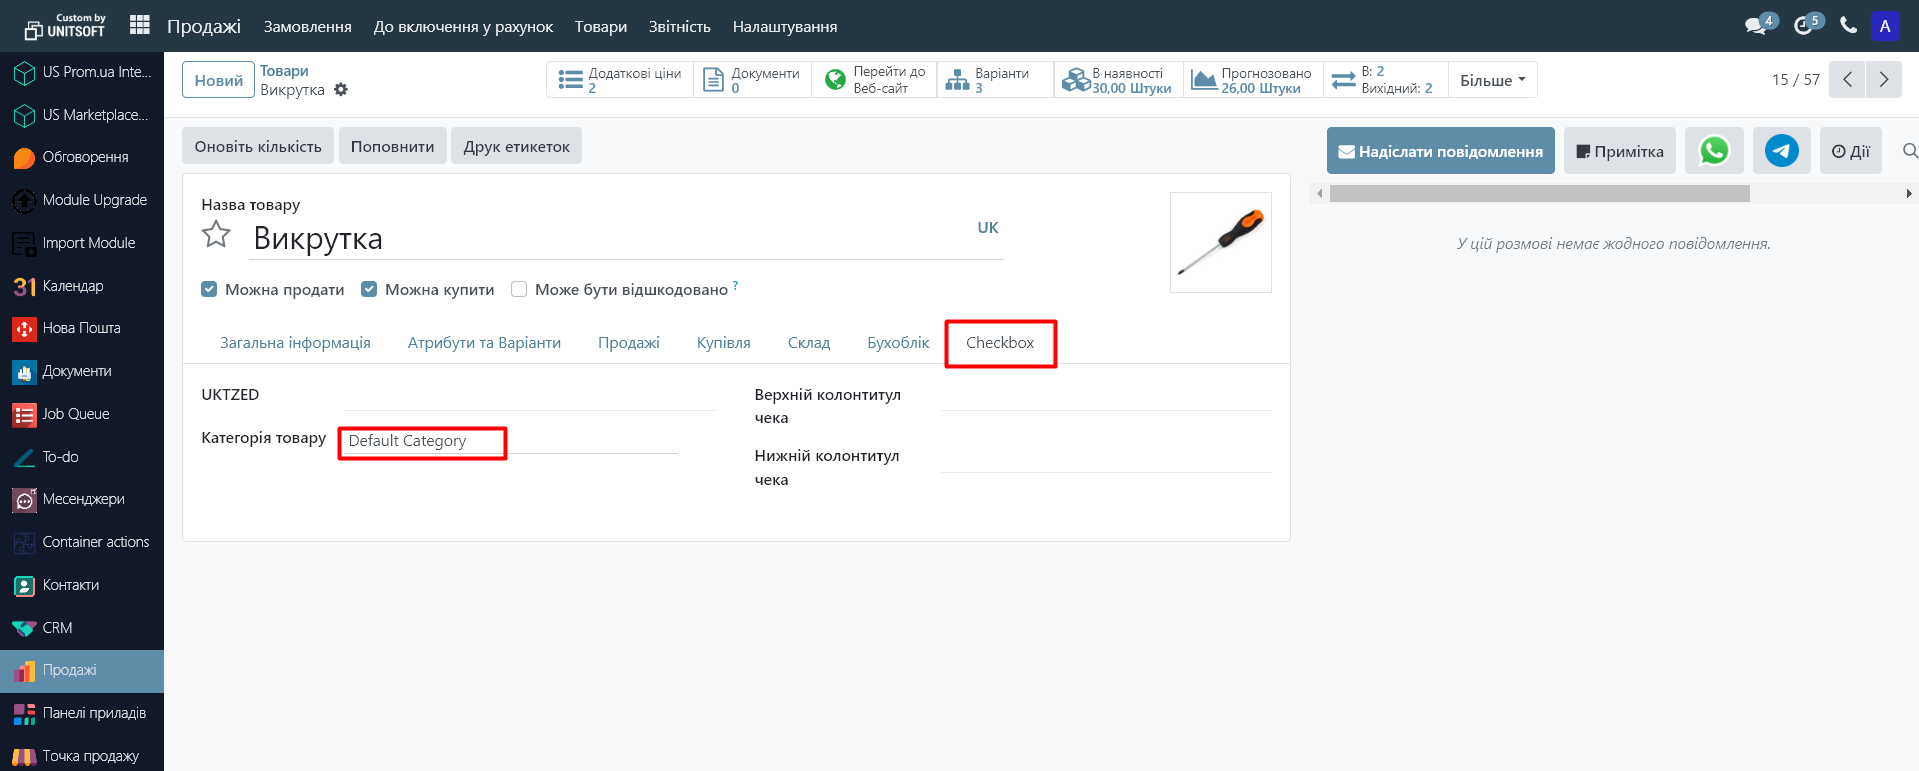
Step 5. Setting up "POS Checkbox category" (if you are not a VAT or excise tax payer - skip this item)
In the product card, you can specify the "POS Checkbox category". The list of these categories will be automatically loaded from the "CheckBox" cabinet. These are the categories of goods by which the fiscalization of operations will be differentiated. For example: "Excise" and "Regular". Fiscalization categories are applied under different tax rates for the sale of goods, that is, excisable goods are accounted for at the excise tax rate, goods with VAT at the value added tax rate, and for goods subject to the single tax rate - it is not used.
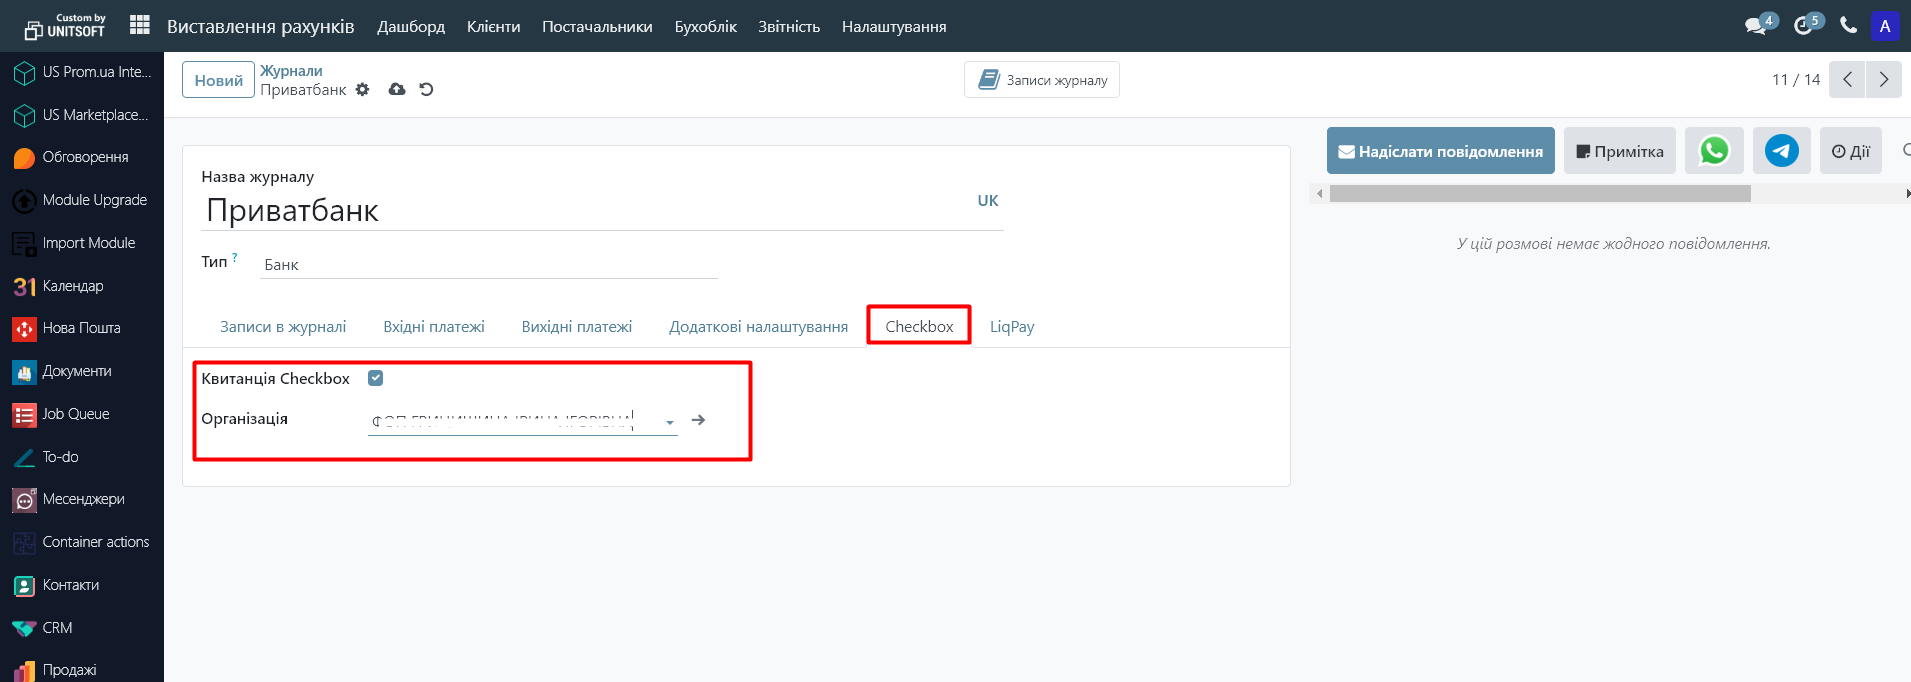
Step 6. Set up a cash journal
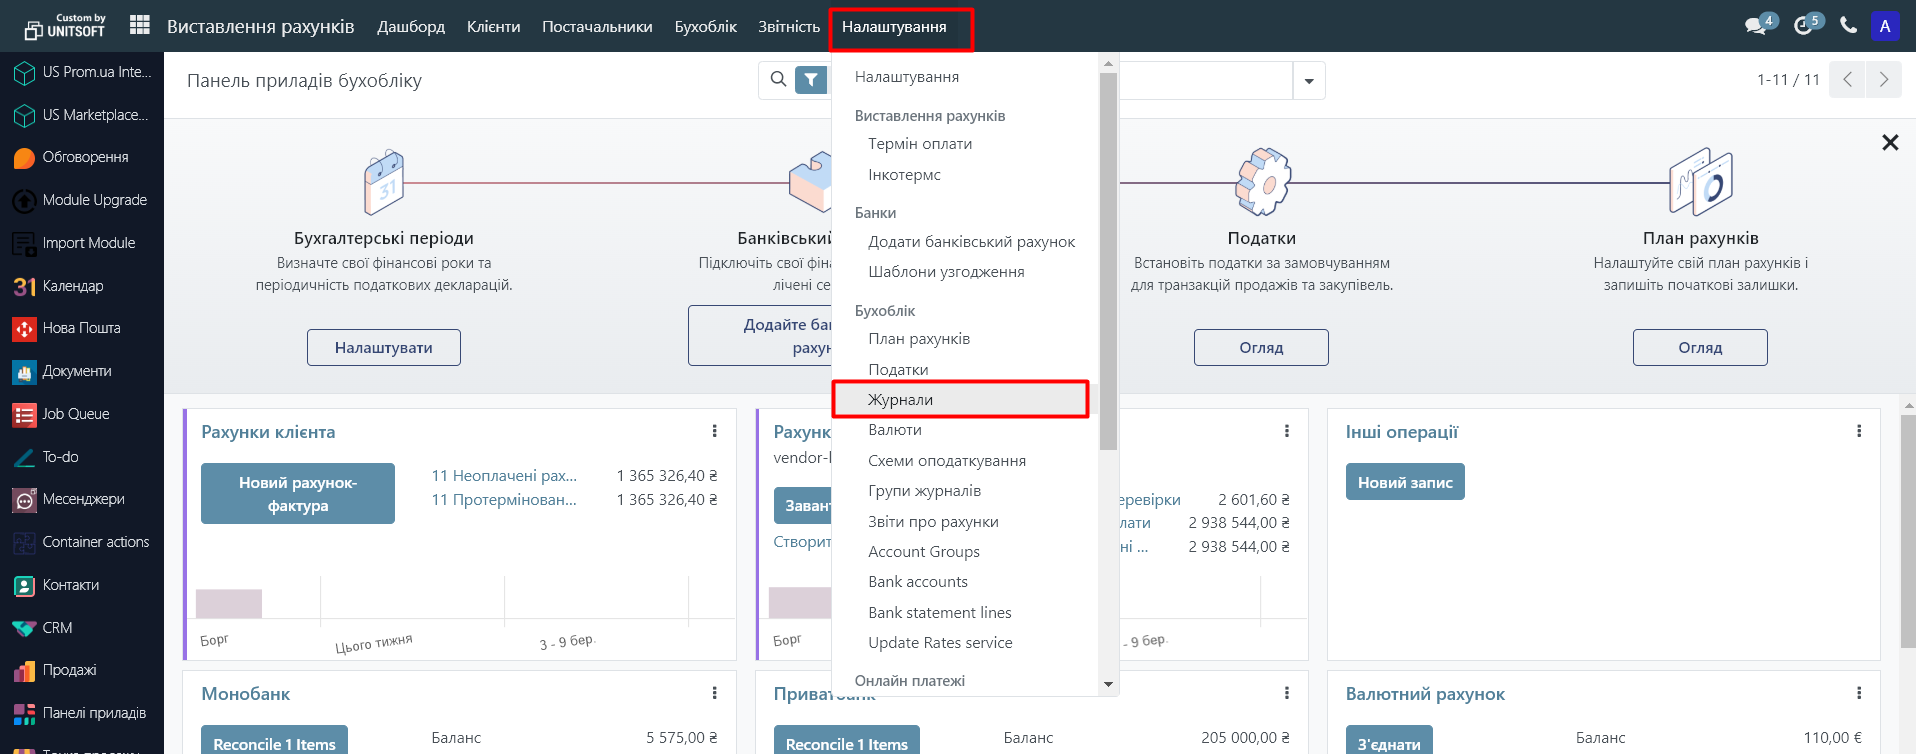
1. Go to the "Invoicing" module:
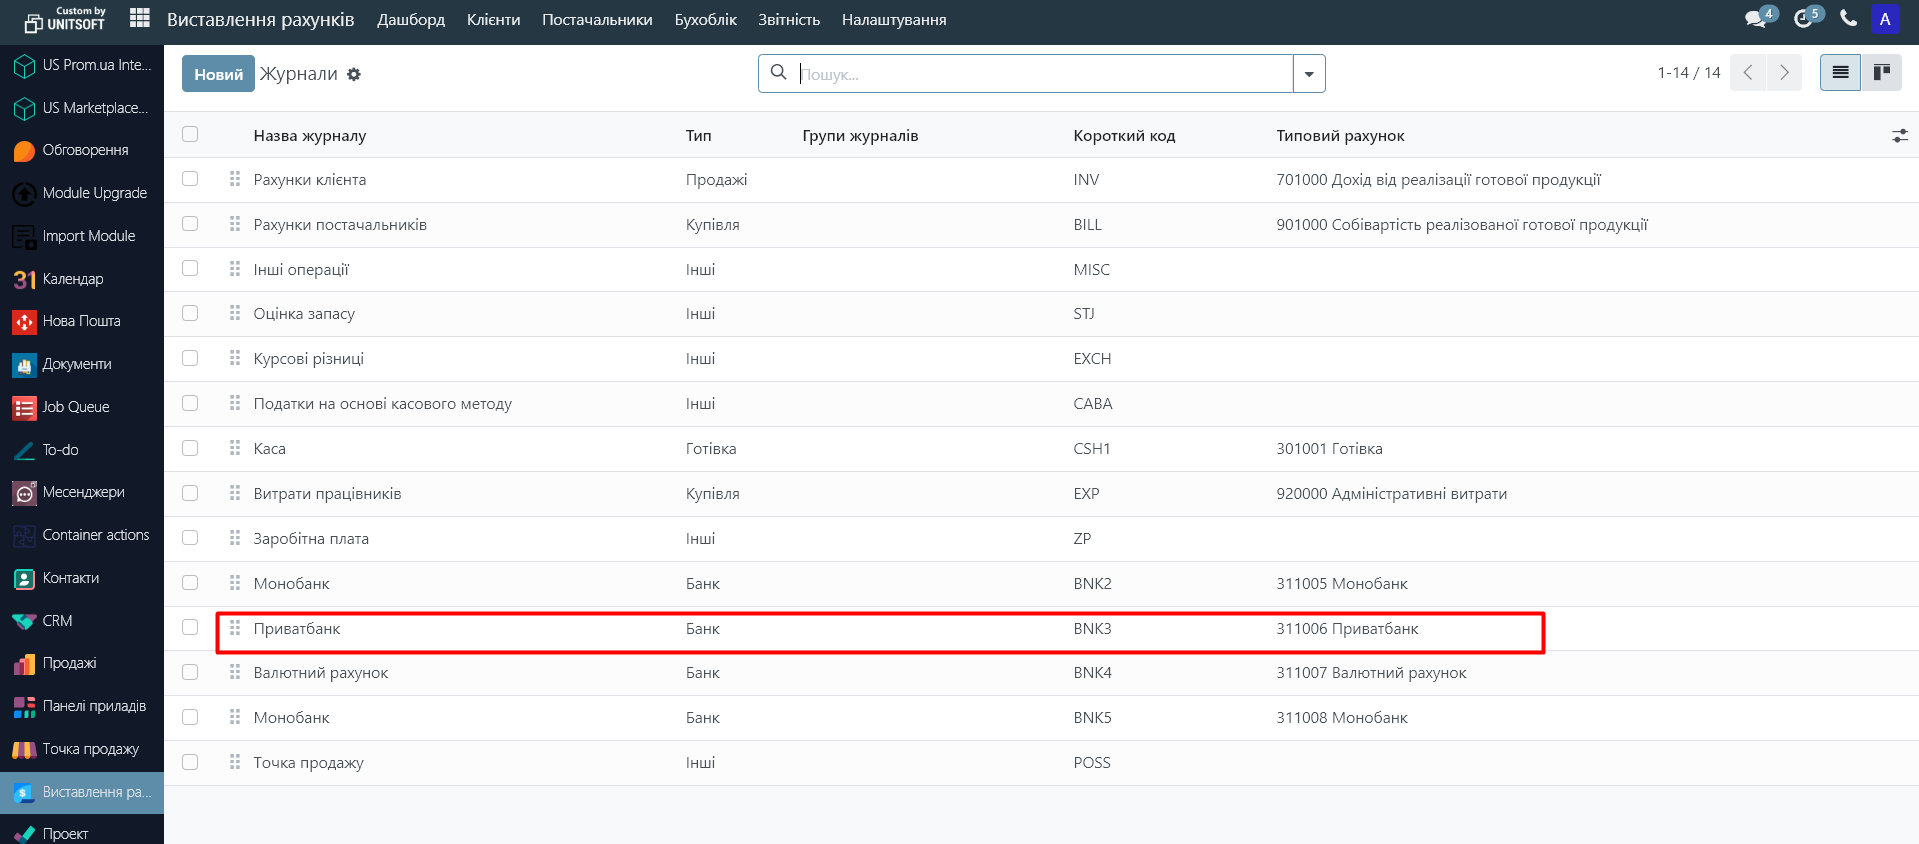
2. Go to the "Settings" - "Logs" menu:
3. A list of company journals will open in a new window. Among them are journals for cash accounting (cash register) and bank accounts. If you have not yet created them in the database, go to the instructions for creating them. instructions upon their creation.
Open the required cash register or bank journal:
4. In the "CheckBox" tab, check the "Receipt CheckBox" and specify the organization. This will allow you to generate fiscal checks when making a payment for this journal.