Gmail Instructions
1. Odoo Online Users
For databases hosted on Odoo Online (or Odoo.sh), perform the steps below to set up the Gmail plugin.
1.1. Install the Gmail plugin
First, log in to the Gmail account the user wants to connect to Odoo.
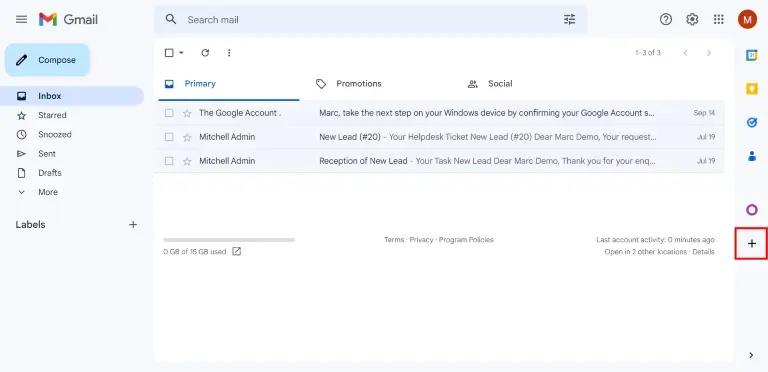
In the Gmail 'Inbox' folder, click the 'plus' icon on the right sidebar to get add-ons. If the sidebar is not displayed, click the arrow icon in the bottom right corner of the 'Inbox' to open it.
 Then use the search panel to find Odoo and locate the Odoo Inbox add-on.
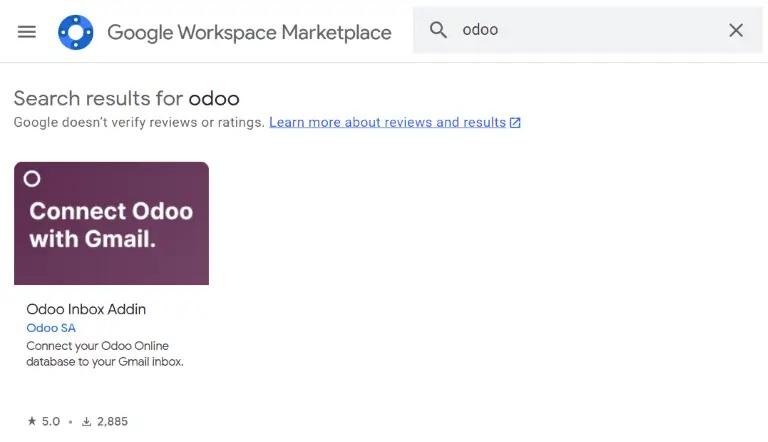
Or go directly to the Odoo Inbox Addin page on Google Workspace Marketplace.
When the plugin is found, click 'Install'. Then click 'Continue' to start the installation.
Next, select which Gmail account the user wants to connect to Odoo. Then click 'Allow' to give Odoo access to the Google account. After this, Google will display a pop-up confirming successful installation.
1.2. Set up the Odoo database
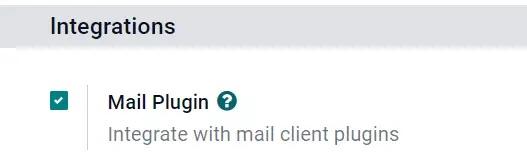
To use the Gmail plugin, the email plugin feature must be enabled in the Odoo database. To enable this feature, go to Settings ‣ General Settings. In the 'Integrations' section, activate Mail Plugin, and then click 'Save'.
 1.3. Set up the Gmail 'Inbox' folder
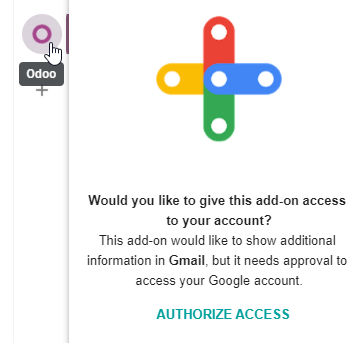
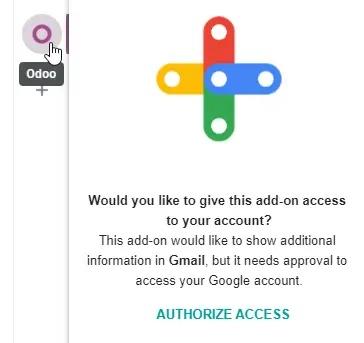
In the Gmail 'Inbox' folder, a purple Odoo icon now appears on the right sidebar. Click the Odoo icon to open the Odoo plugin window. Then click any email in the 'Inbox' folder. Click Authorize Access in the plugin window to give Odoo access to the Gmail inbox.
 Next, click 'Login'. Then enter the URL of the Odoo database the user wants to connect to the Gmail inbox and log in to the database.
Finally, click 'Allow' to give Gmail access to the Odoo database. A 'Success!' message will appear in the browser. After that, close the window. The Gmail inbox and Odoo database are now connected.
1.4. Local Odoo users
For databases hosted on servers other than Odoo Online (or Odoo.sh), perform the steps below to set up the Gmail plugin.
2. Local Odoo users
For databases hosted on servers other than Odoo Online (or Odoo.sh), perform the steps below to set up the Gmail plugin.
2.1. Install the Gmail plugin
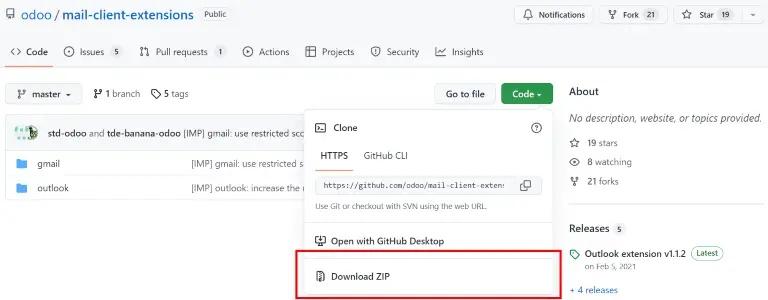
First, go tothe GitHub repositoryfor Odoo Mail plugins. Next, click the green 'Code' button. Then click 'Download ZIP' to download the email plugin files to the user's computer.
Open the ZIP file on your computer. Then navigate to mail-client-extensions-master ‣ gmail ‣ src ‣ views and open the login.ts file using any text editor, such as Notepad (Windows), TextEdit (Mac), or Visual Studio Code.
Remove the following three lines of text from the login.ts file:
if (!/^https:\/\/([^\/?]*\.)?odoo\.com(\/|$)/.test(validatedUrl)) { return notify("The URL must be a subdomain of odoo.com"); }This removes the odoo.com domain restriction from the Gmail Plugin application.
Next, in the ZIP file, navigate to mail-client-extensions-master ‣ gmail and open the file appsscript.json. In the urlFetchWhitelist section, replace all links to odoo.com with the unique domain of the client's Odoo server.
Then, in the same gmail folder, open a file named README.md. Follow the instructions in the README.md file to submit the Gmail plugin files as a Google project.
After that, share the Google project with the Gmail account the user wants to connect to Odoo. Then click Publish and Deploy from Manifest. Finally, click 'Install Add-on' to install the Gmail plugin.
2.2. Set up the Odoo database
To use the Gmail plugin, the email plugin feature must be enabled in the Odoo database. To enable this feature, go to Settings ‣ General Settings. In the 'Integrations' section, activate Mail Plugin, and then click 'Save'.
 2.3. Set up the Gmail 'Inbox' folder
In the Gmail 'Inbox' folder, a purple Odoo icon now appears on the right sidebar. Click the Odoo icon to open the Odoo plugin window. Then click any email in the 'Inbox' folder. Click Authorize Access in the plugin window to give Odoo access to the Gmail inbox.
 Next, click 'Login'. Then enter the URL of the Odoo database the user wants to connect to the Gmail inbox and log in to the database.
Finally, click 'Allow' to give Gmail access to the Odoo database. A 'Success!' message will appear in the browser. After that, close the window. The Gmail inbox and Odoo database are now connected.